¶ SV08 Z-axis belt replacement and adjustment tutorial
If the printed model prints poorly in the Z-axis direction, or the printer makes an unusual sound when the Z-axis moves;
Consider adjusting the belt or replacing it

¶ Disassemble the Z-axis assembly
Turn off the machine, unplug the power cord, and start disassembling the Z3 module, loosen the screws that hold the Z3 module in place, and disassemble the Z3 assembly.
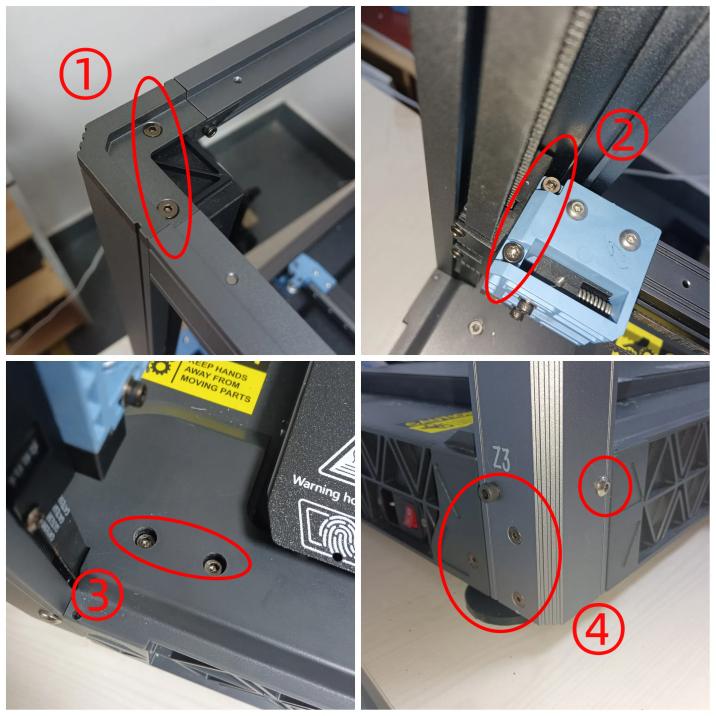 |
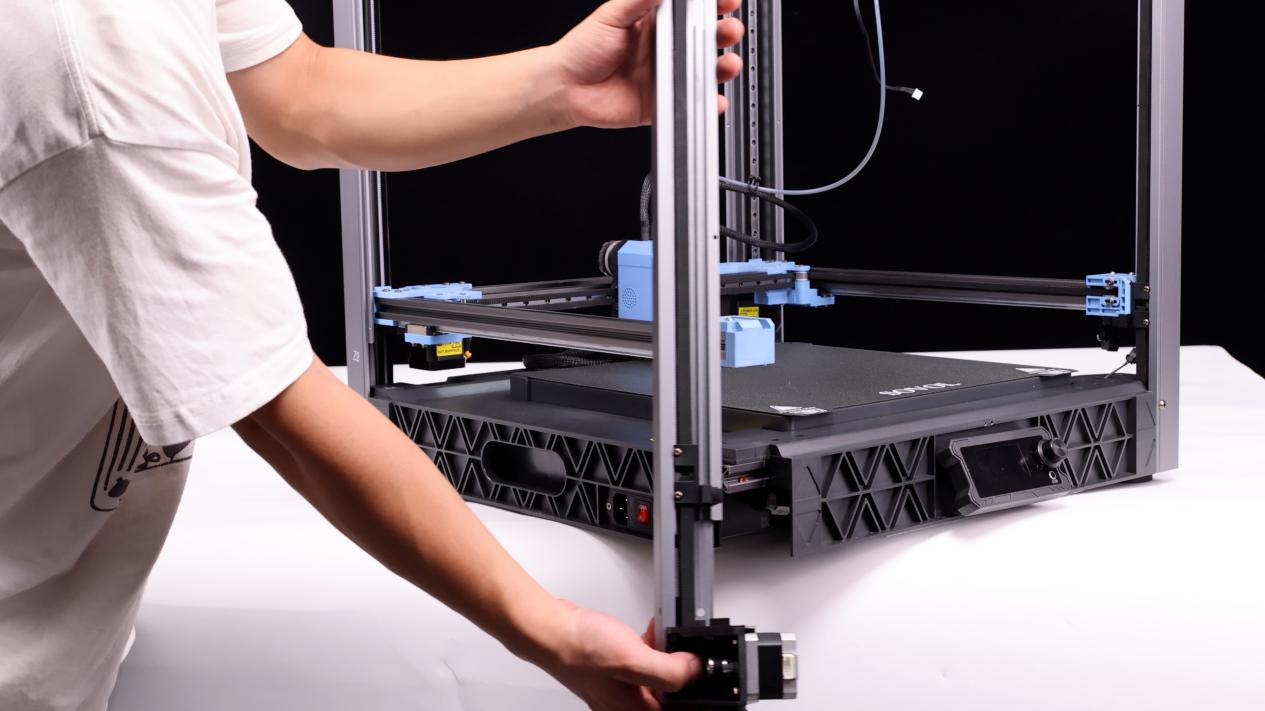 |
¶ Remove the Z-axis belt
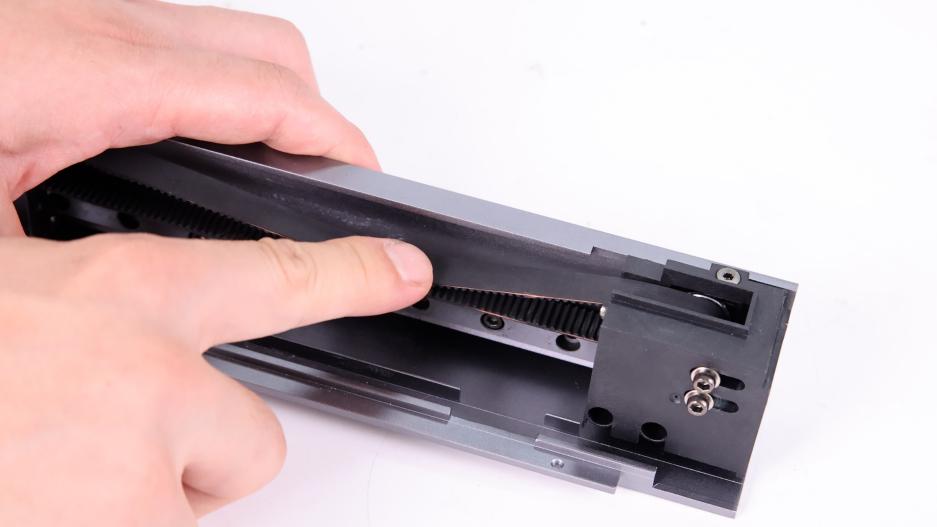
① Loosen the fixing screw of the tensioner, tighten the screw 3 rings of the tensioner, so that the belt is completely relaxed.
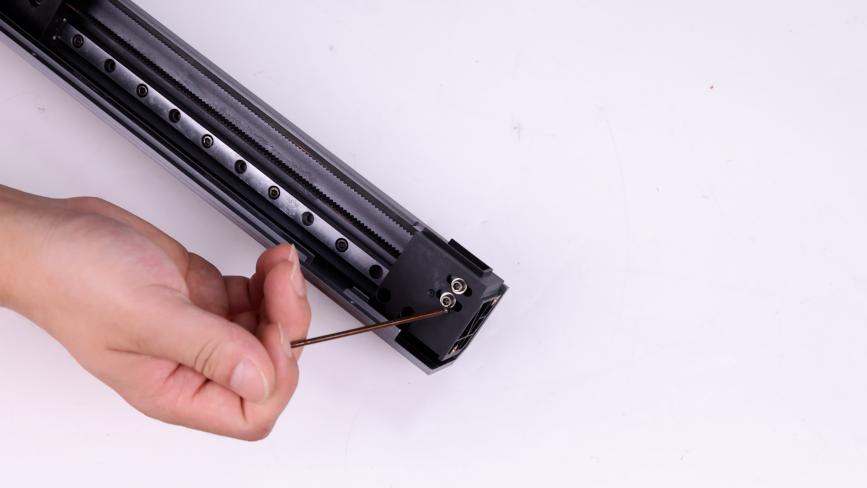 |
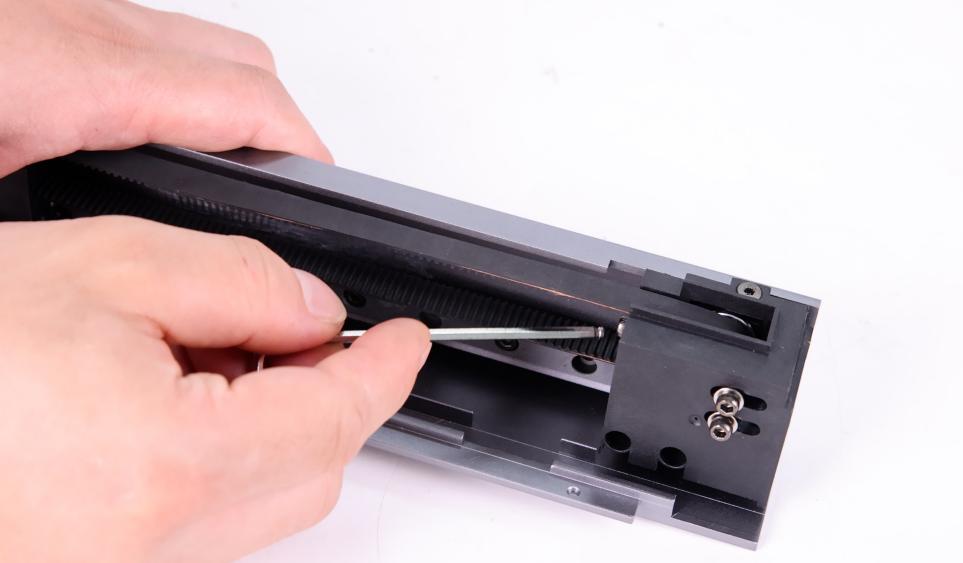 |
 |
②Use a marker on both sides of the belt clamp to make sure that the belt length is consistent (10 teeth) next time you install it.
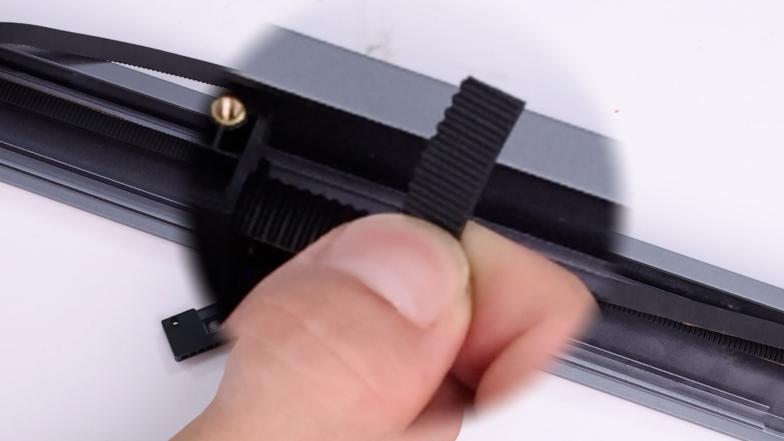
③ Loosen the two screws of the belt fixing clip and remove the screws before removing the belt.

④ Take out the new belt and load the belt into the Z-axis module;
¶ Install Z-axis belt
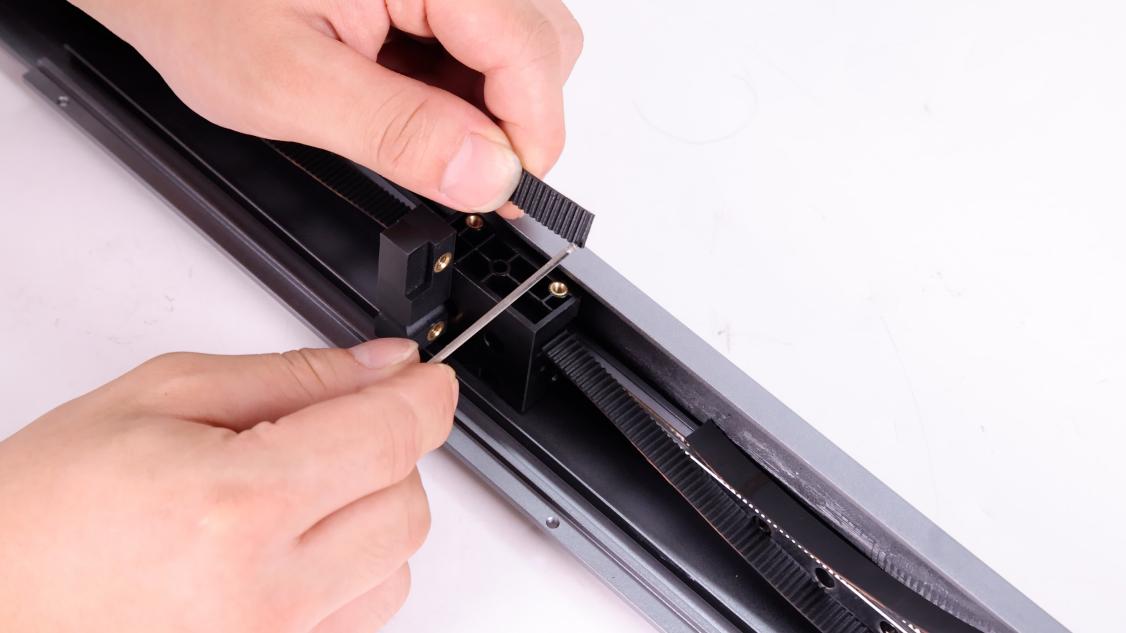
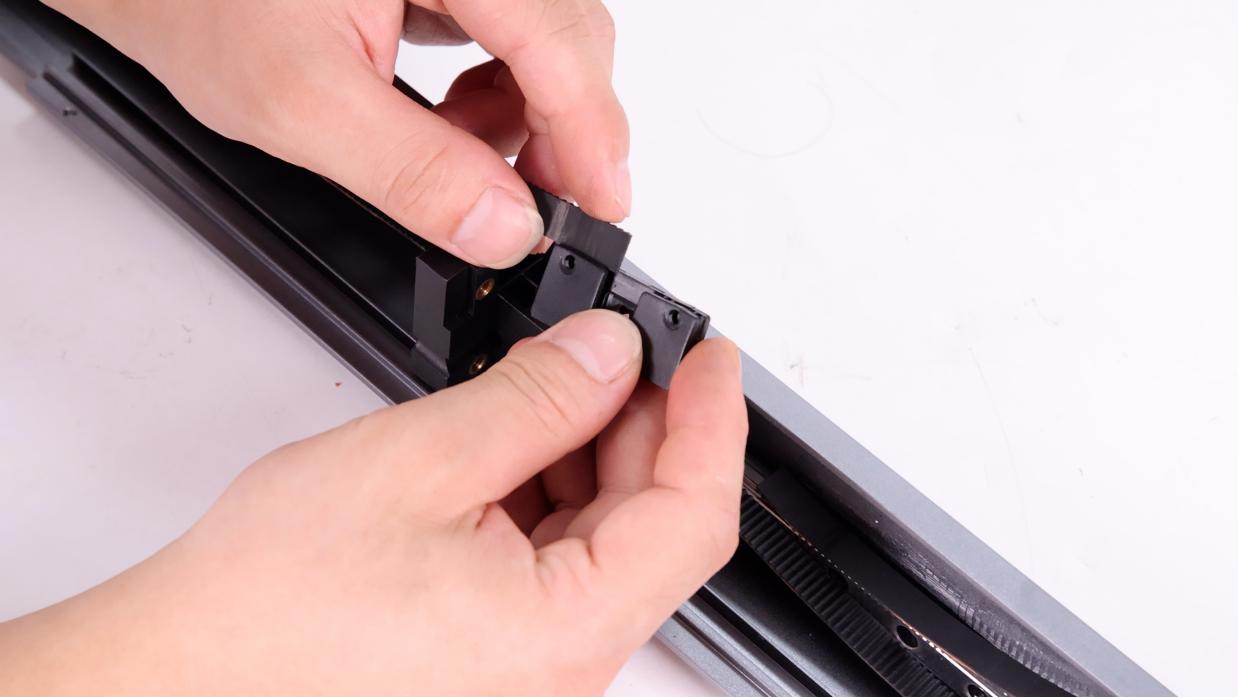
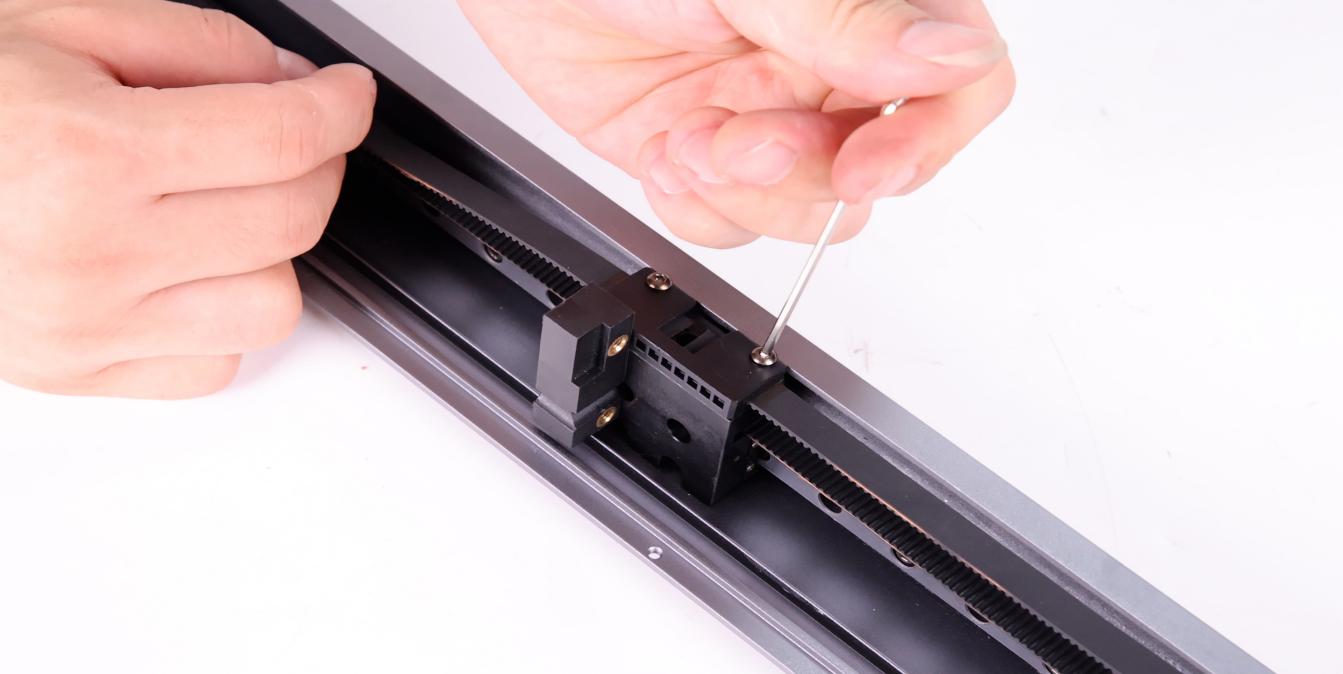
To install the belt buckle, align the marked position of the belt with the edge of the belt buckle, insert the belt into the buckle (10 teeth), and secure the belt buckle with screws.
 |
 |
 |
¶ Adjust the Z-axis belt tension
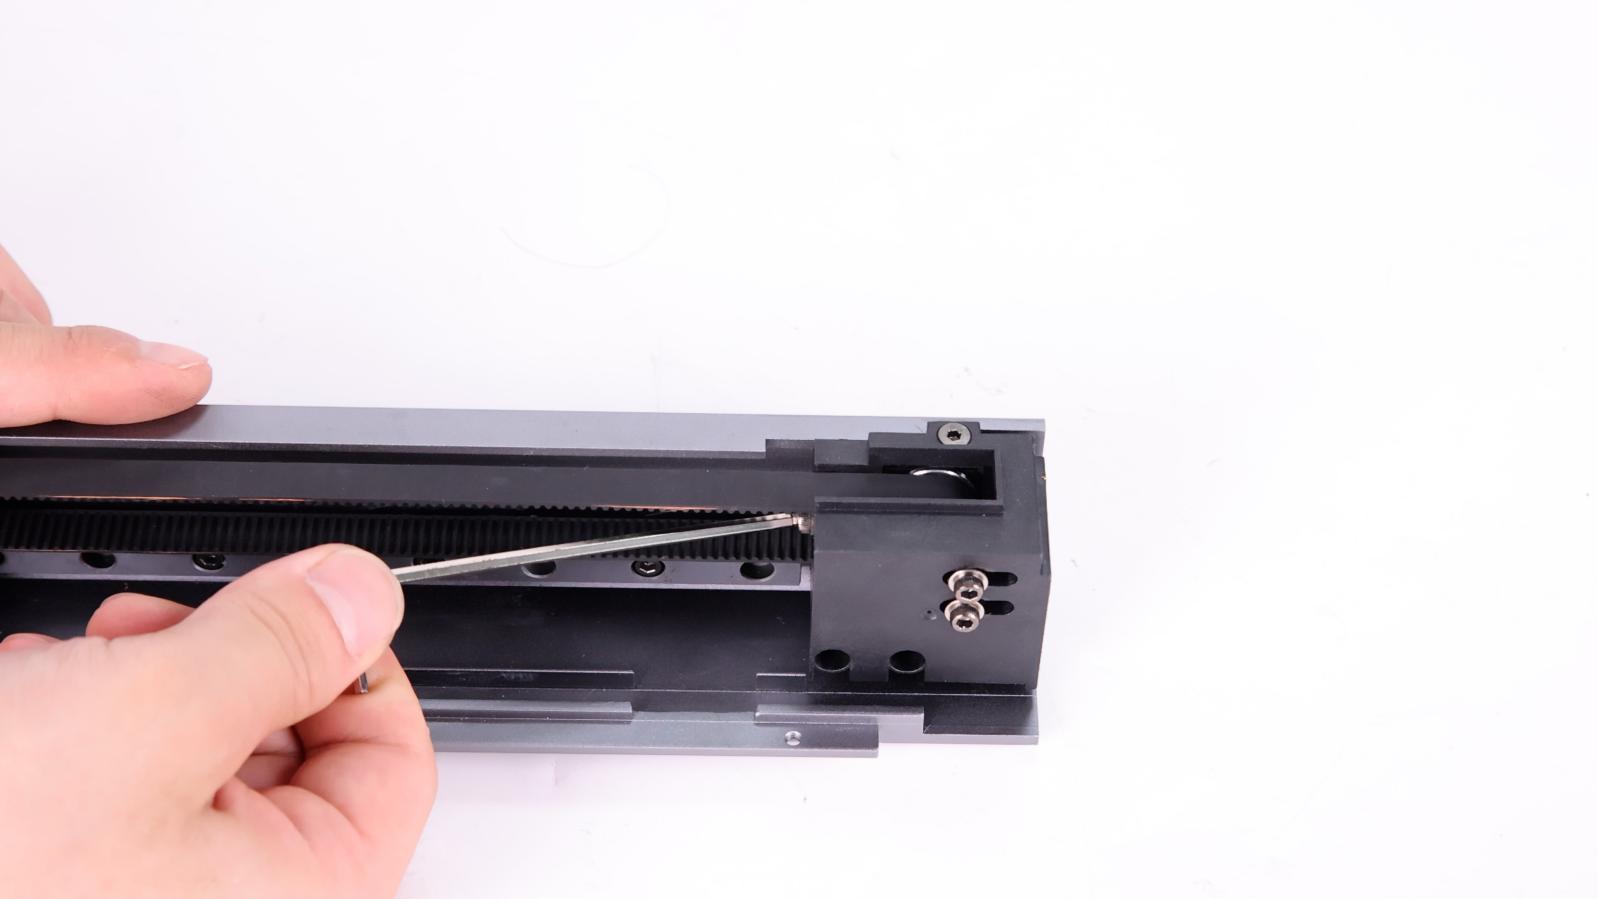
① Loosen the screw of the tensioner about 2-3 turns, tighten the belt, and move the fixed end of the Z-axis belt to 150mm away from the top idler.
 |
 |
|---|
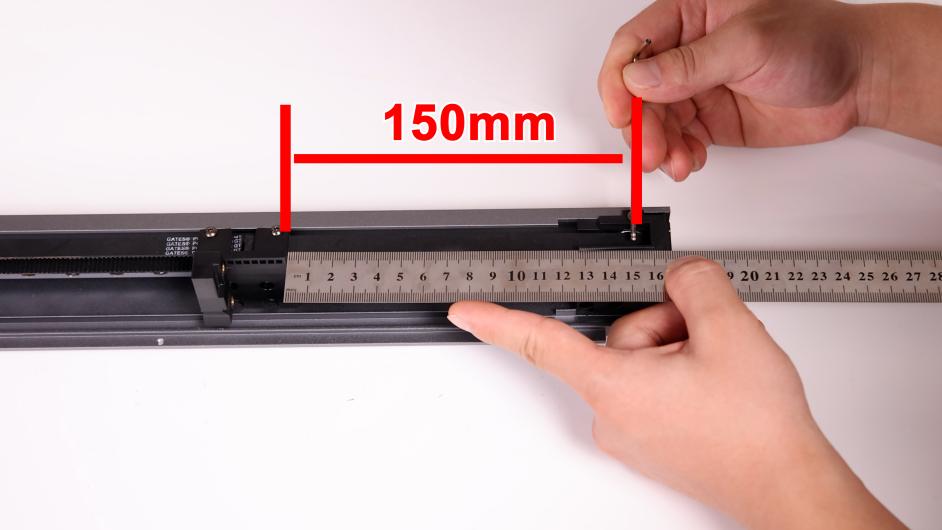
②Open the APP, select the “Motorcycle Mode”, align the mobile phone recorder with the Z4 synchronization belt, and vertically move the 150mm synchronization belt with appropriate force. The software will automatically record the frequency of the synchronization belt. The optimal frequency of the Z-axis synchronization belt is 140Hz, and the software will record the frequency for 3 times and automatically calculate the average value (please note before debugging: Keep the environment quiet, the phone can not touch the sync band or frame, remove the phone case, take more practice. In the same situation, until each recording can get a small fluctuation range of values.)
 |
 |
 |
 |
③Adjust the Z1,Z2,Z3 belt in turn until the frequency of the synchronization belt is about 140HZ, the deviation range is not more than 10HZ(135HZ-145HZ), too tight or too loose will affect the print quality, repeat steps 2, 3 twice.
④ Verify that the A/B axis is moved up a few centimeters and then returned to the original position, and the four synchronization belts are re-dialed to observe whether the average frequency is in the appropriate range.
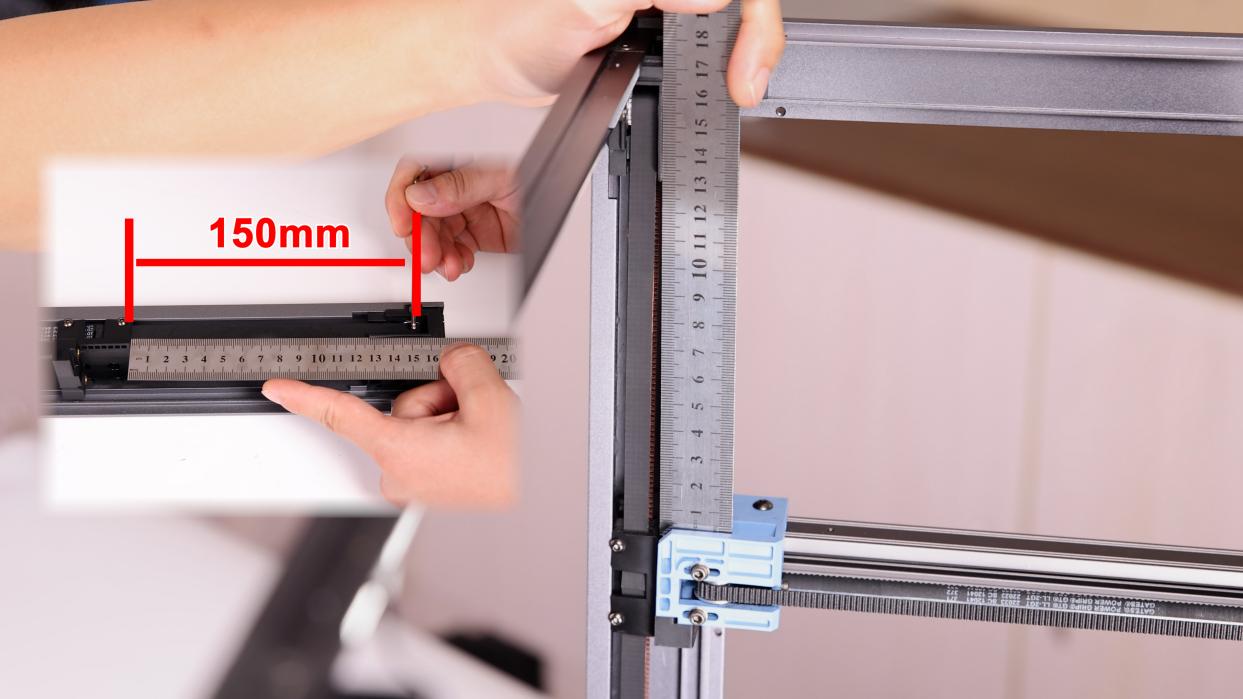
⑤ Complete debugging
If you have a professional belt tensiometer, you can use professional tools to calibrate and verify the belt once again, so that the printer can be adjusted to the best operating condition, and you can also use some tension gauge prints on Github to make the calibration of the synchronous belt more accurate.
Source of information:
https://docs.vorondesign.com/tuning/secondary_printer_tuning.html
Tensiometer file Download:
https://github.com/Diyshift/3D-Printer/tree/main/GT2%20Belt%20Tension%20Meter
 |
 |
 |
