How to use OTA to update the firmware of SOVOL Zero
Tip: Please check the current firmware version of the printer before updating the firmware, and confirm that the WIFI signal is good. The printer only supports 2.4G network
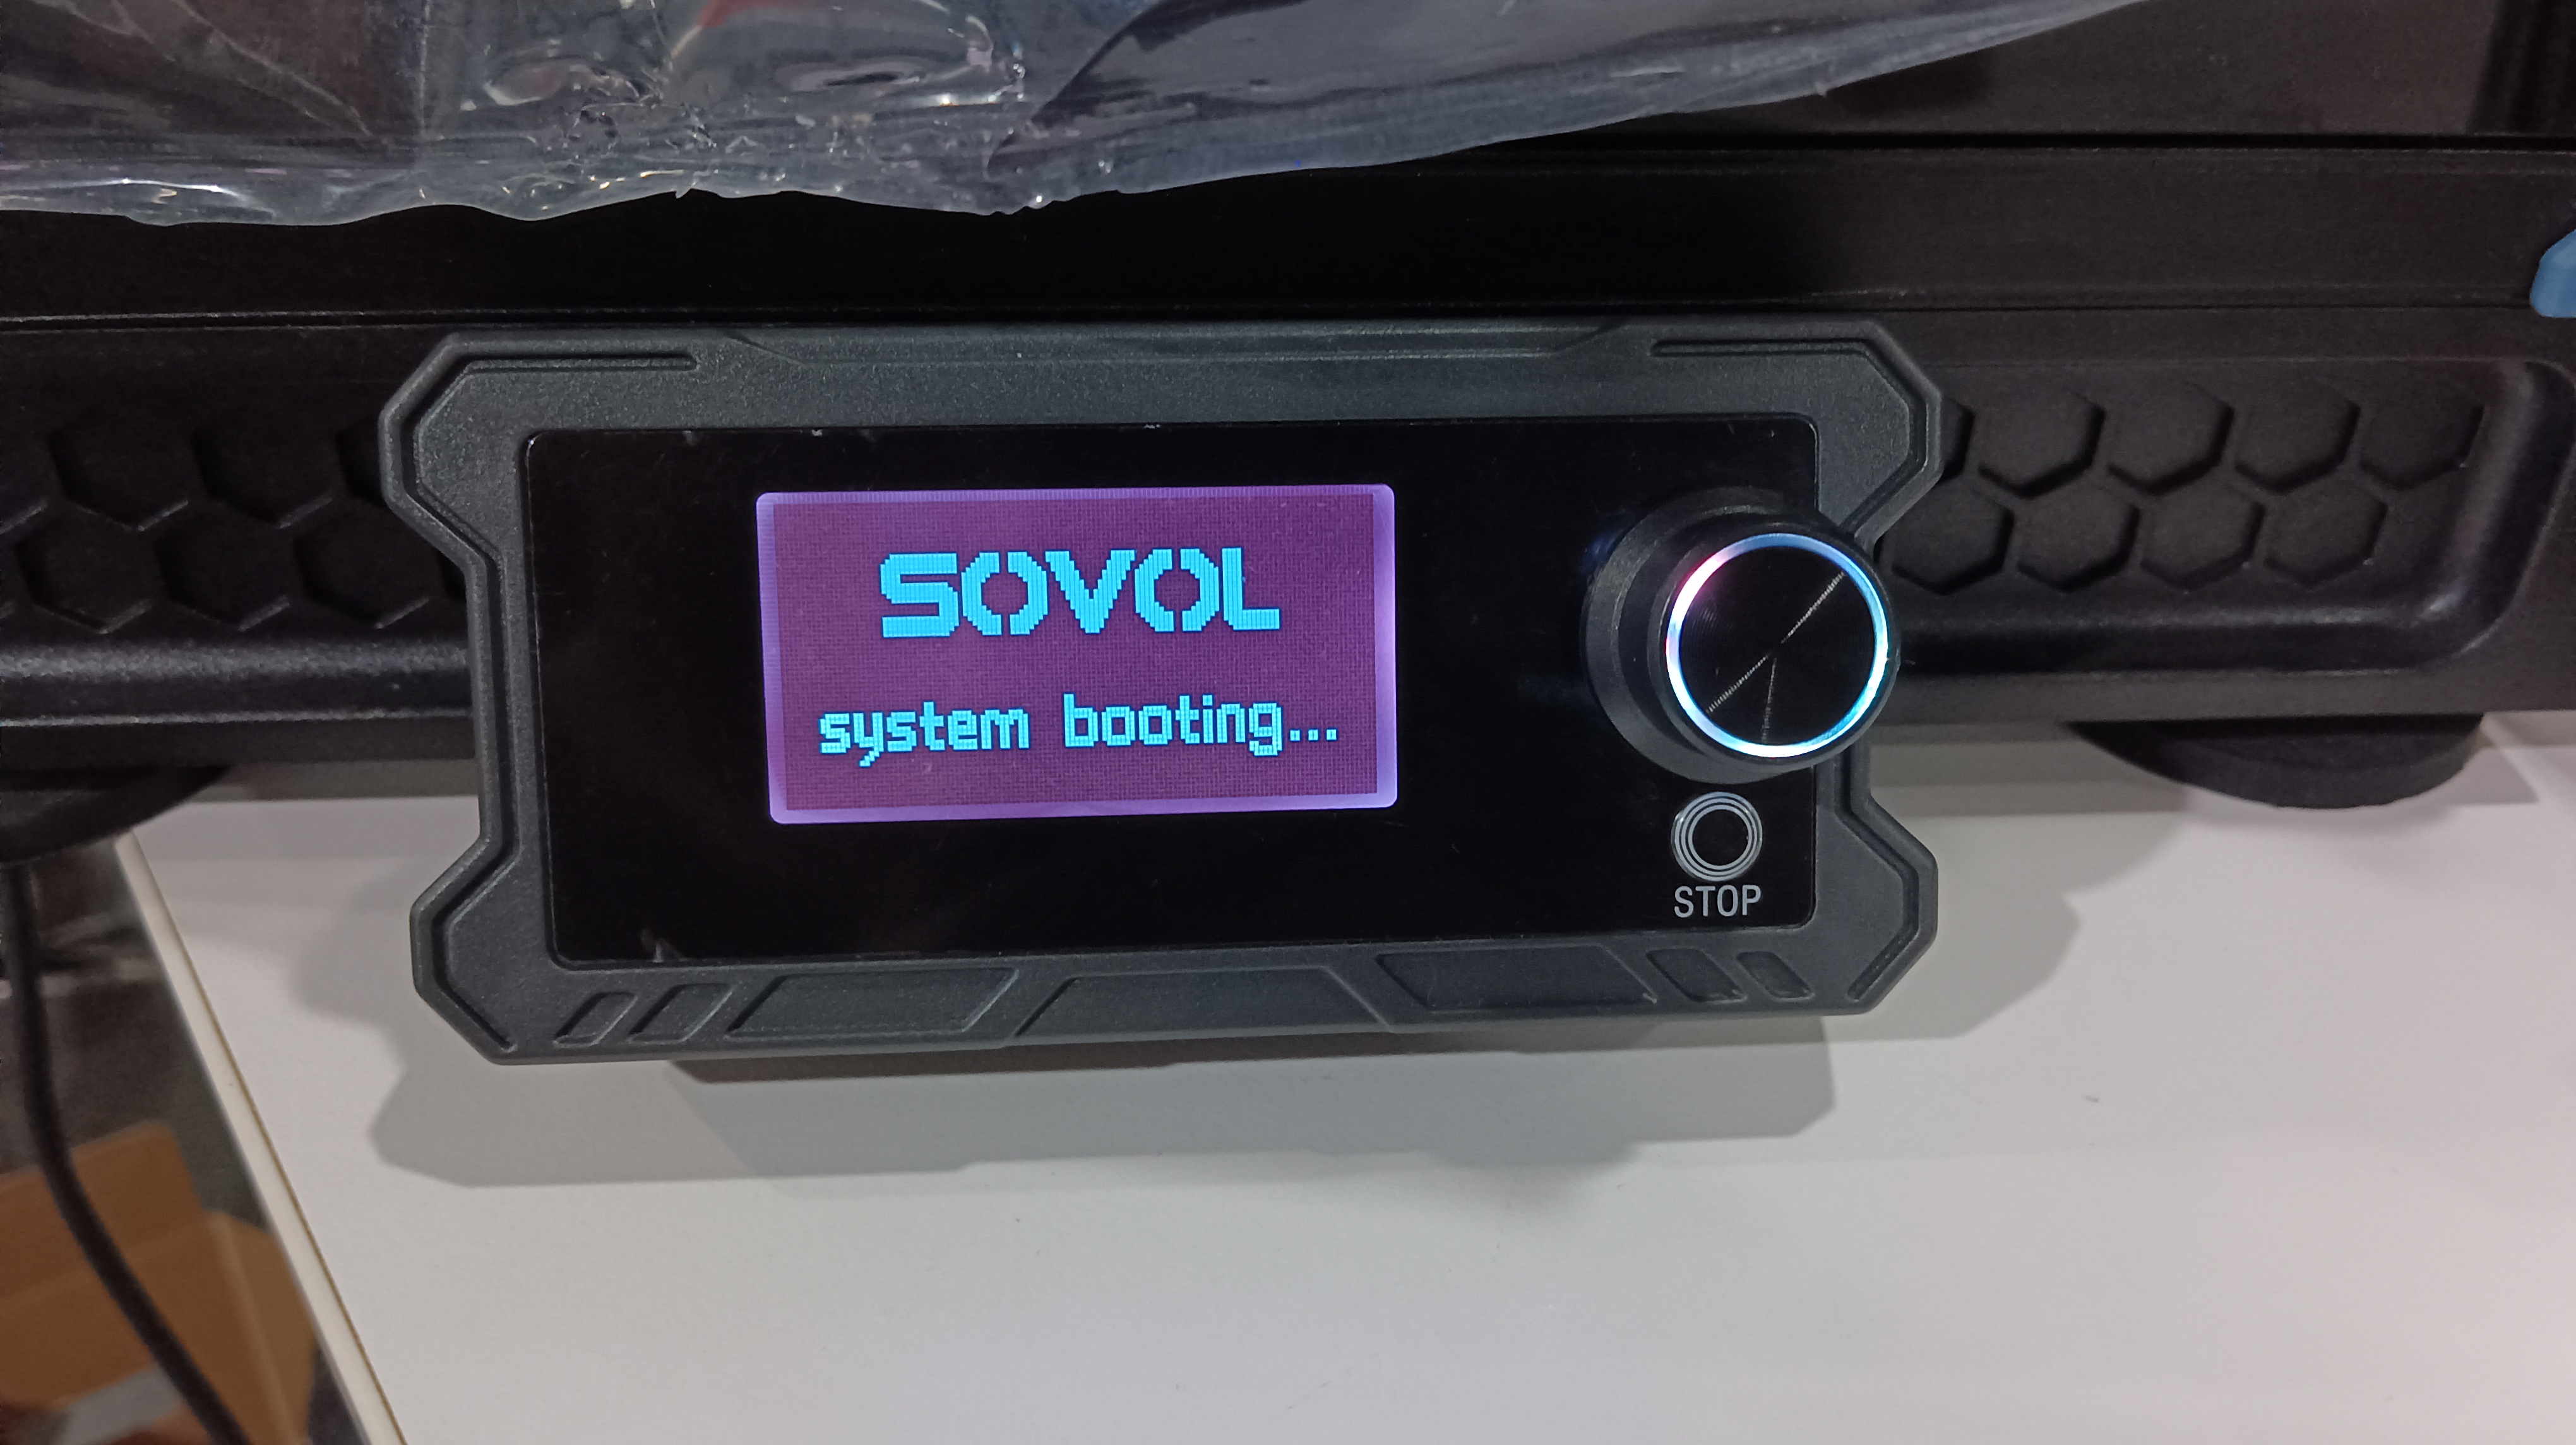
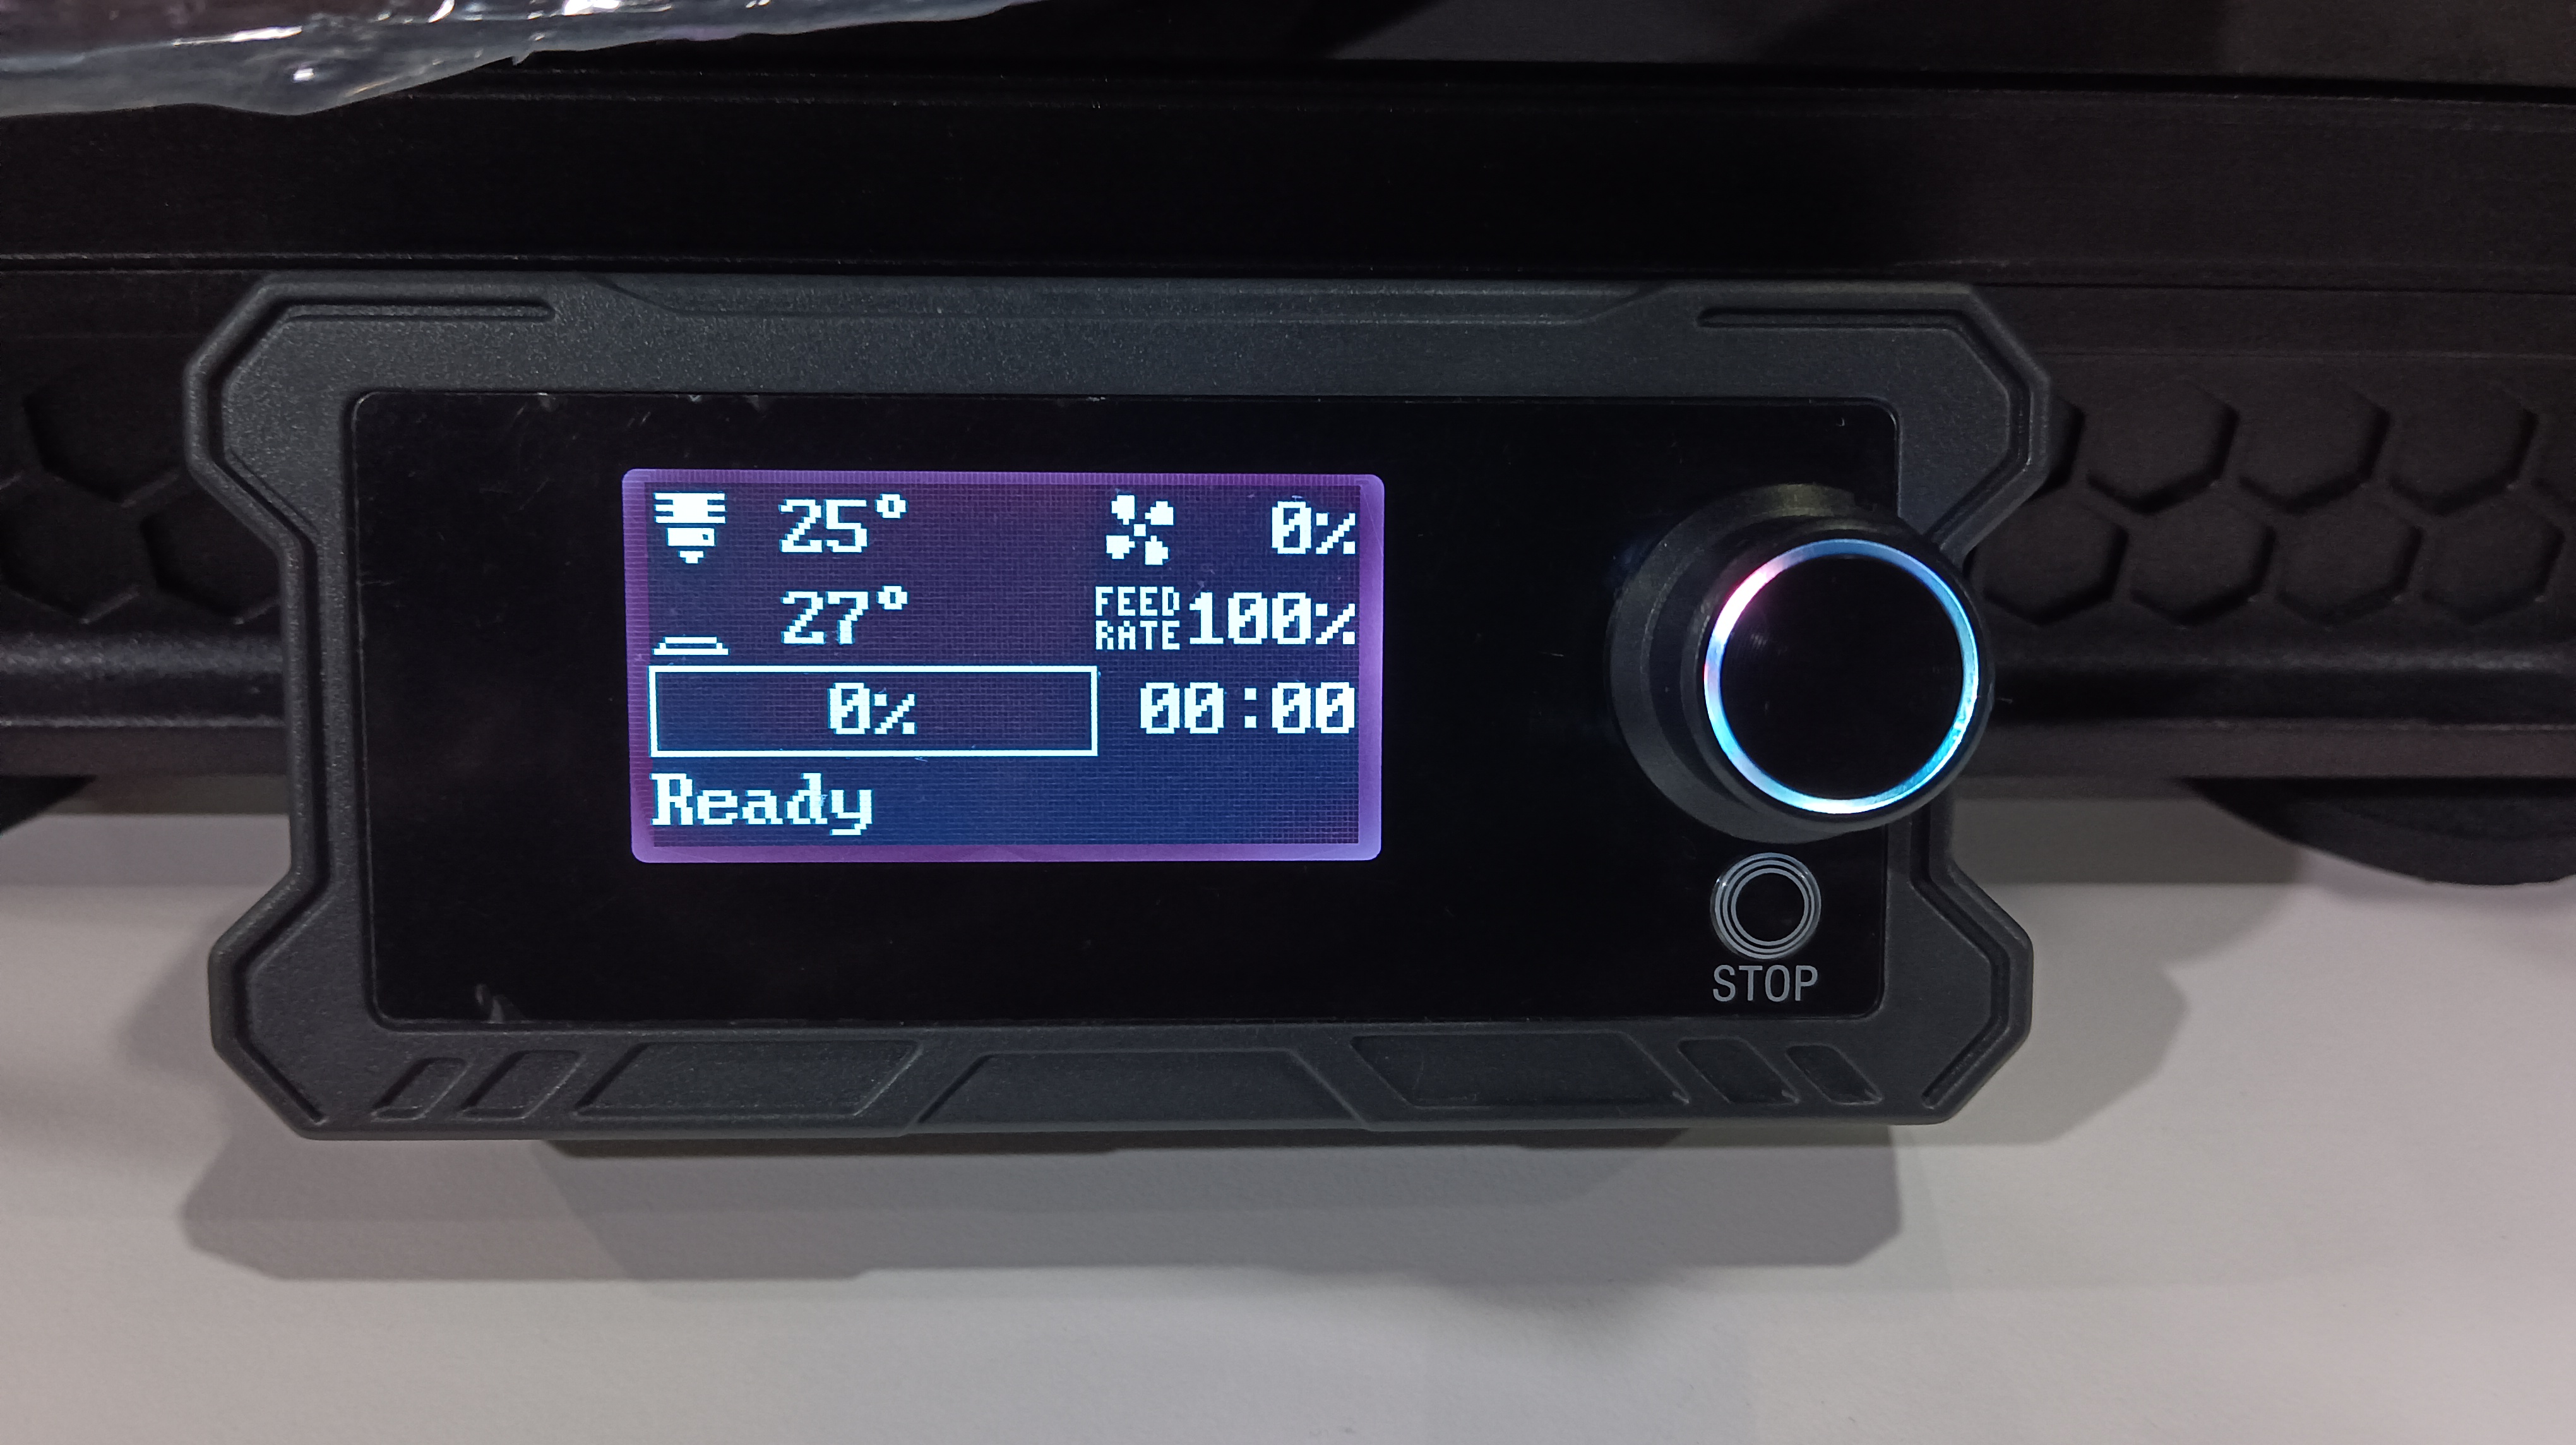
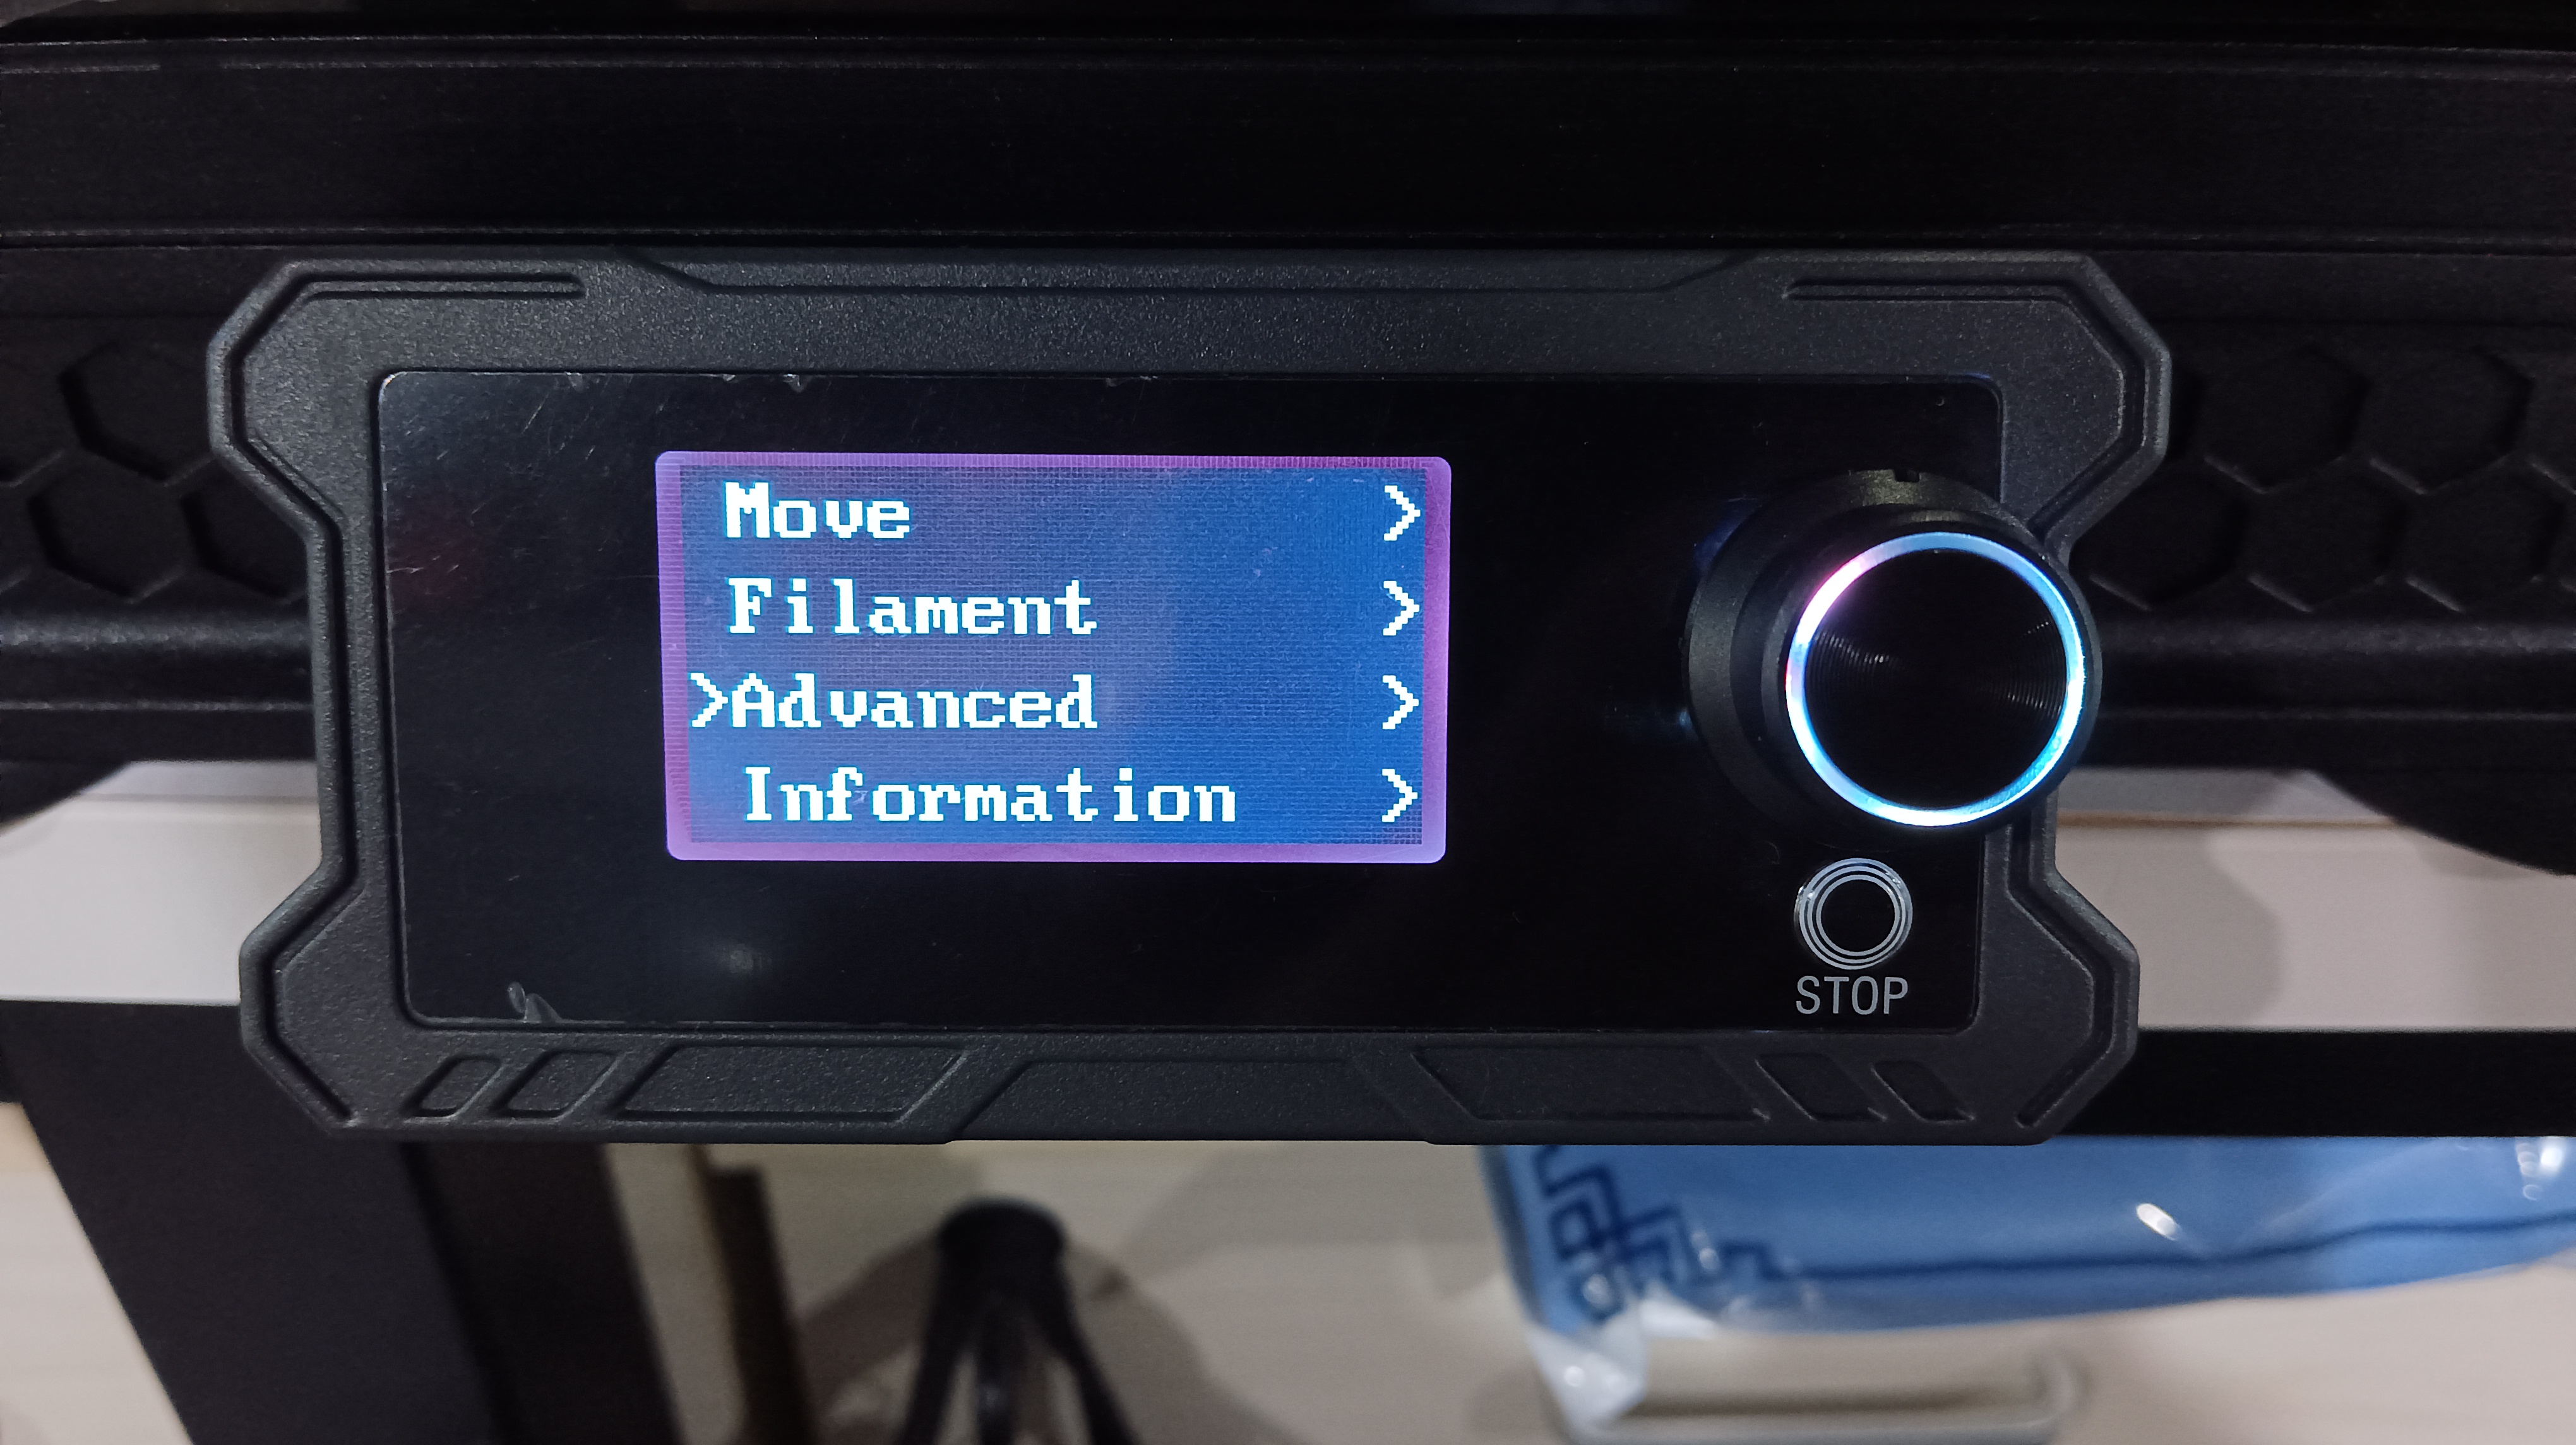
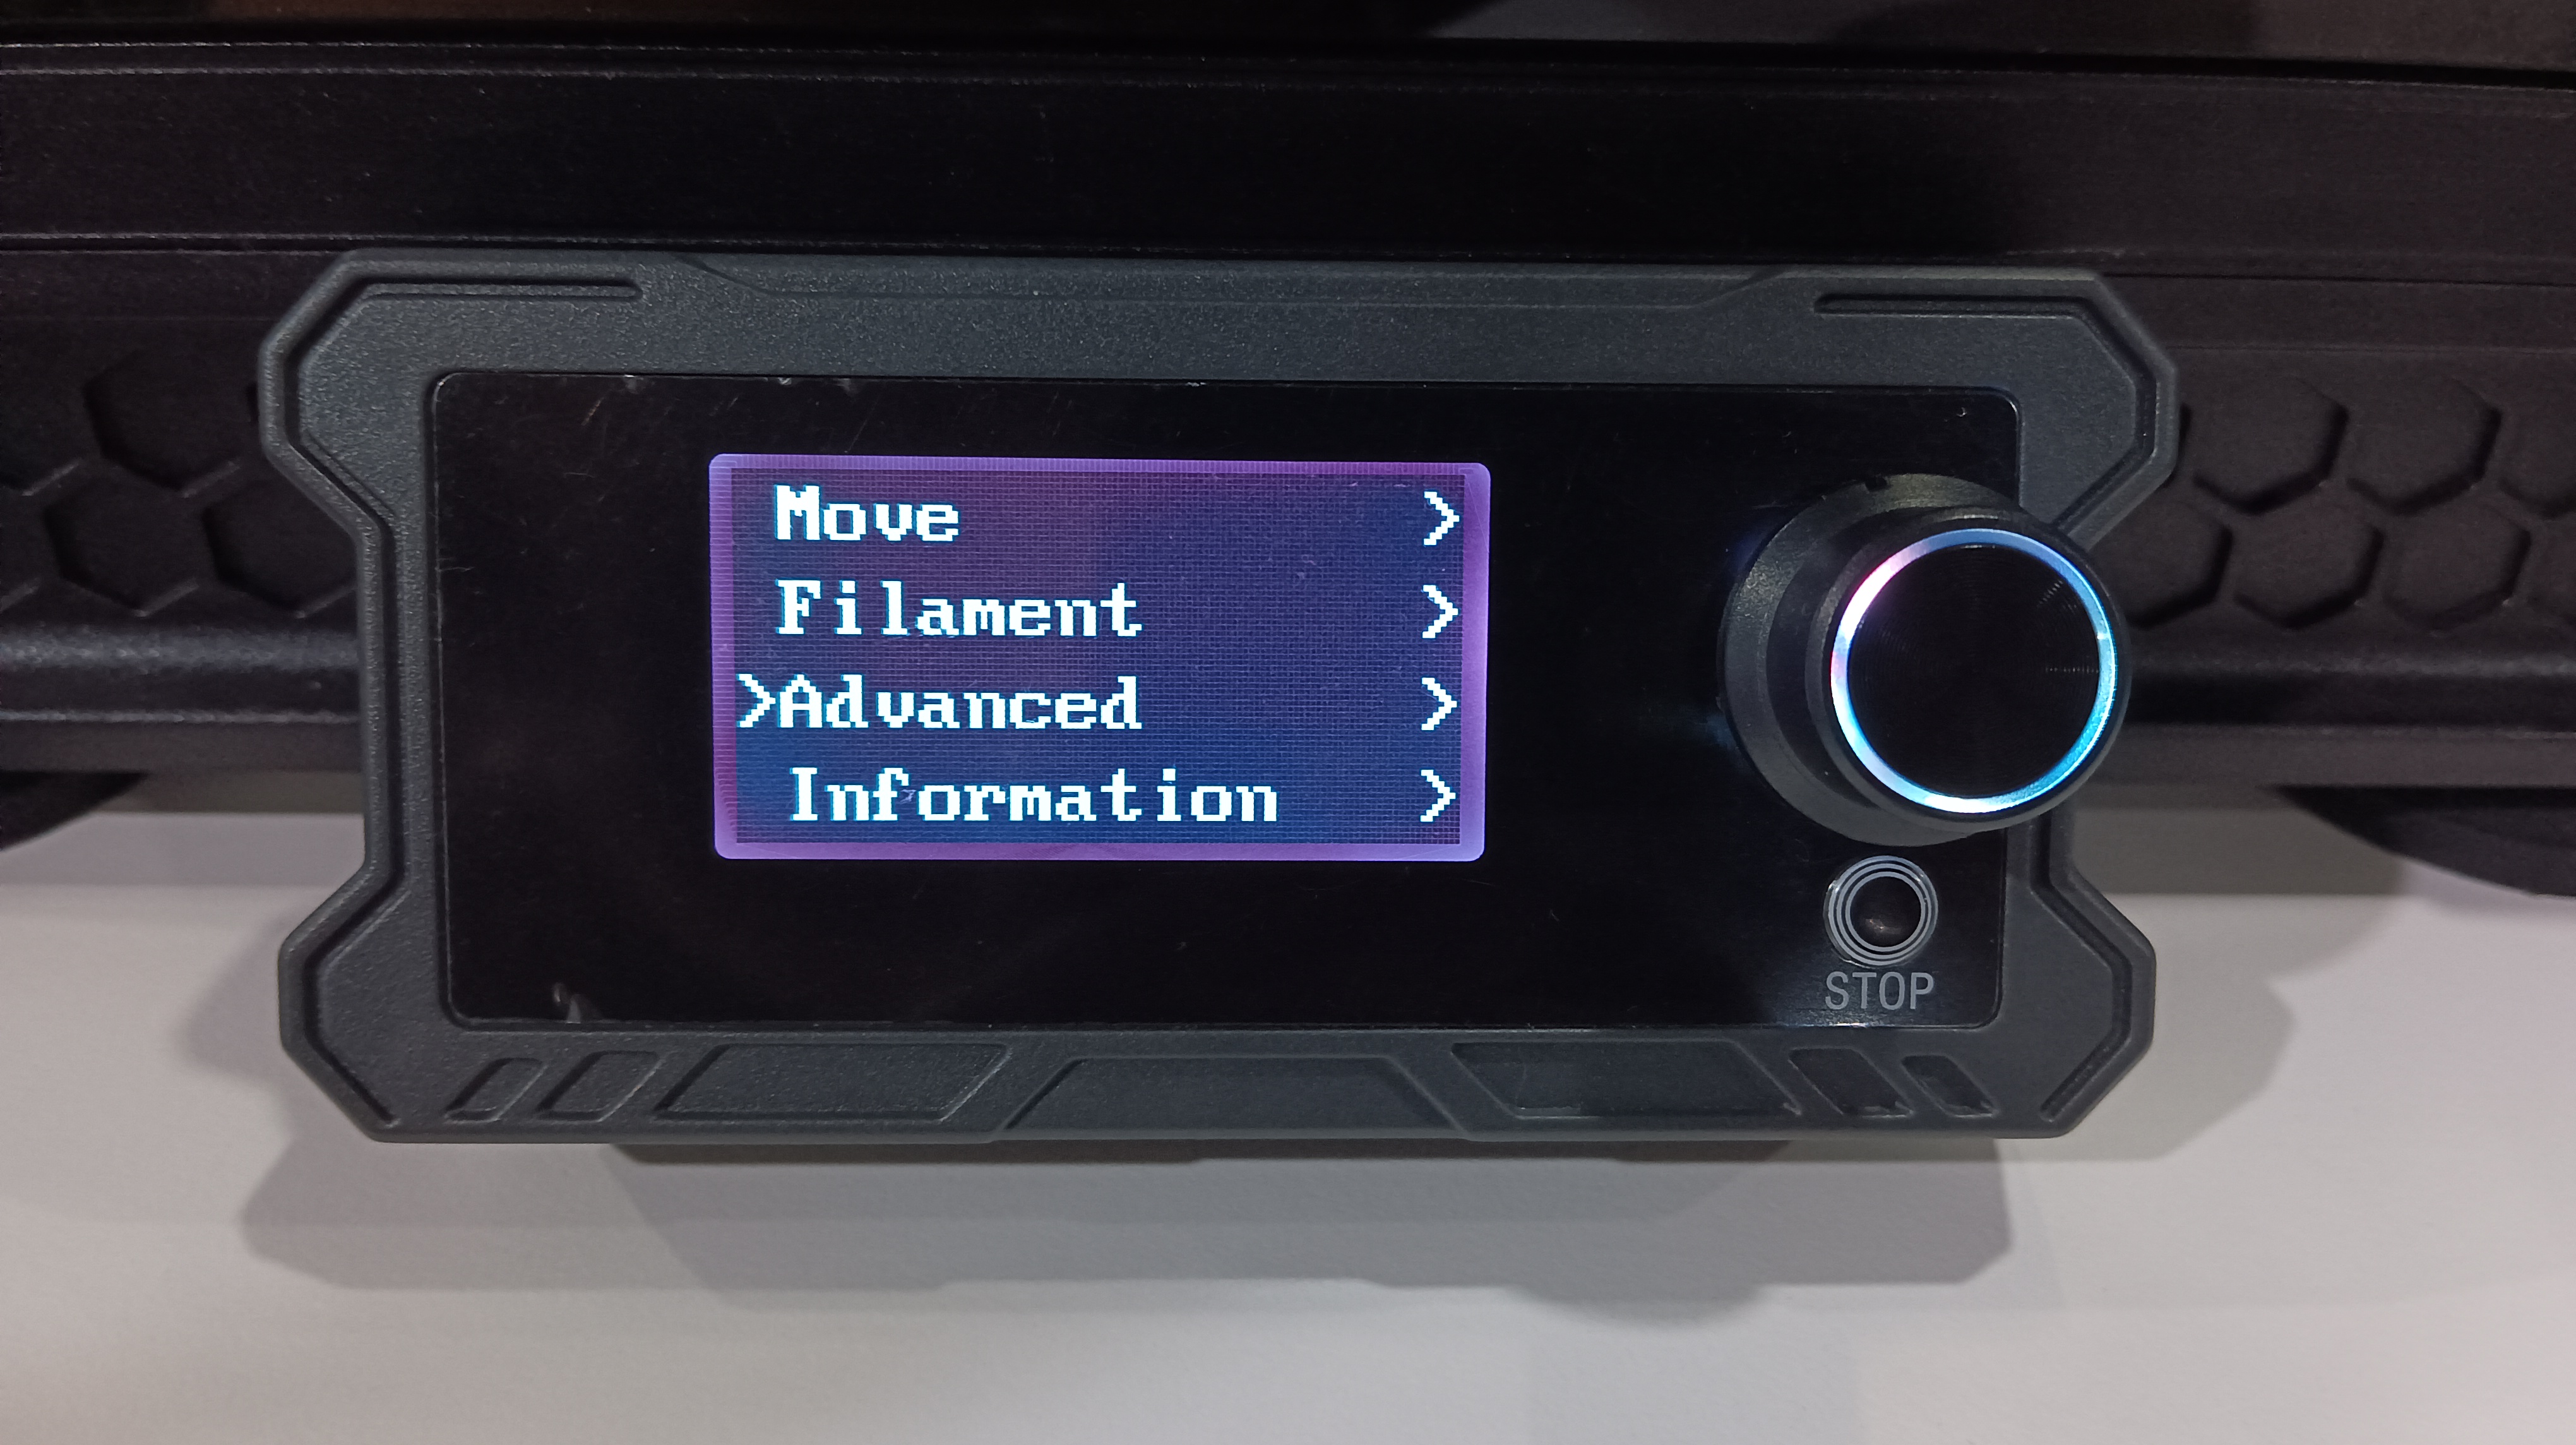
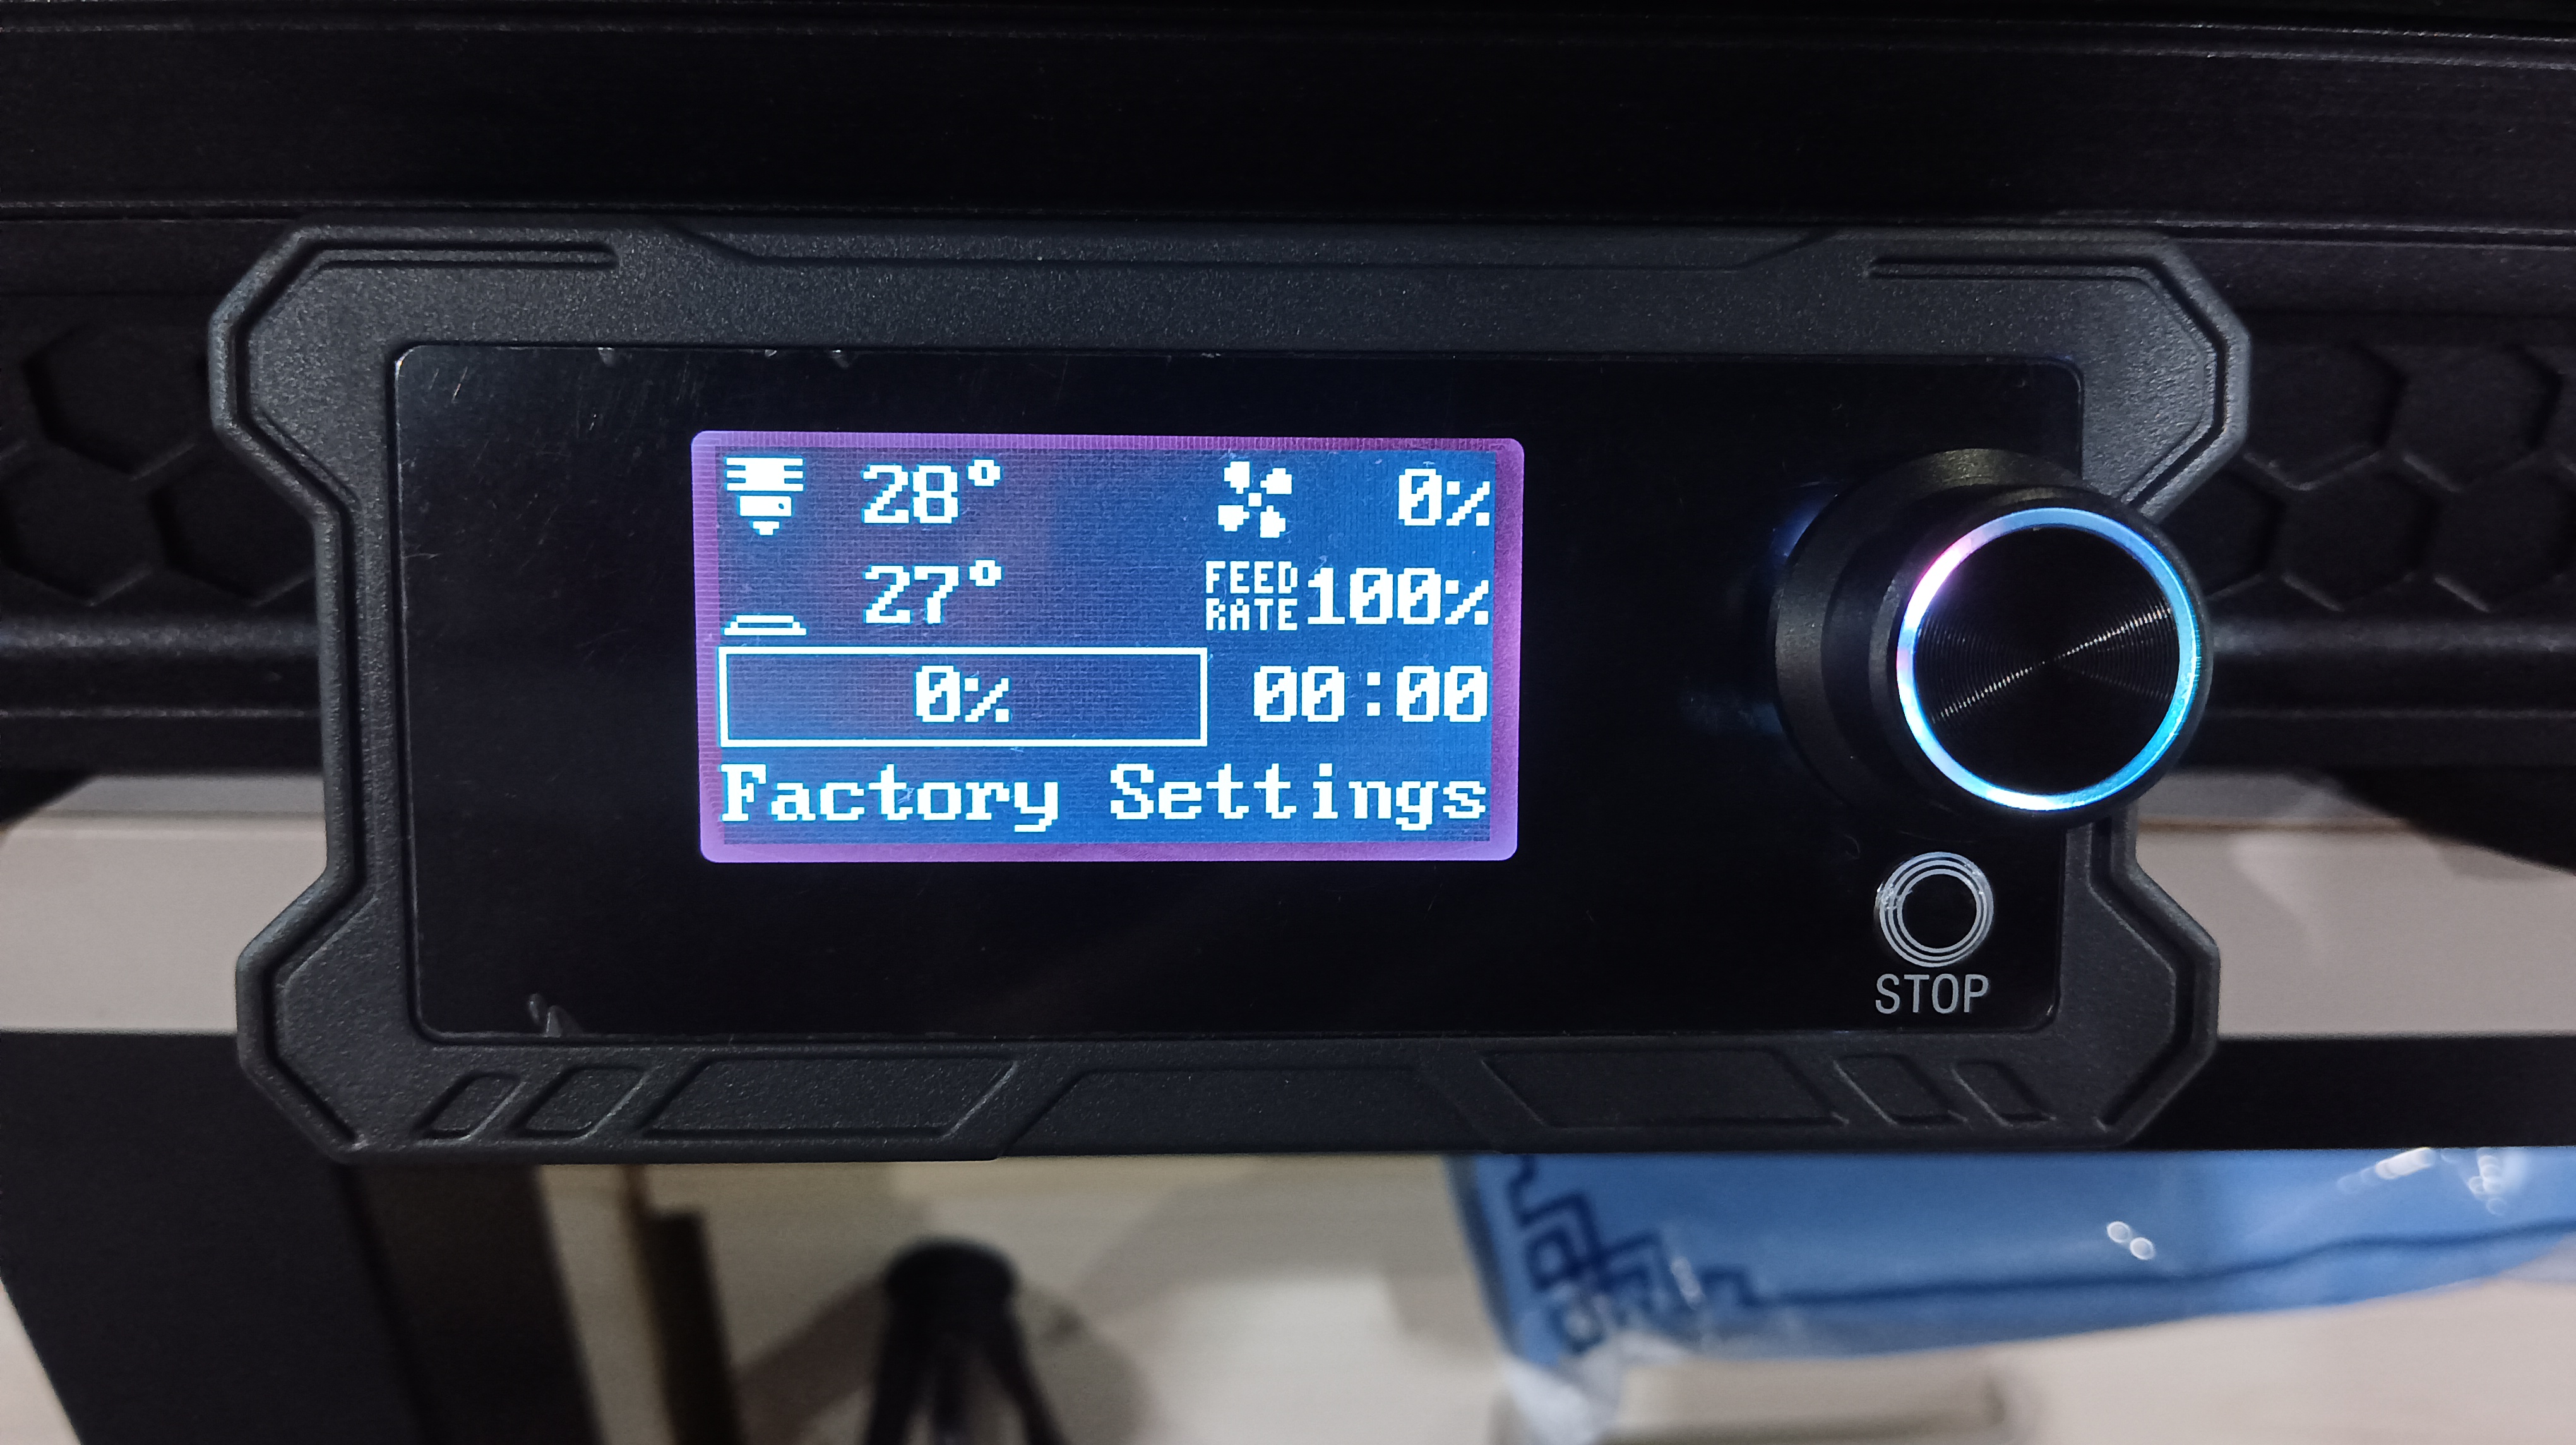
1. Turn on the printer and wait to enter the system.
 |
 |
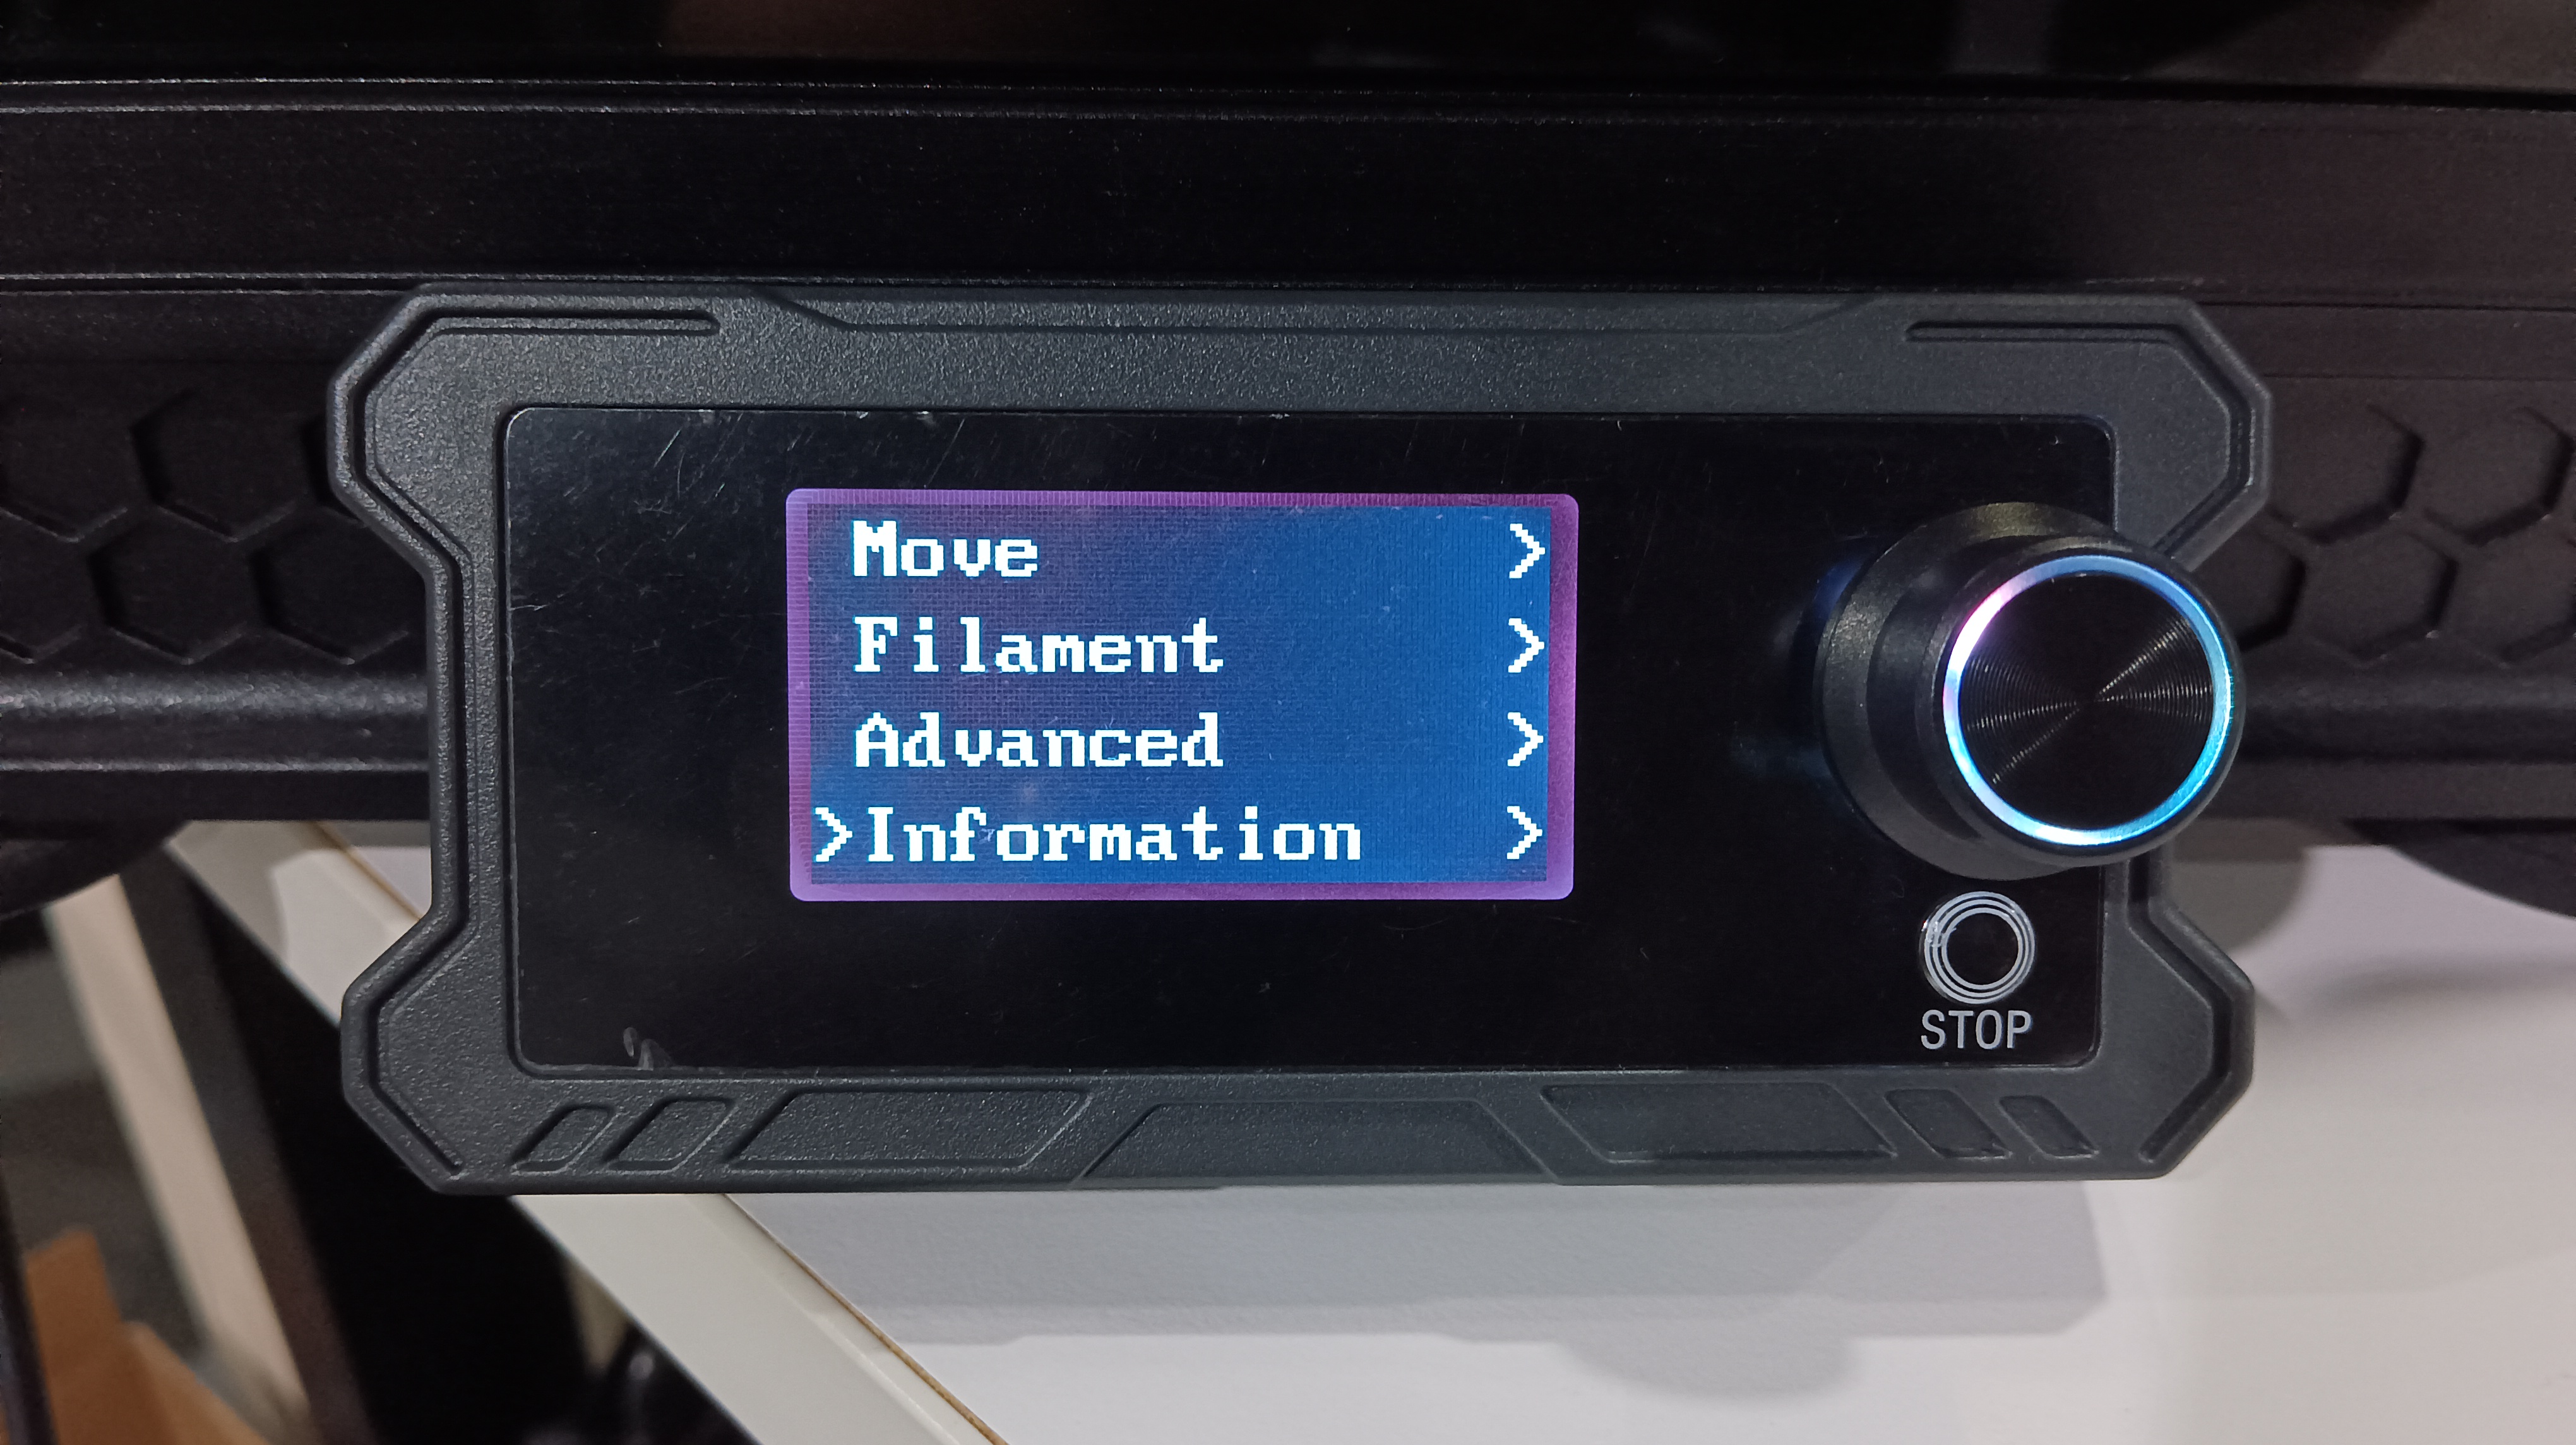
2. Click Information to check the current firmware version of the printer ((Version 1.3.7/1.3.8/1.4.0/1.4.1))
 |
 |
3. Before upgrading the firmware, please connect to the network. You can use the cfg file in the USB to connect, or you can use the LAN cable to connect. (The printer only supports 2.4G network. If it is a dual-band signal, please turn off the 5G network. Please make sure that the network signal remains good. It is recommended to use a LAN cable for firmware upgrade)
(1) Use Notepad to open the cfg file and enter the WIFI account and password. Please make sure that the WIFI information is correct. The network SSID name cannot contain spaces or underscores due to certain restrictions of Linux (for example, the SSID name "network_ name" is not acceptable, it must be "networkname").
- The security type in Linux network management can only be WPA2, not WPA3
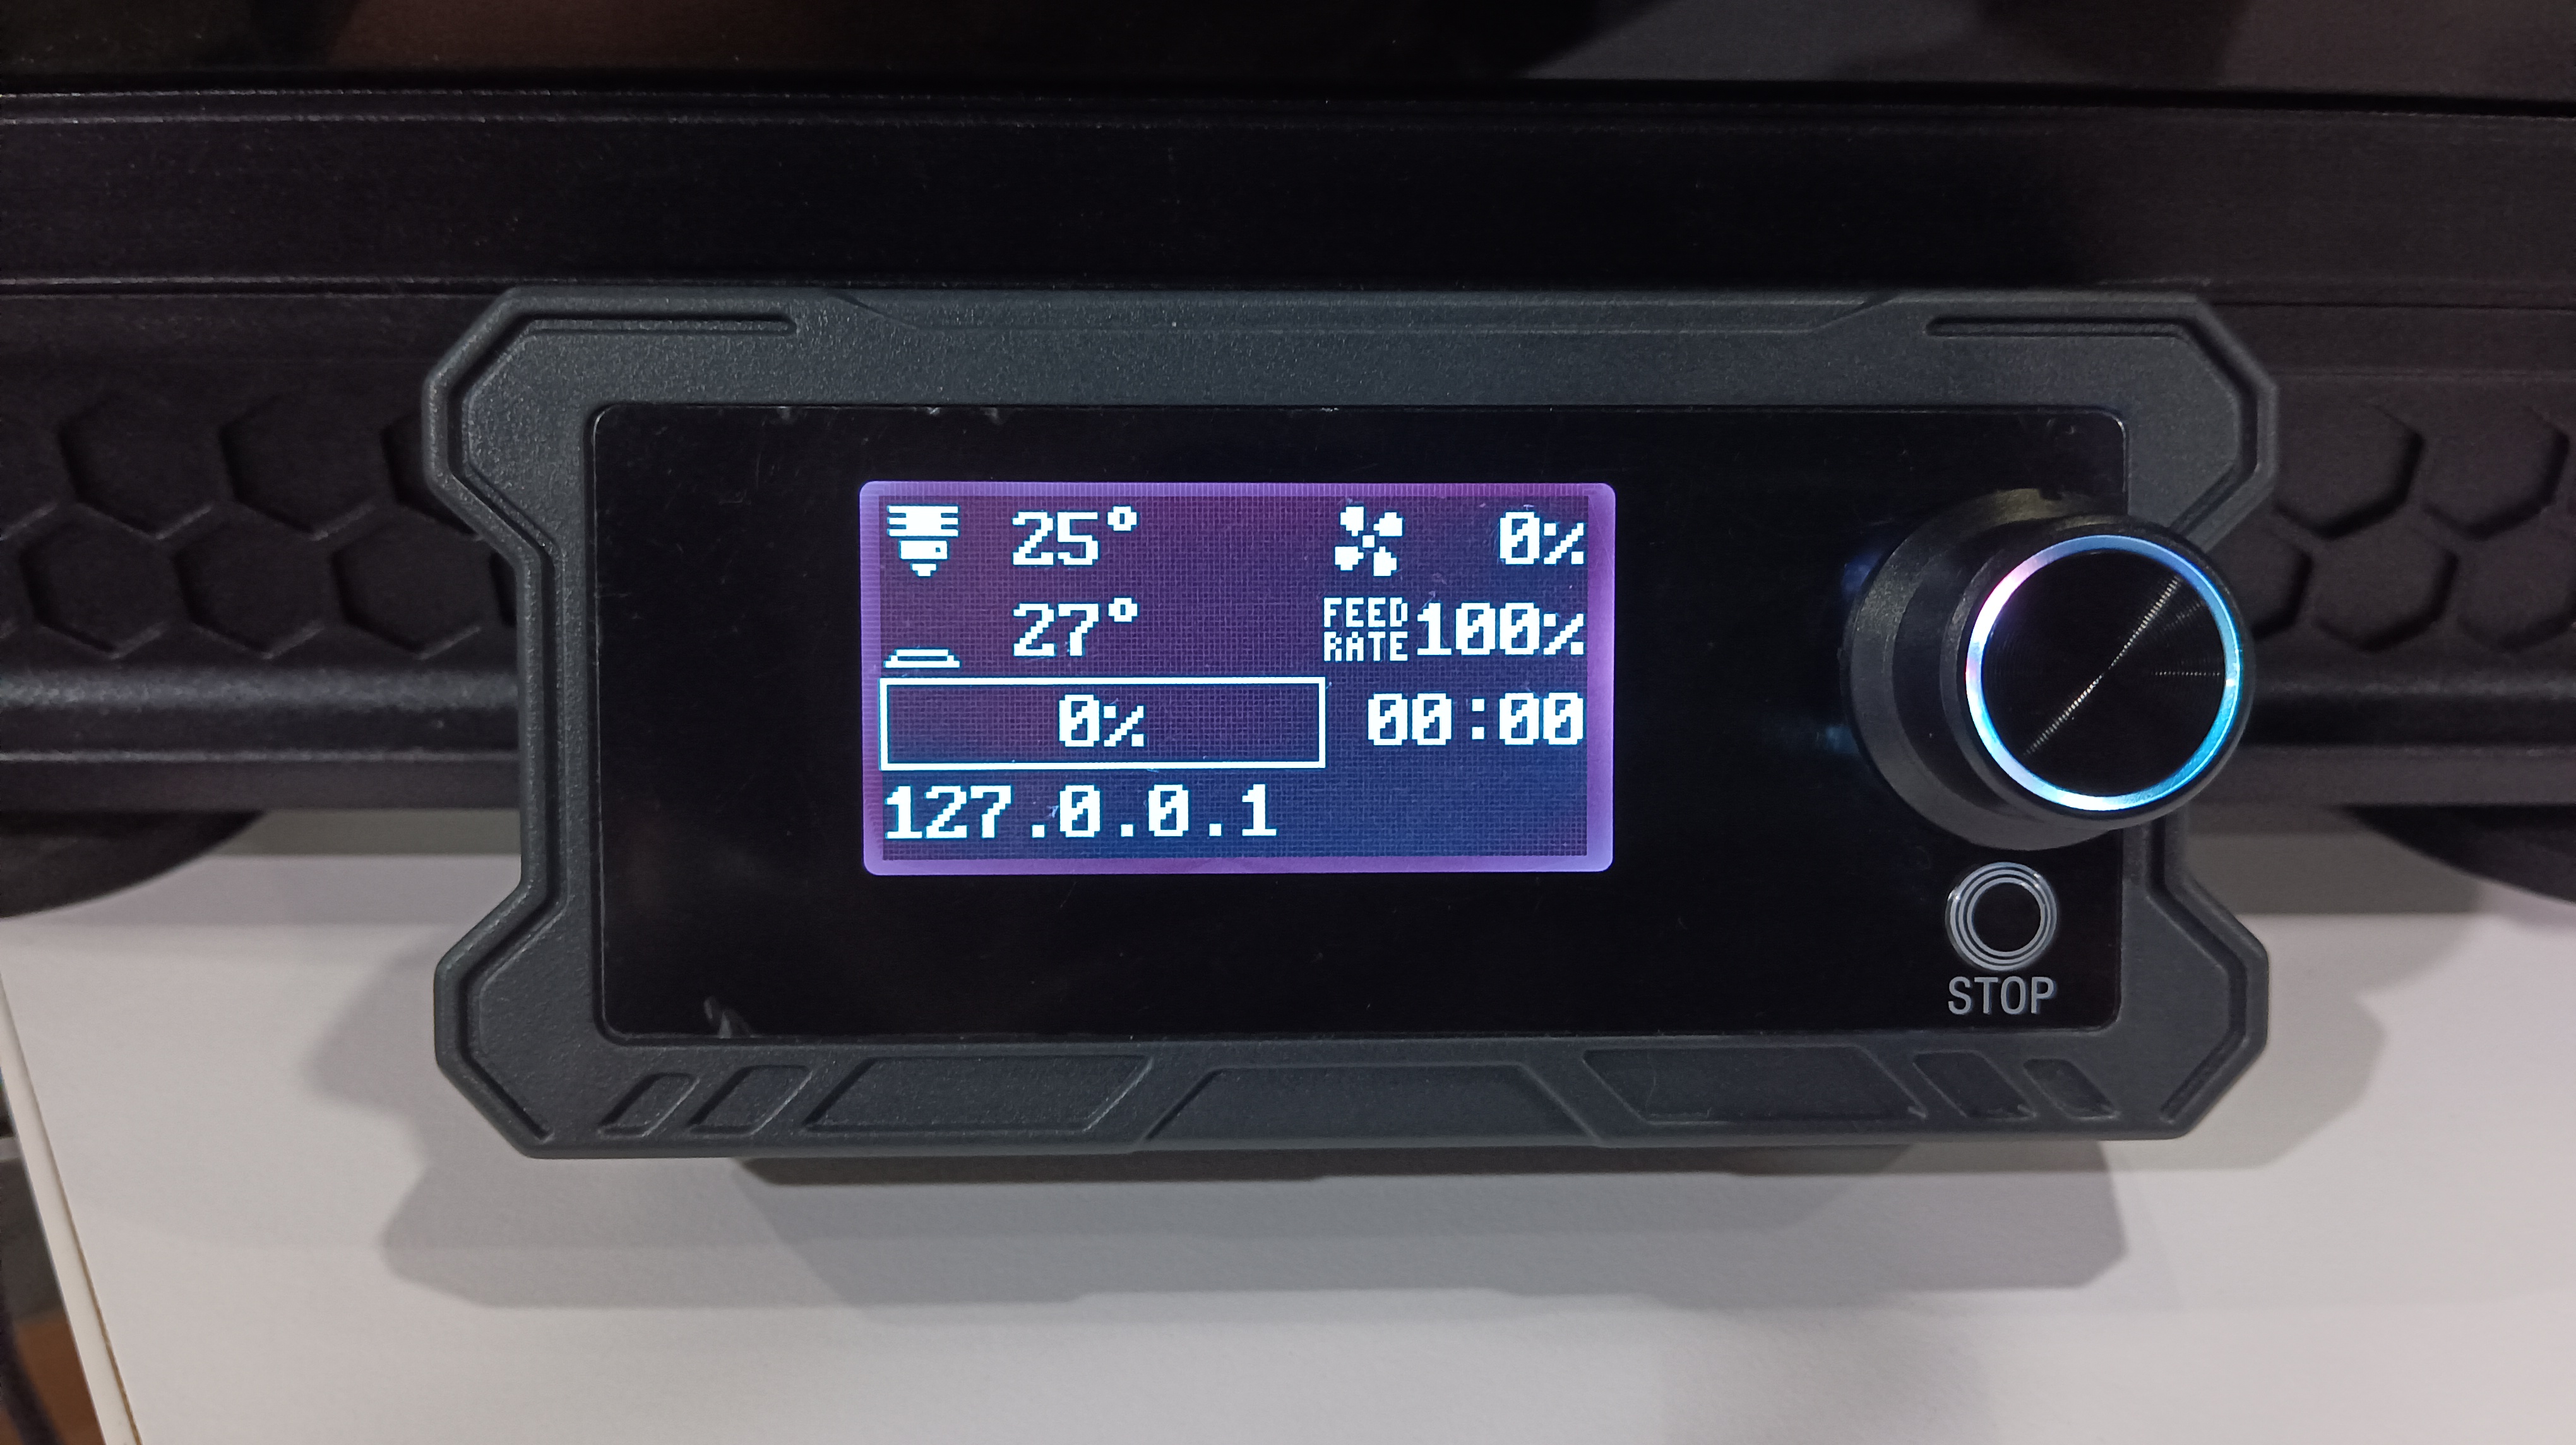
If 127.0..0.1 appears, it means that the WIFI connection is not successful. Please unplug the USB and plug it into another port. If you still cannot connect to the network, please try to shut down and restart or change other WIFI signals.
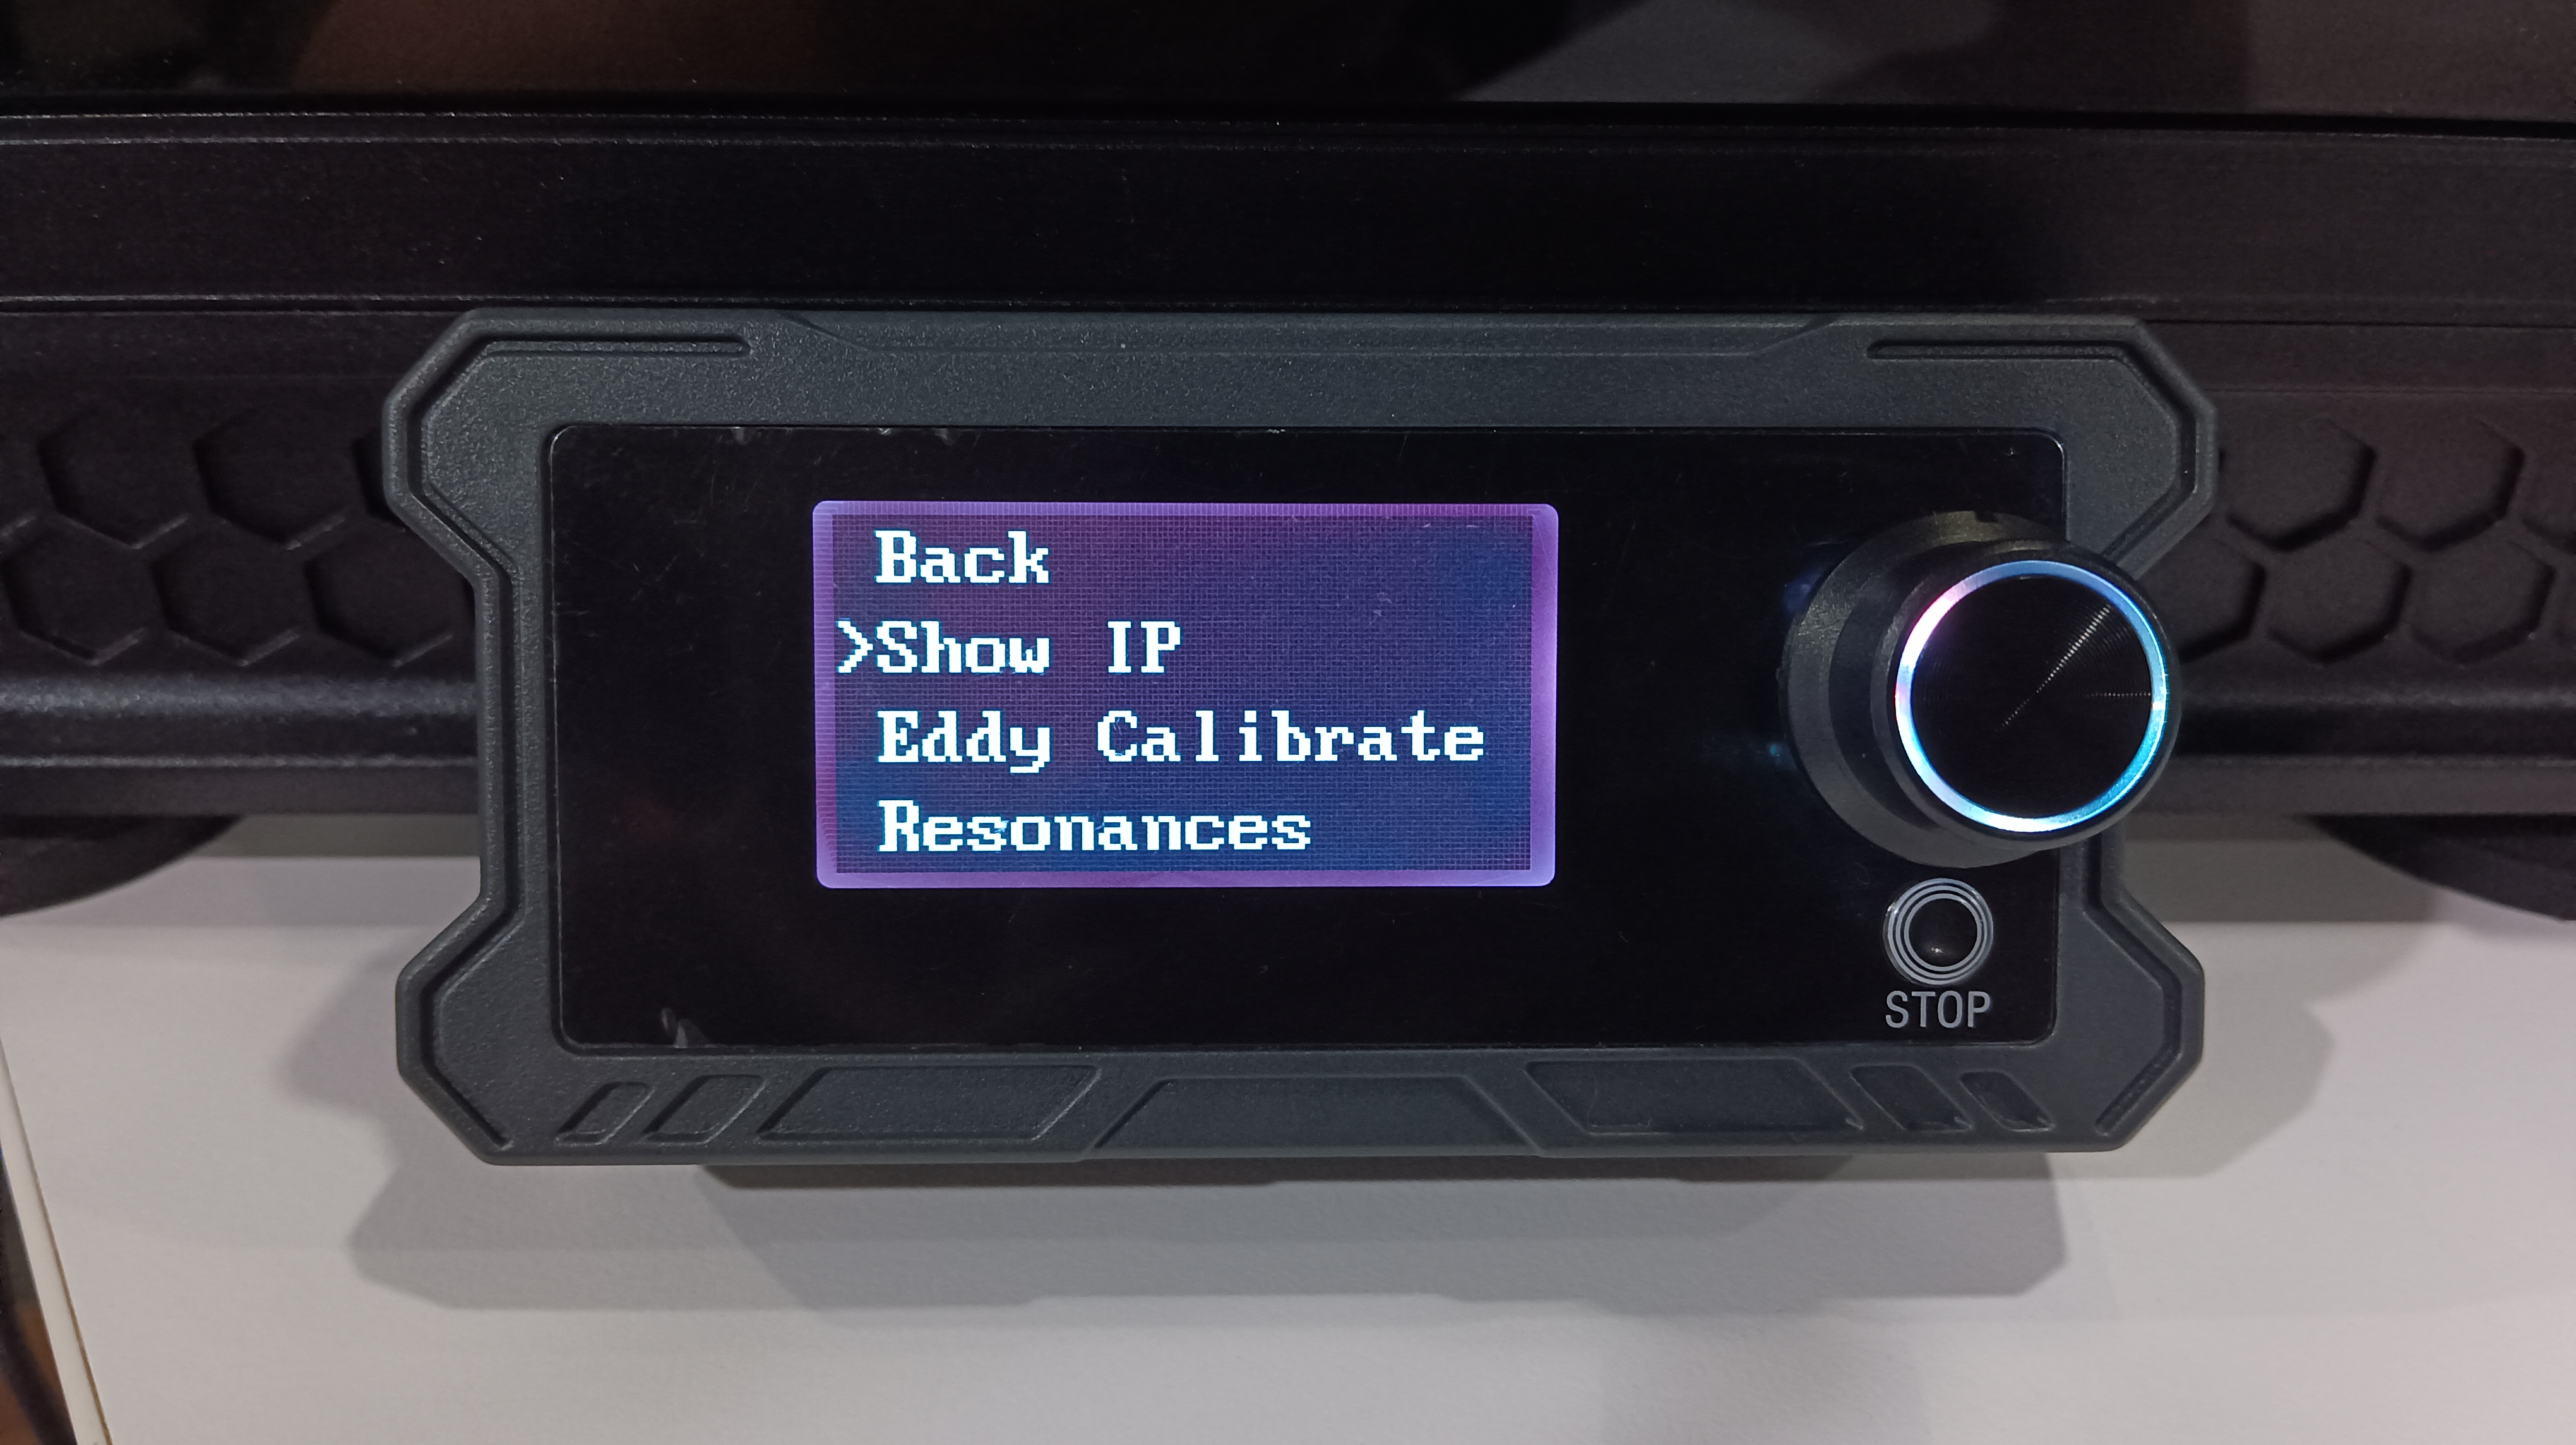
Insert the USB, click Advanced, click Show IP, and the current IP address of the printer is displayed, indicating that the network connection is successful. Continue to step 4
 |
 |
 |
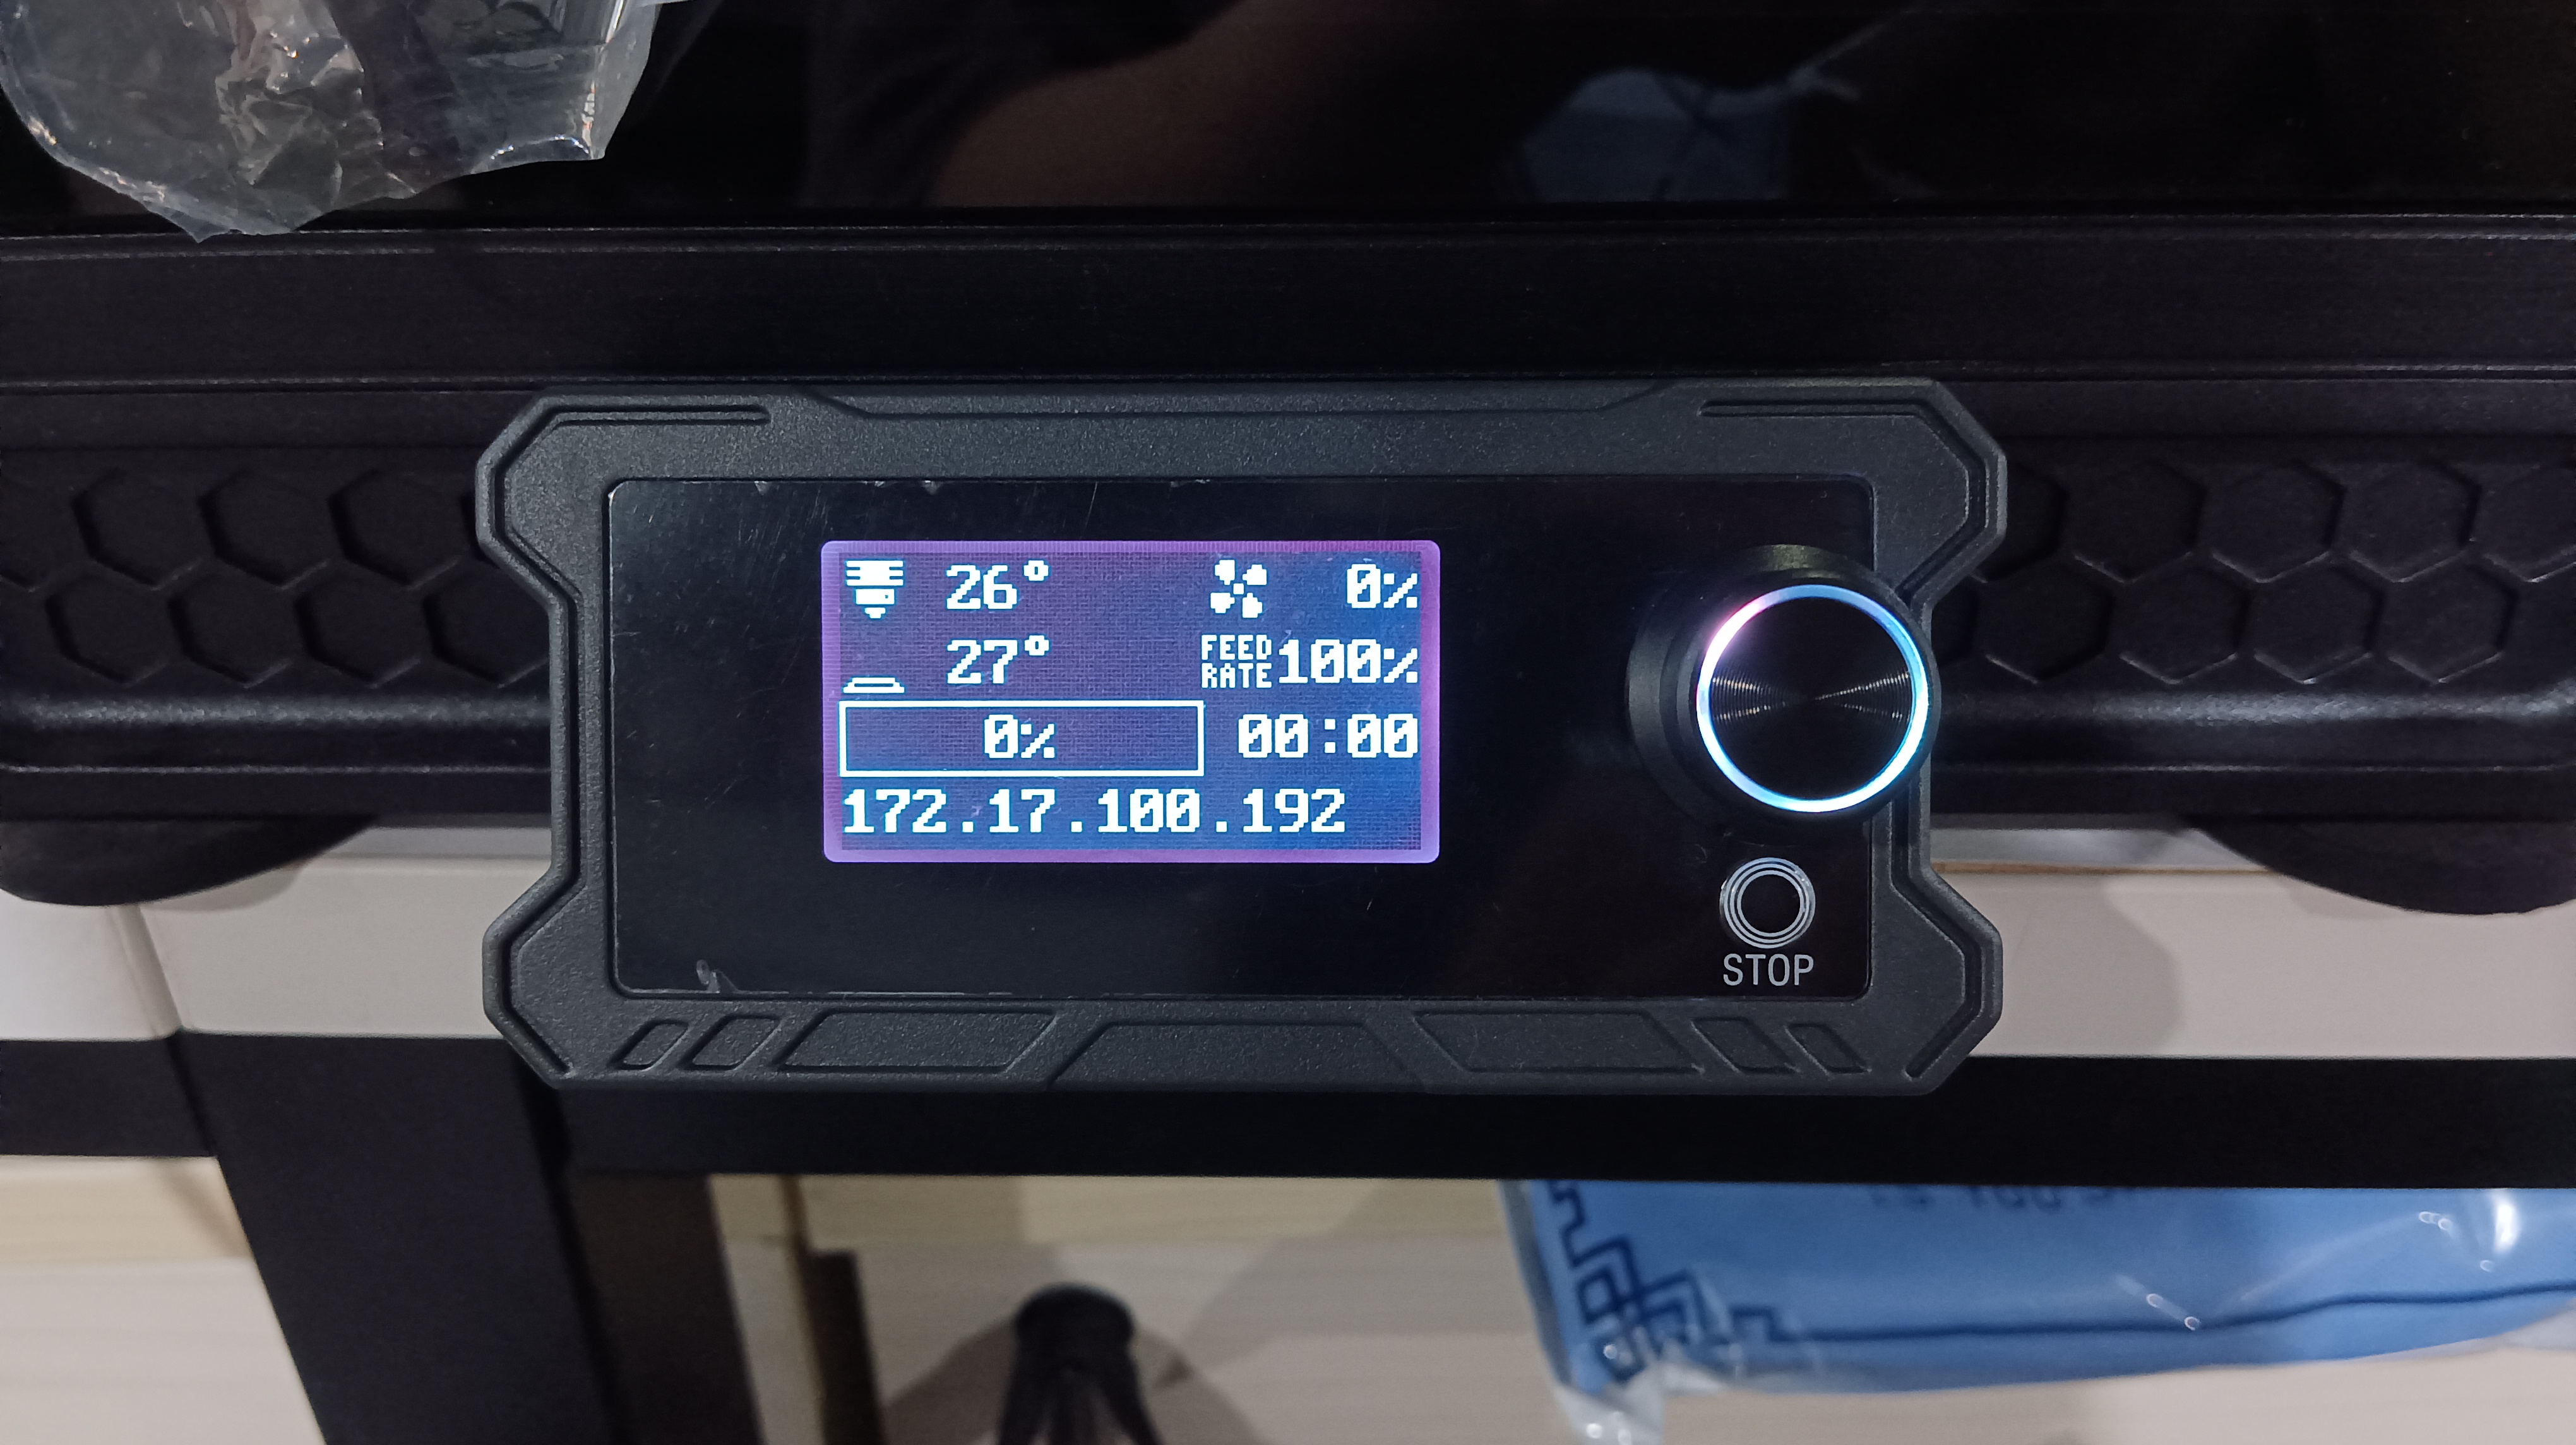 |
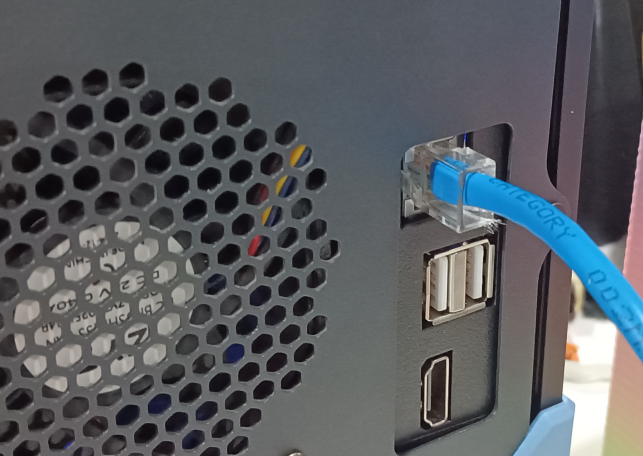
(2) Use a LAN cable to connect to the network. Plug in the LAN cable, click Advanced, click Show IP, and the current IP address of the printer is displayed. It means that the network connection is successful. Go to step 4.
 |
|
|
|
|
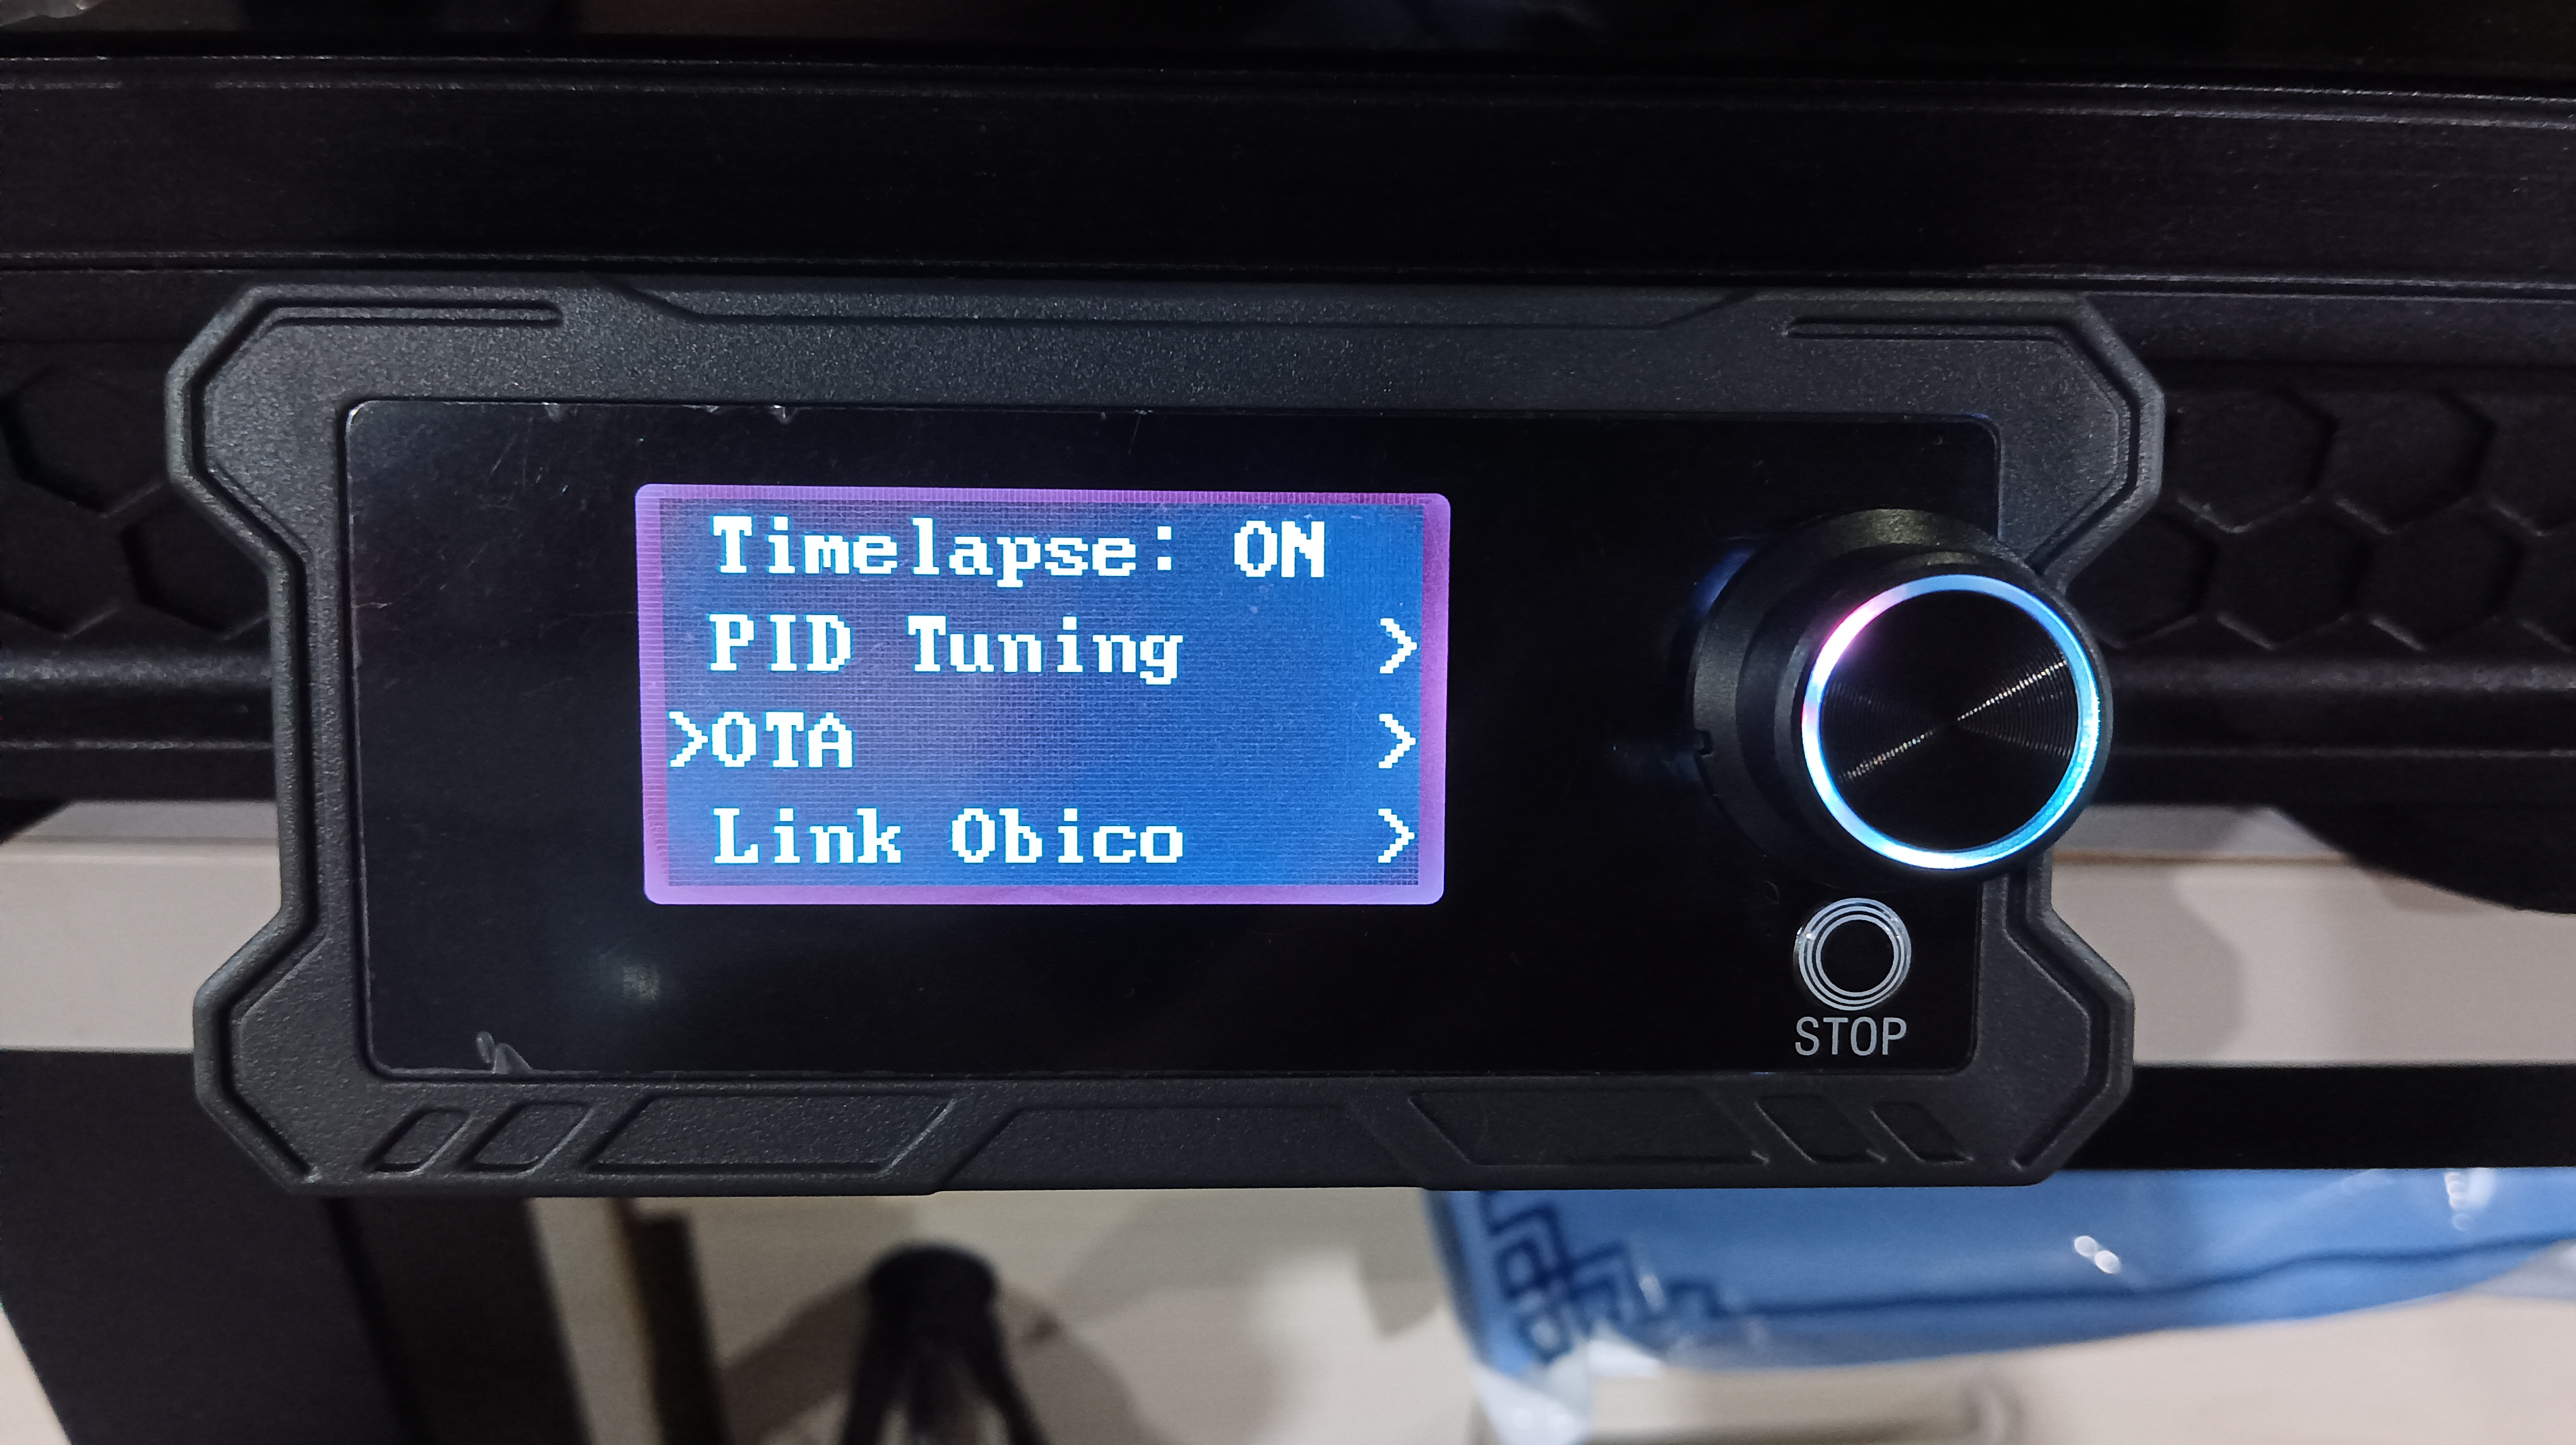
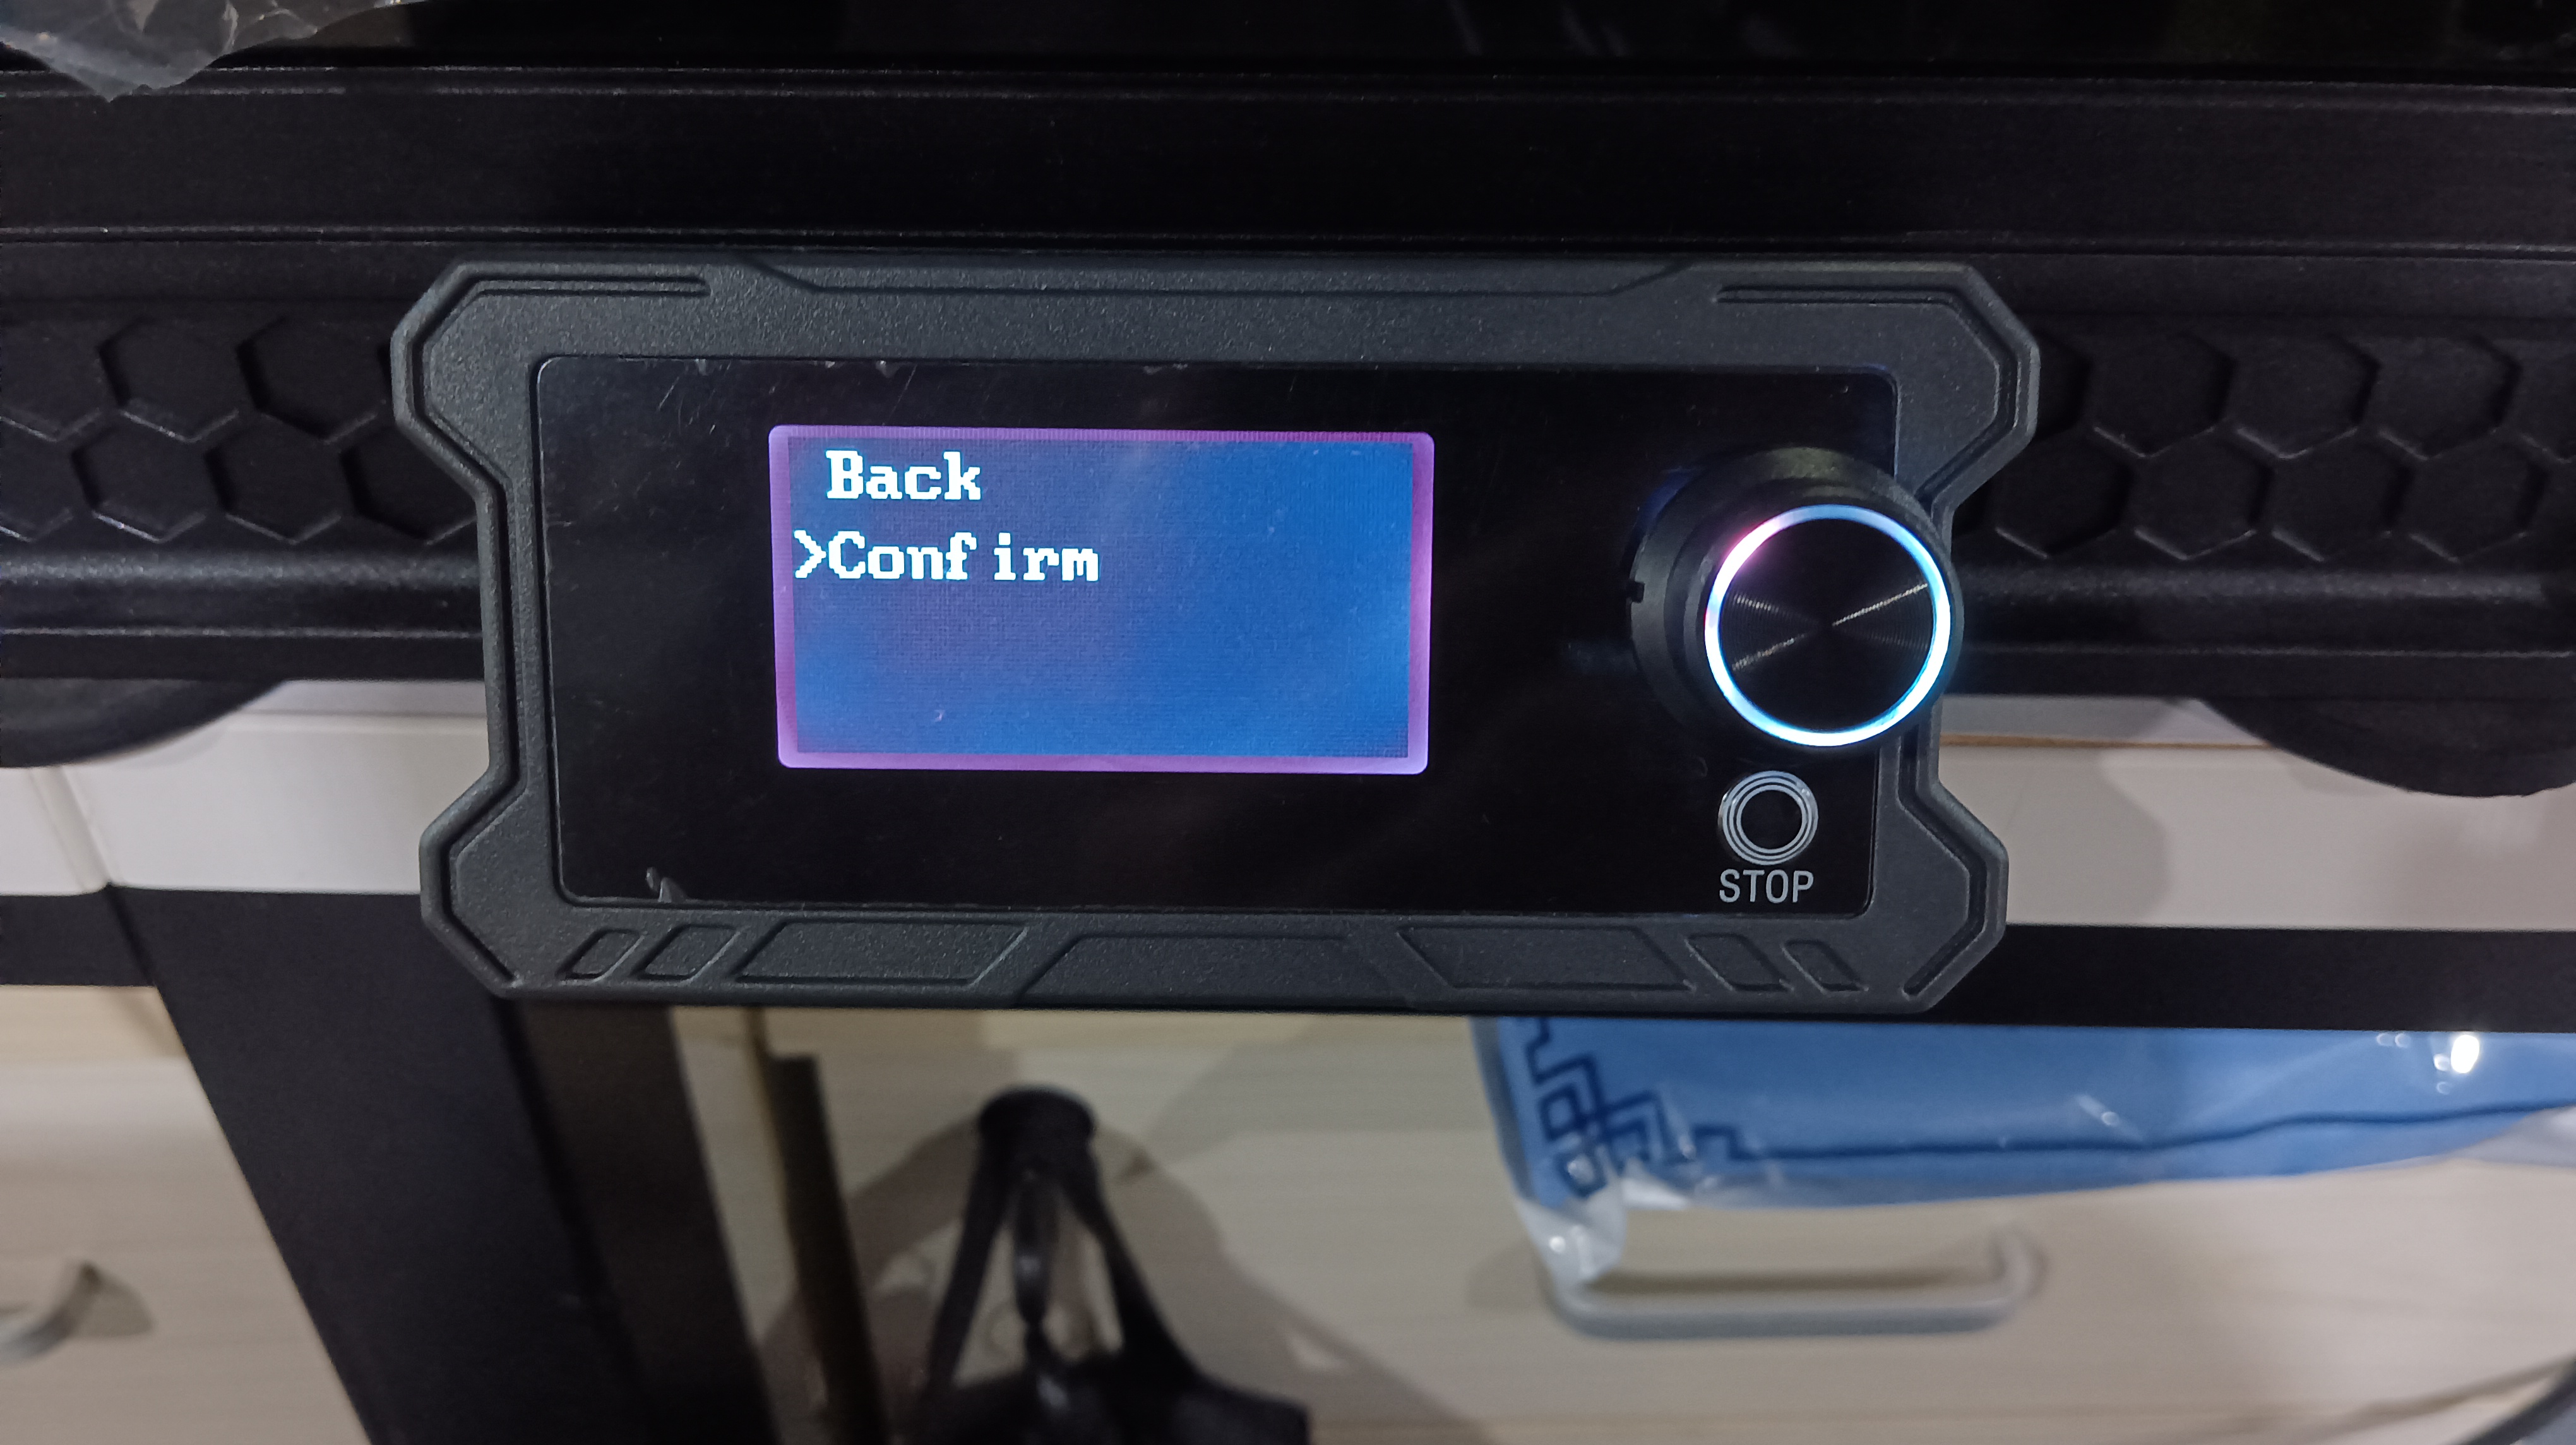
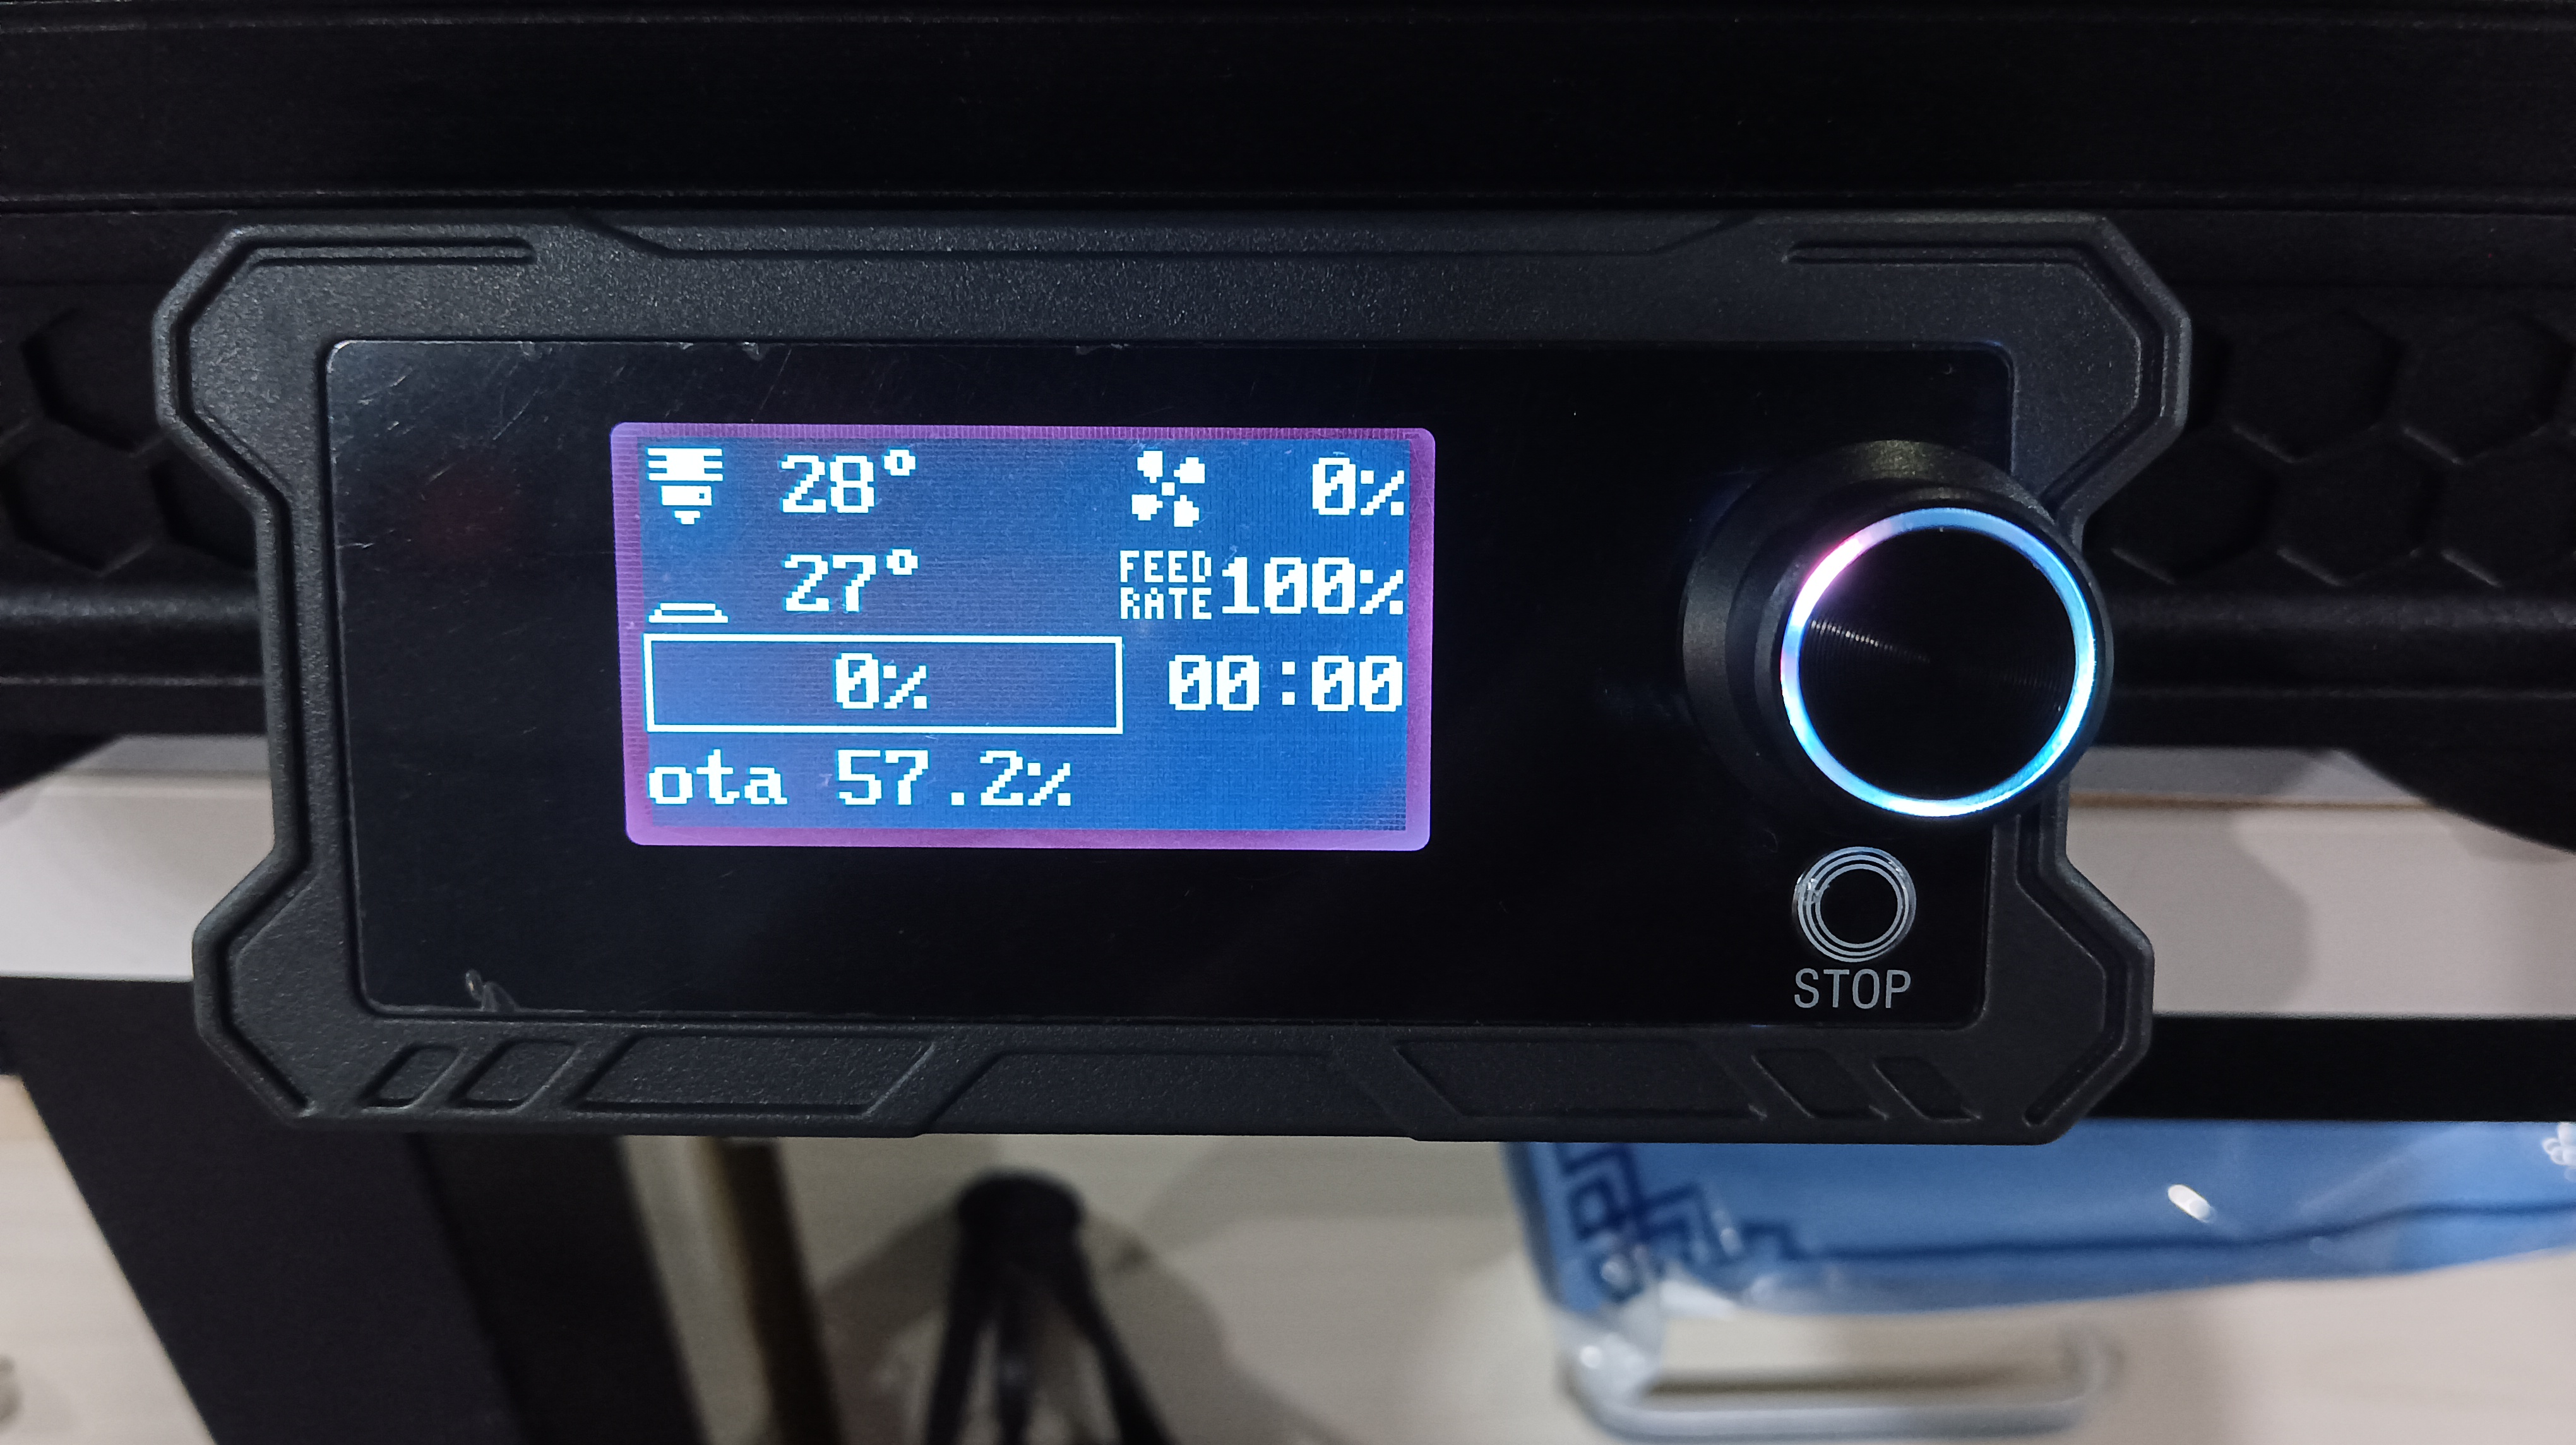
4. Click Advanced, find the OTA option, click Confirm, and start the OTA upgrade (the screen displays OTA checking and the task progress bar)
 |
 |
 |
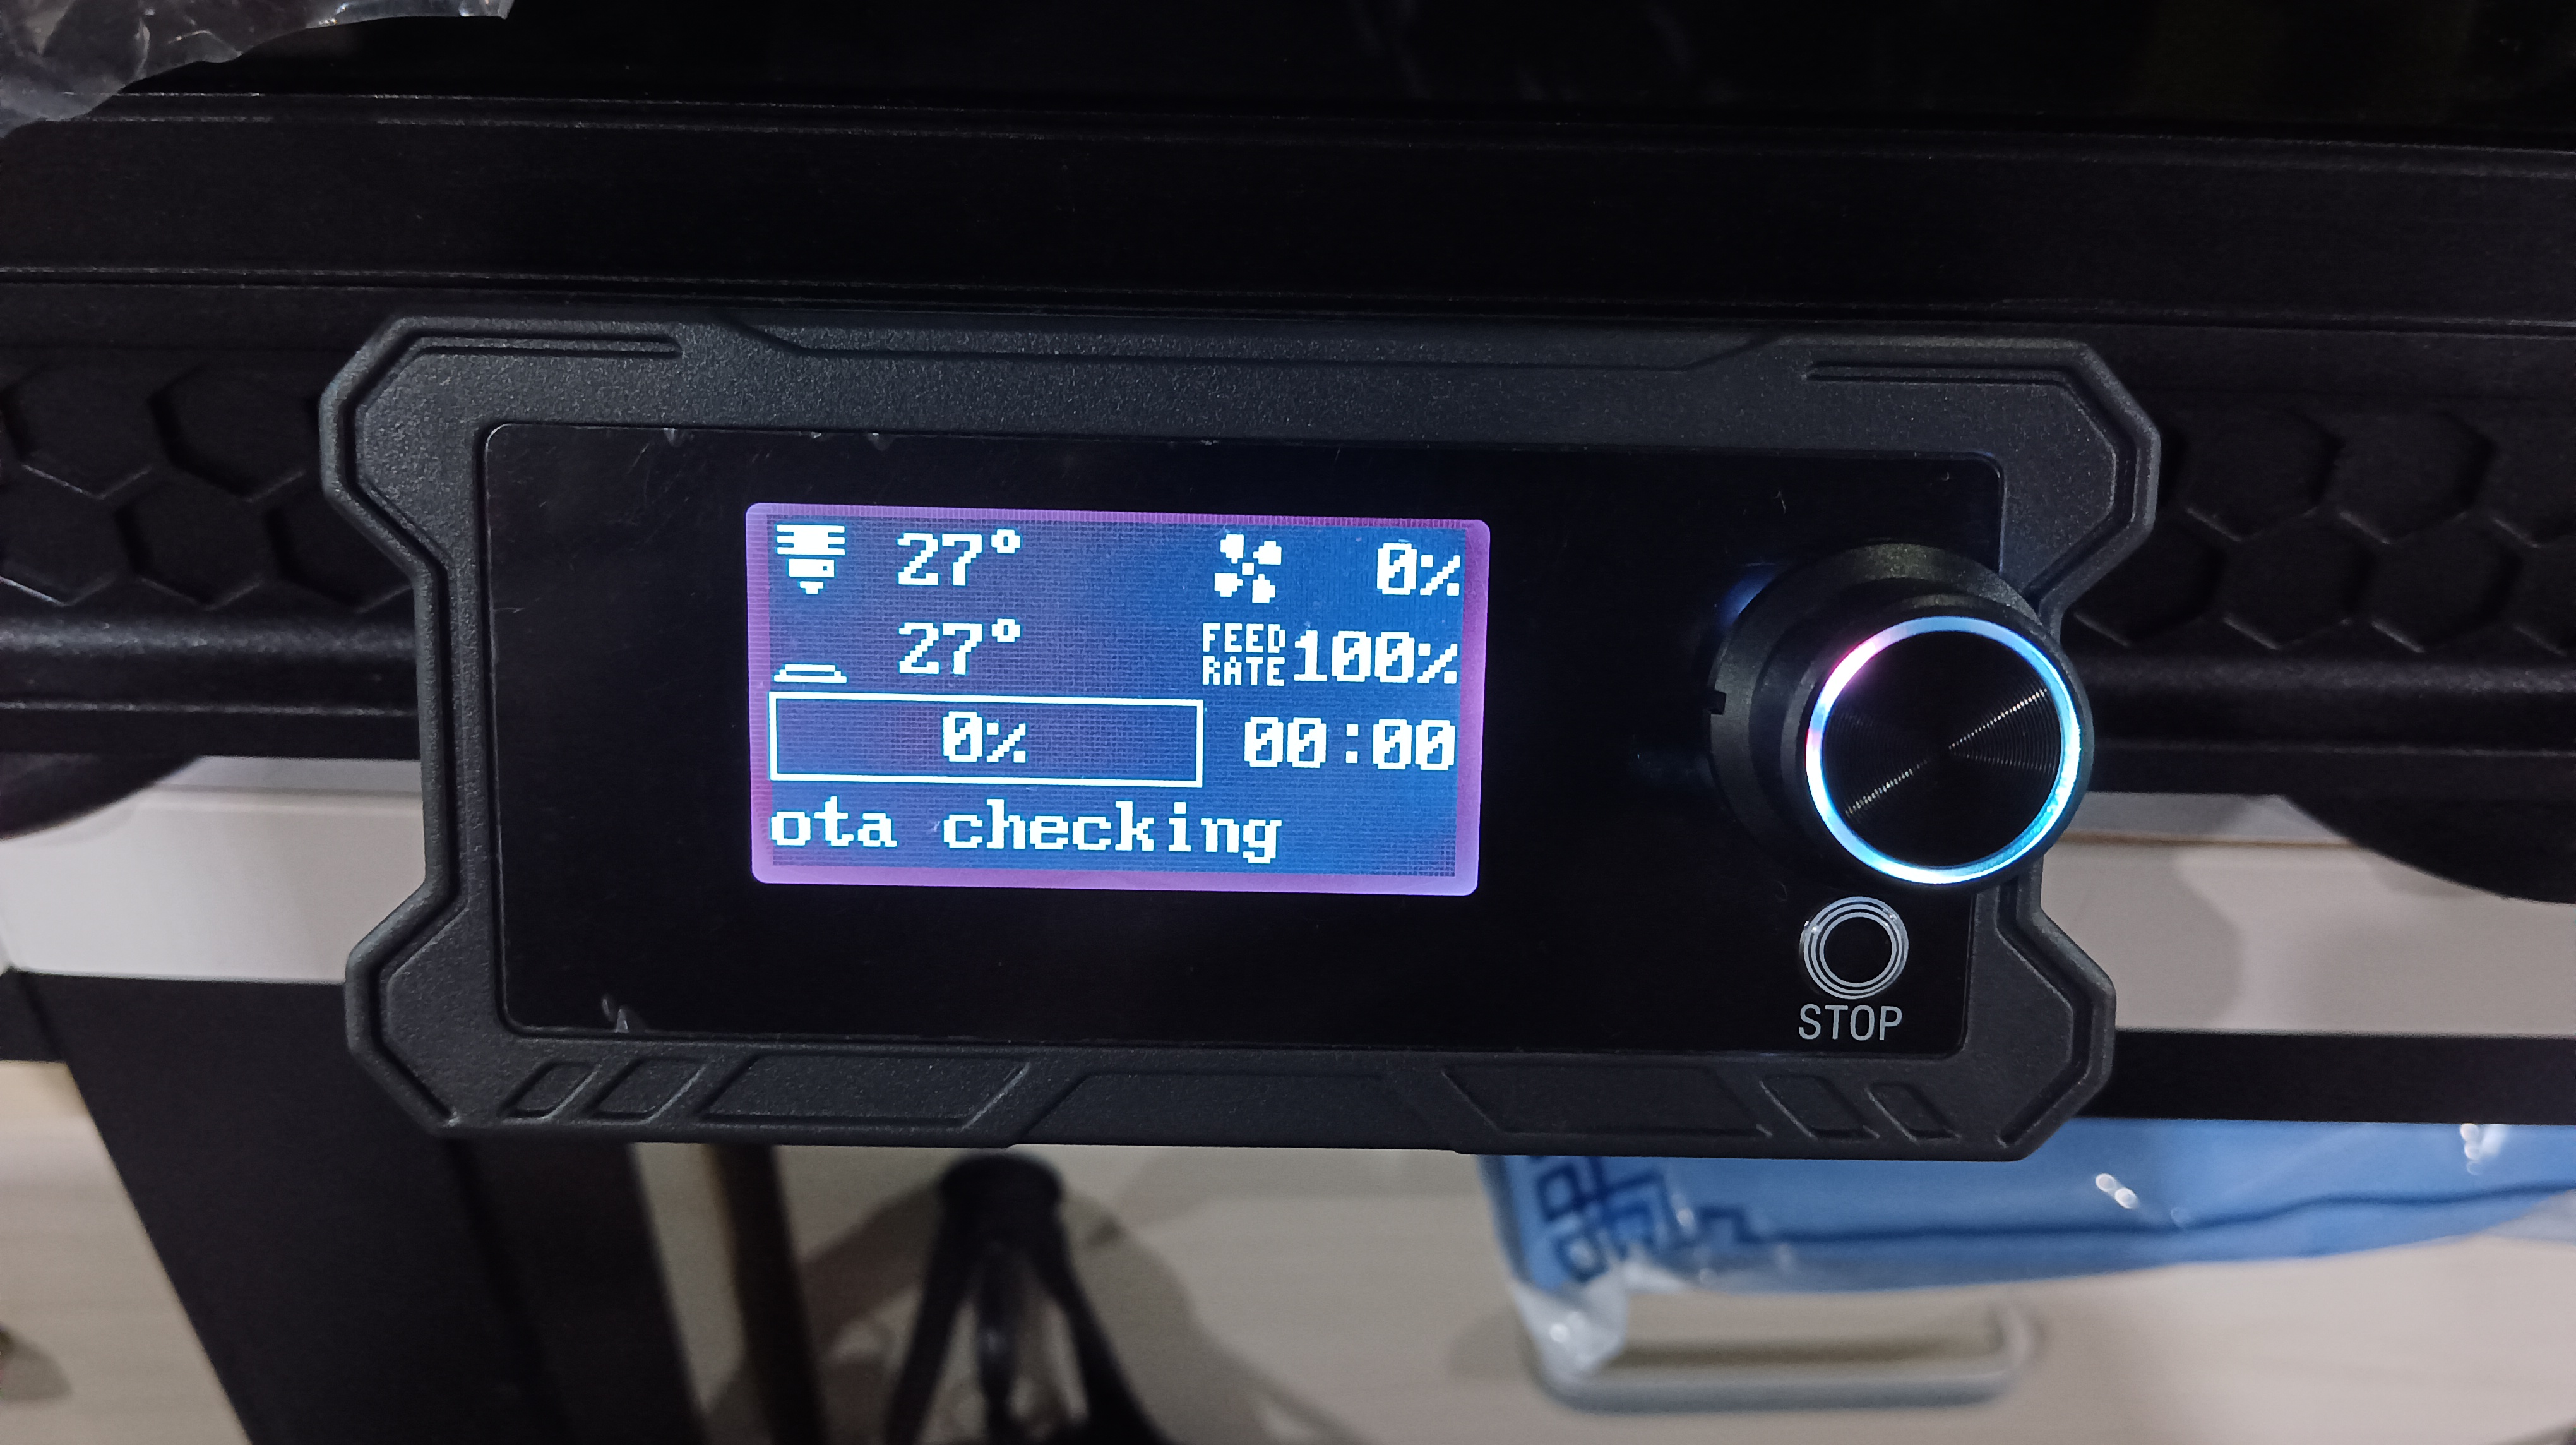 |
5. Wait for the OTA progress to complete. After the update is completed, the printer will automatically restart again. If the progress bar has not been updated for a long time, it means that the network is abnormal. Please return to step 3 to reconnect to the network.
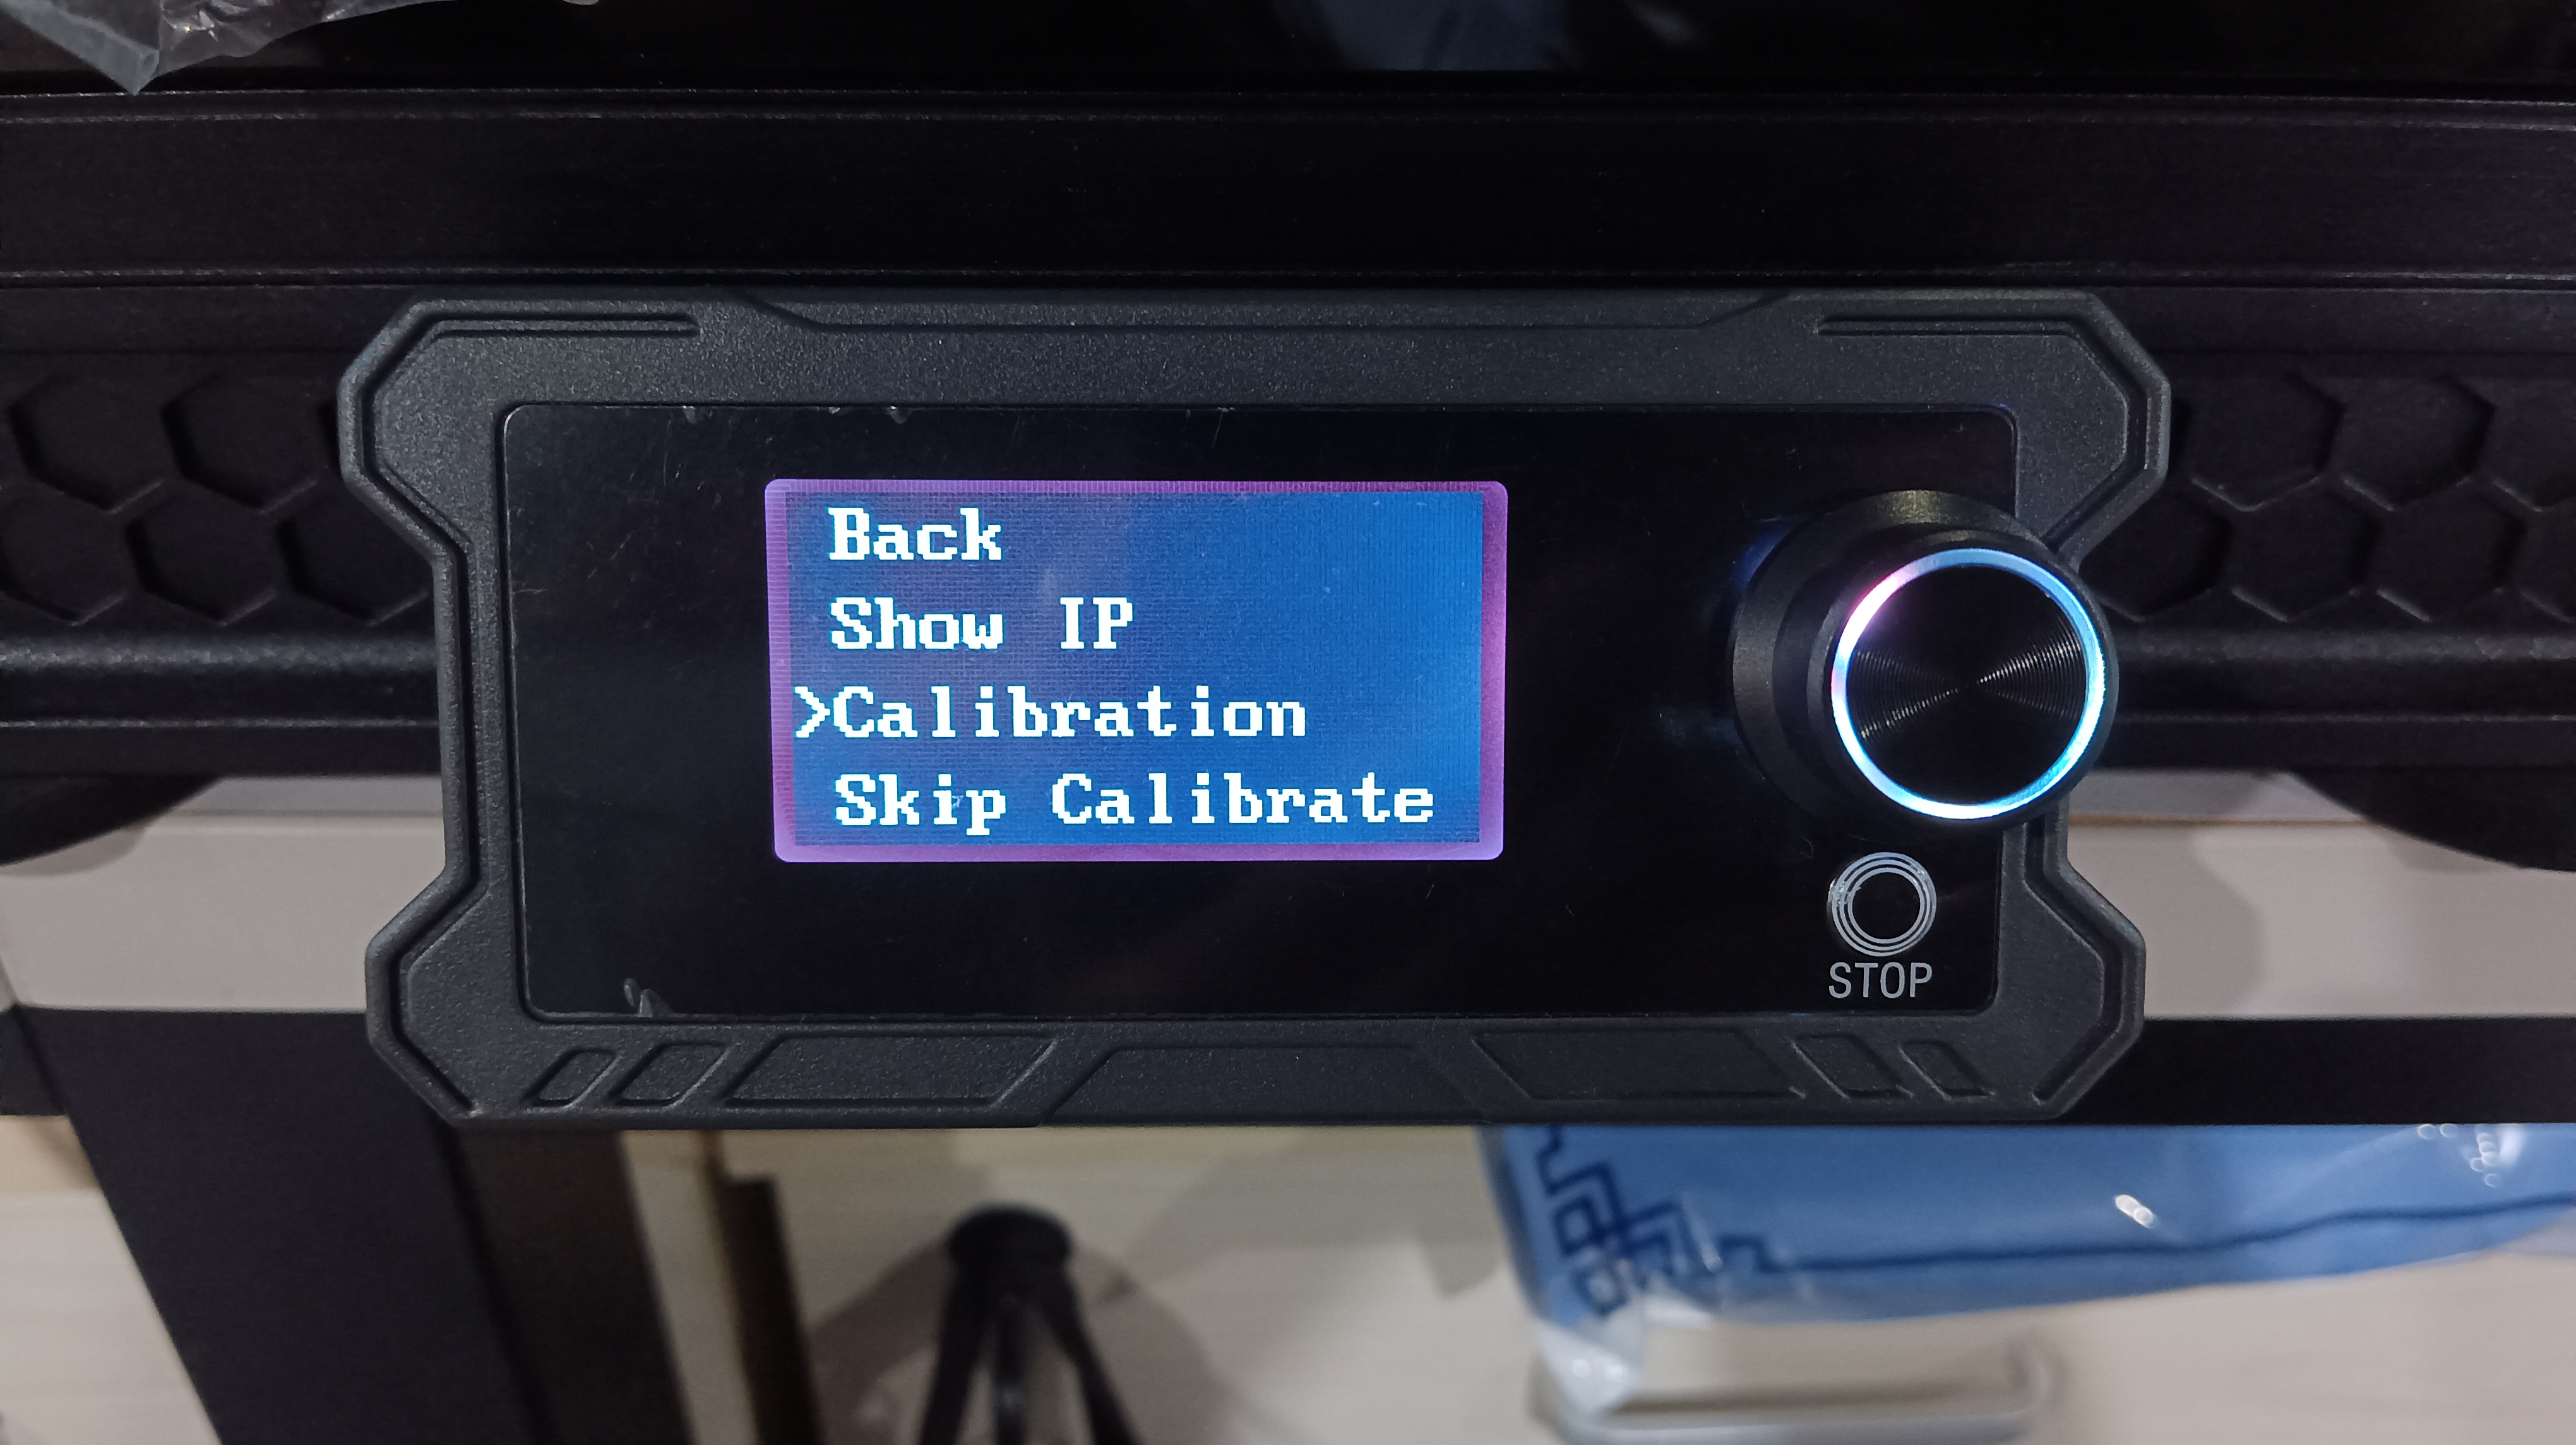
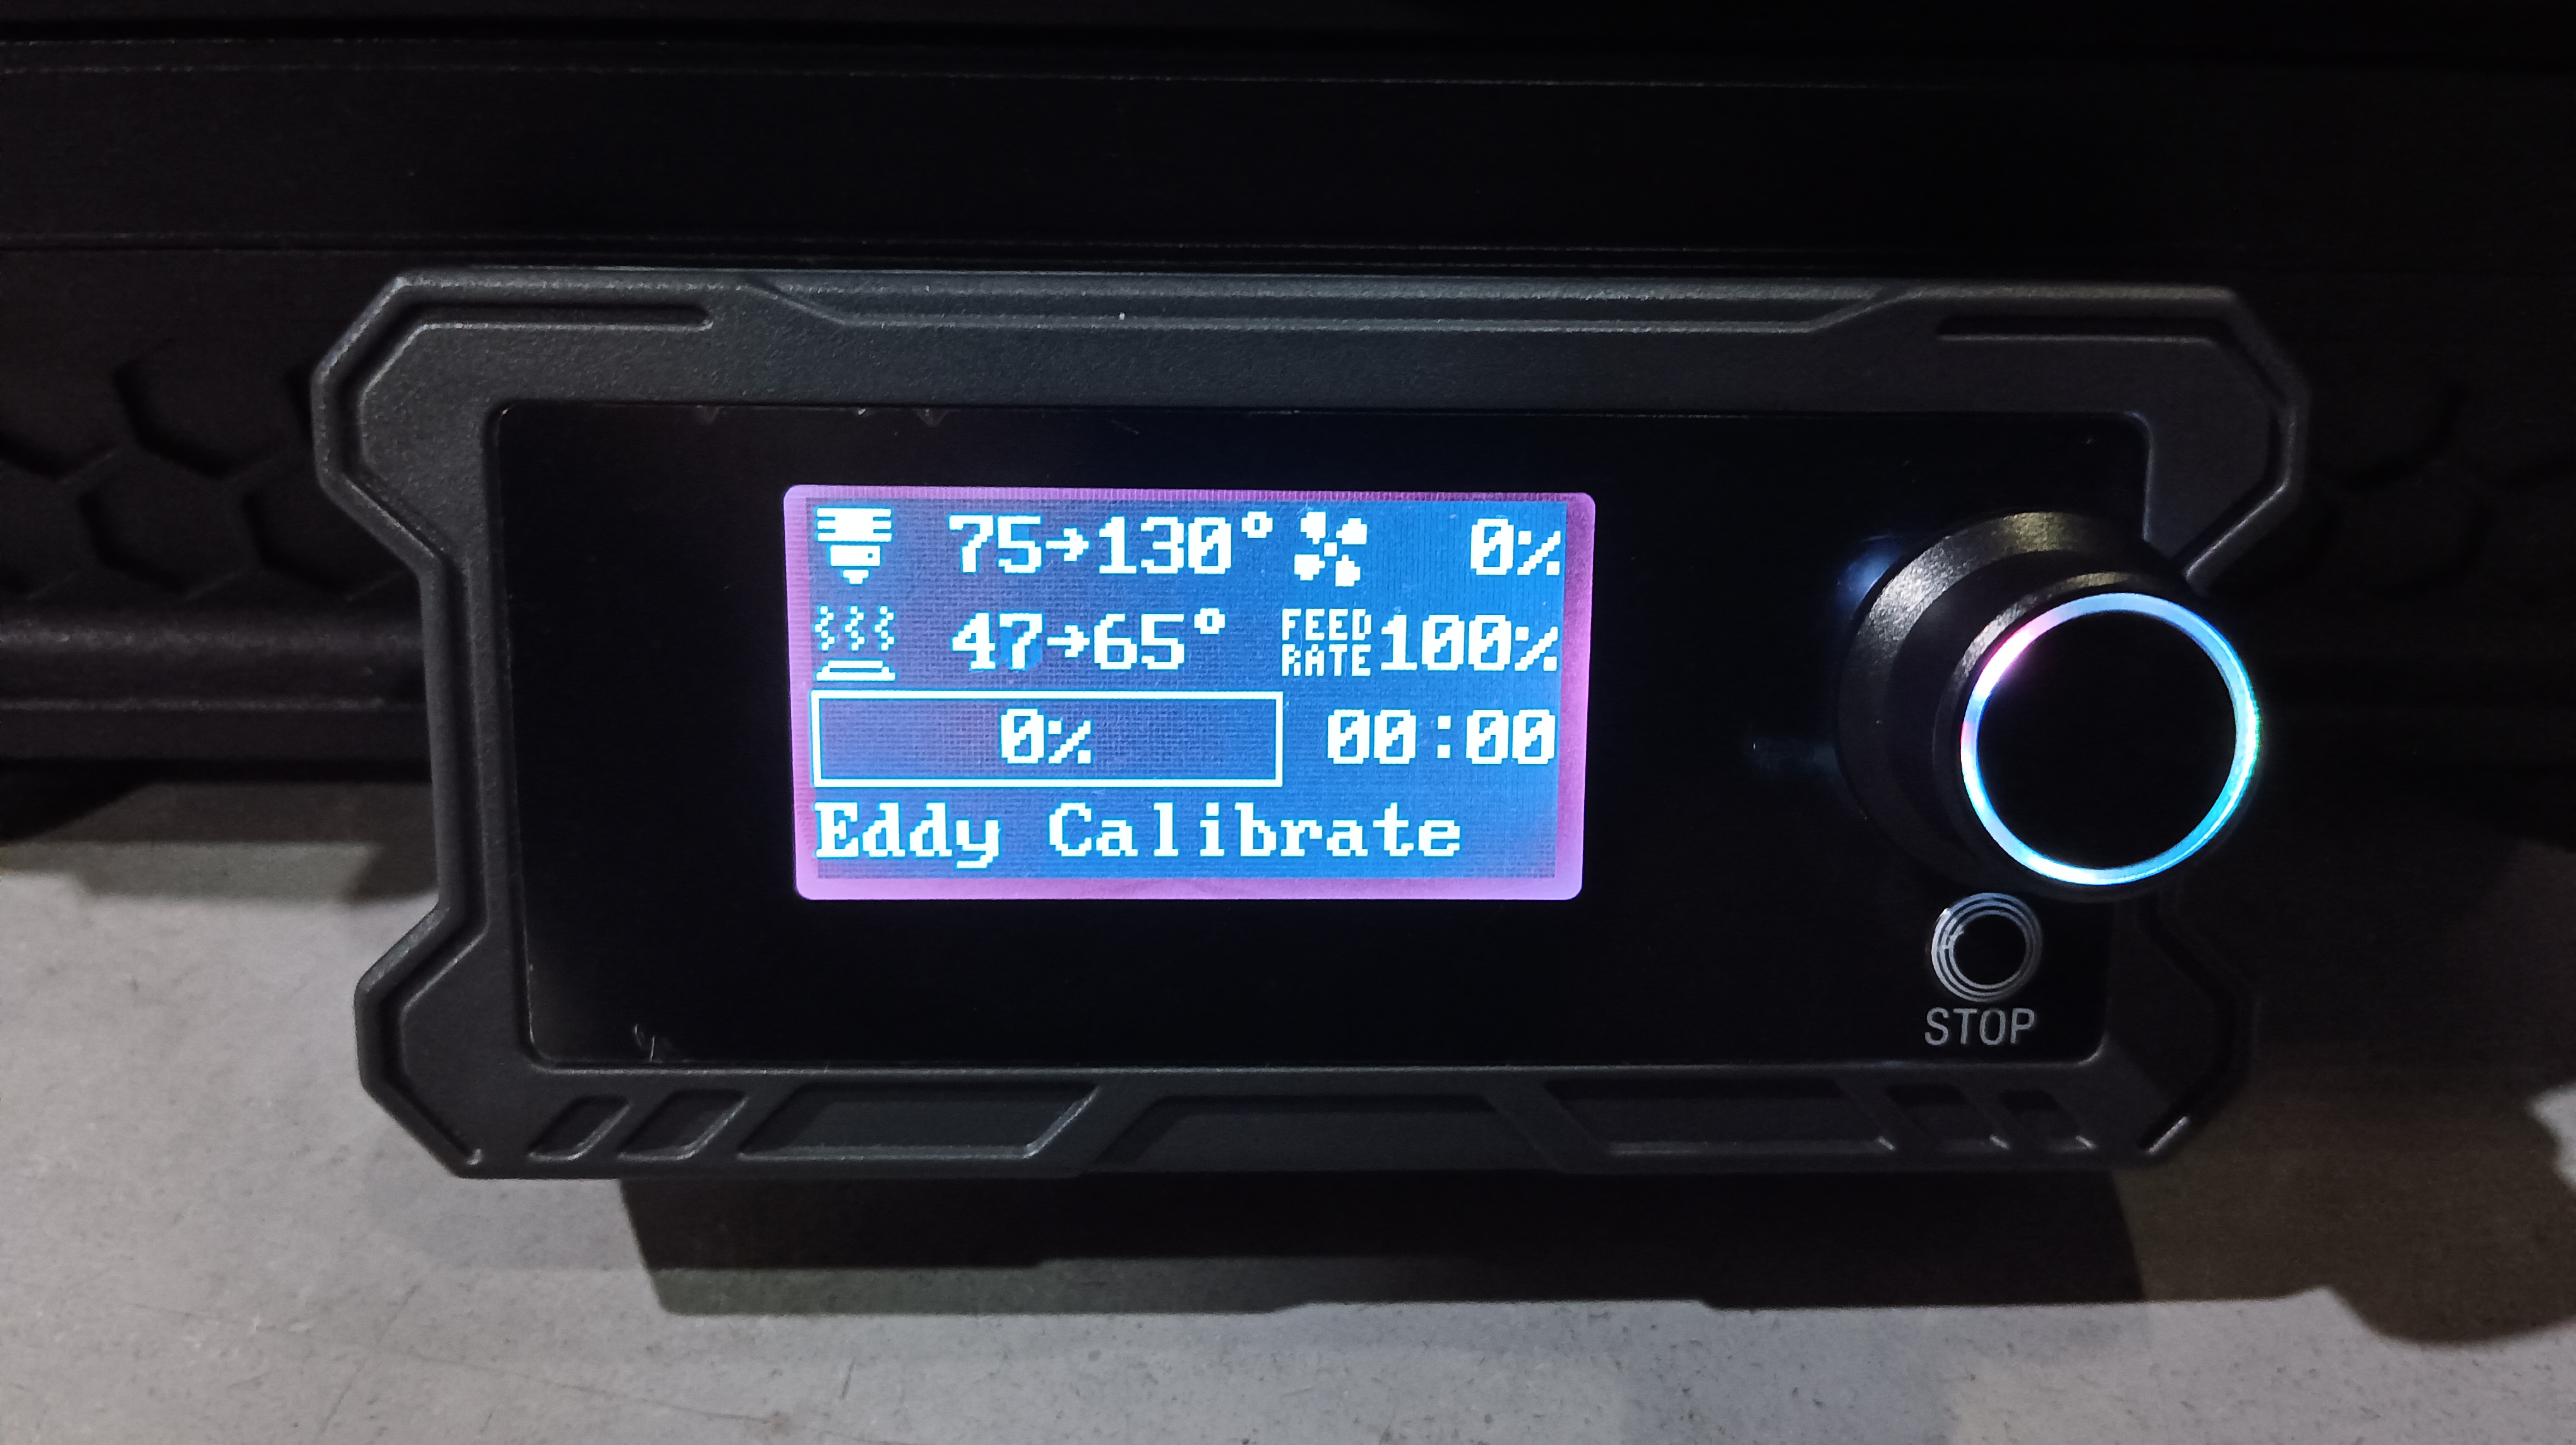
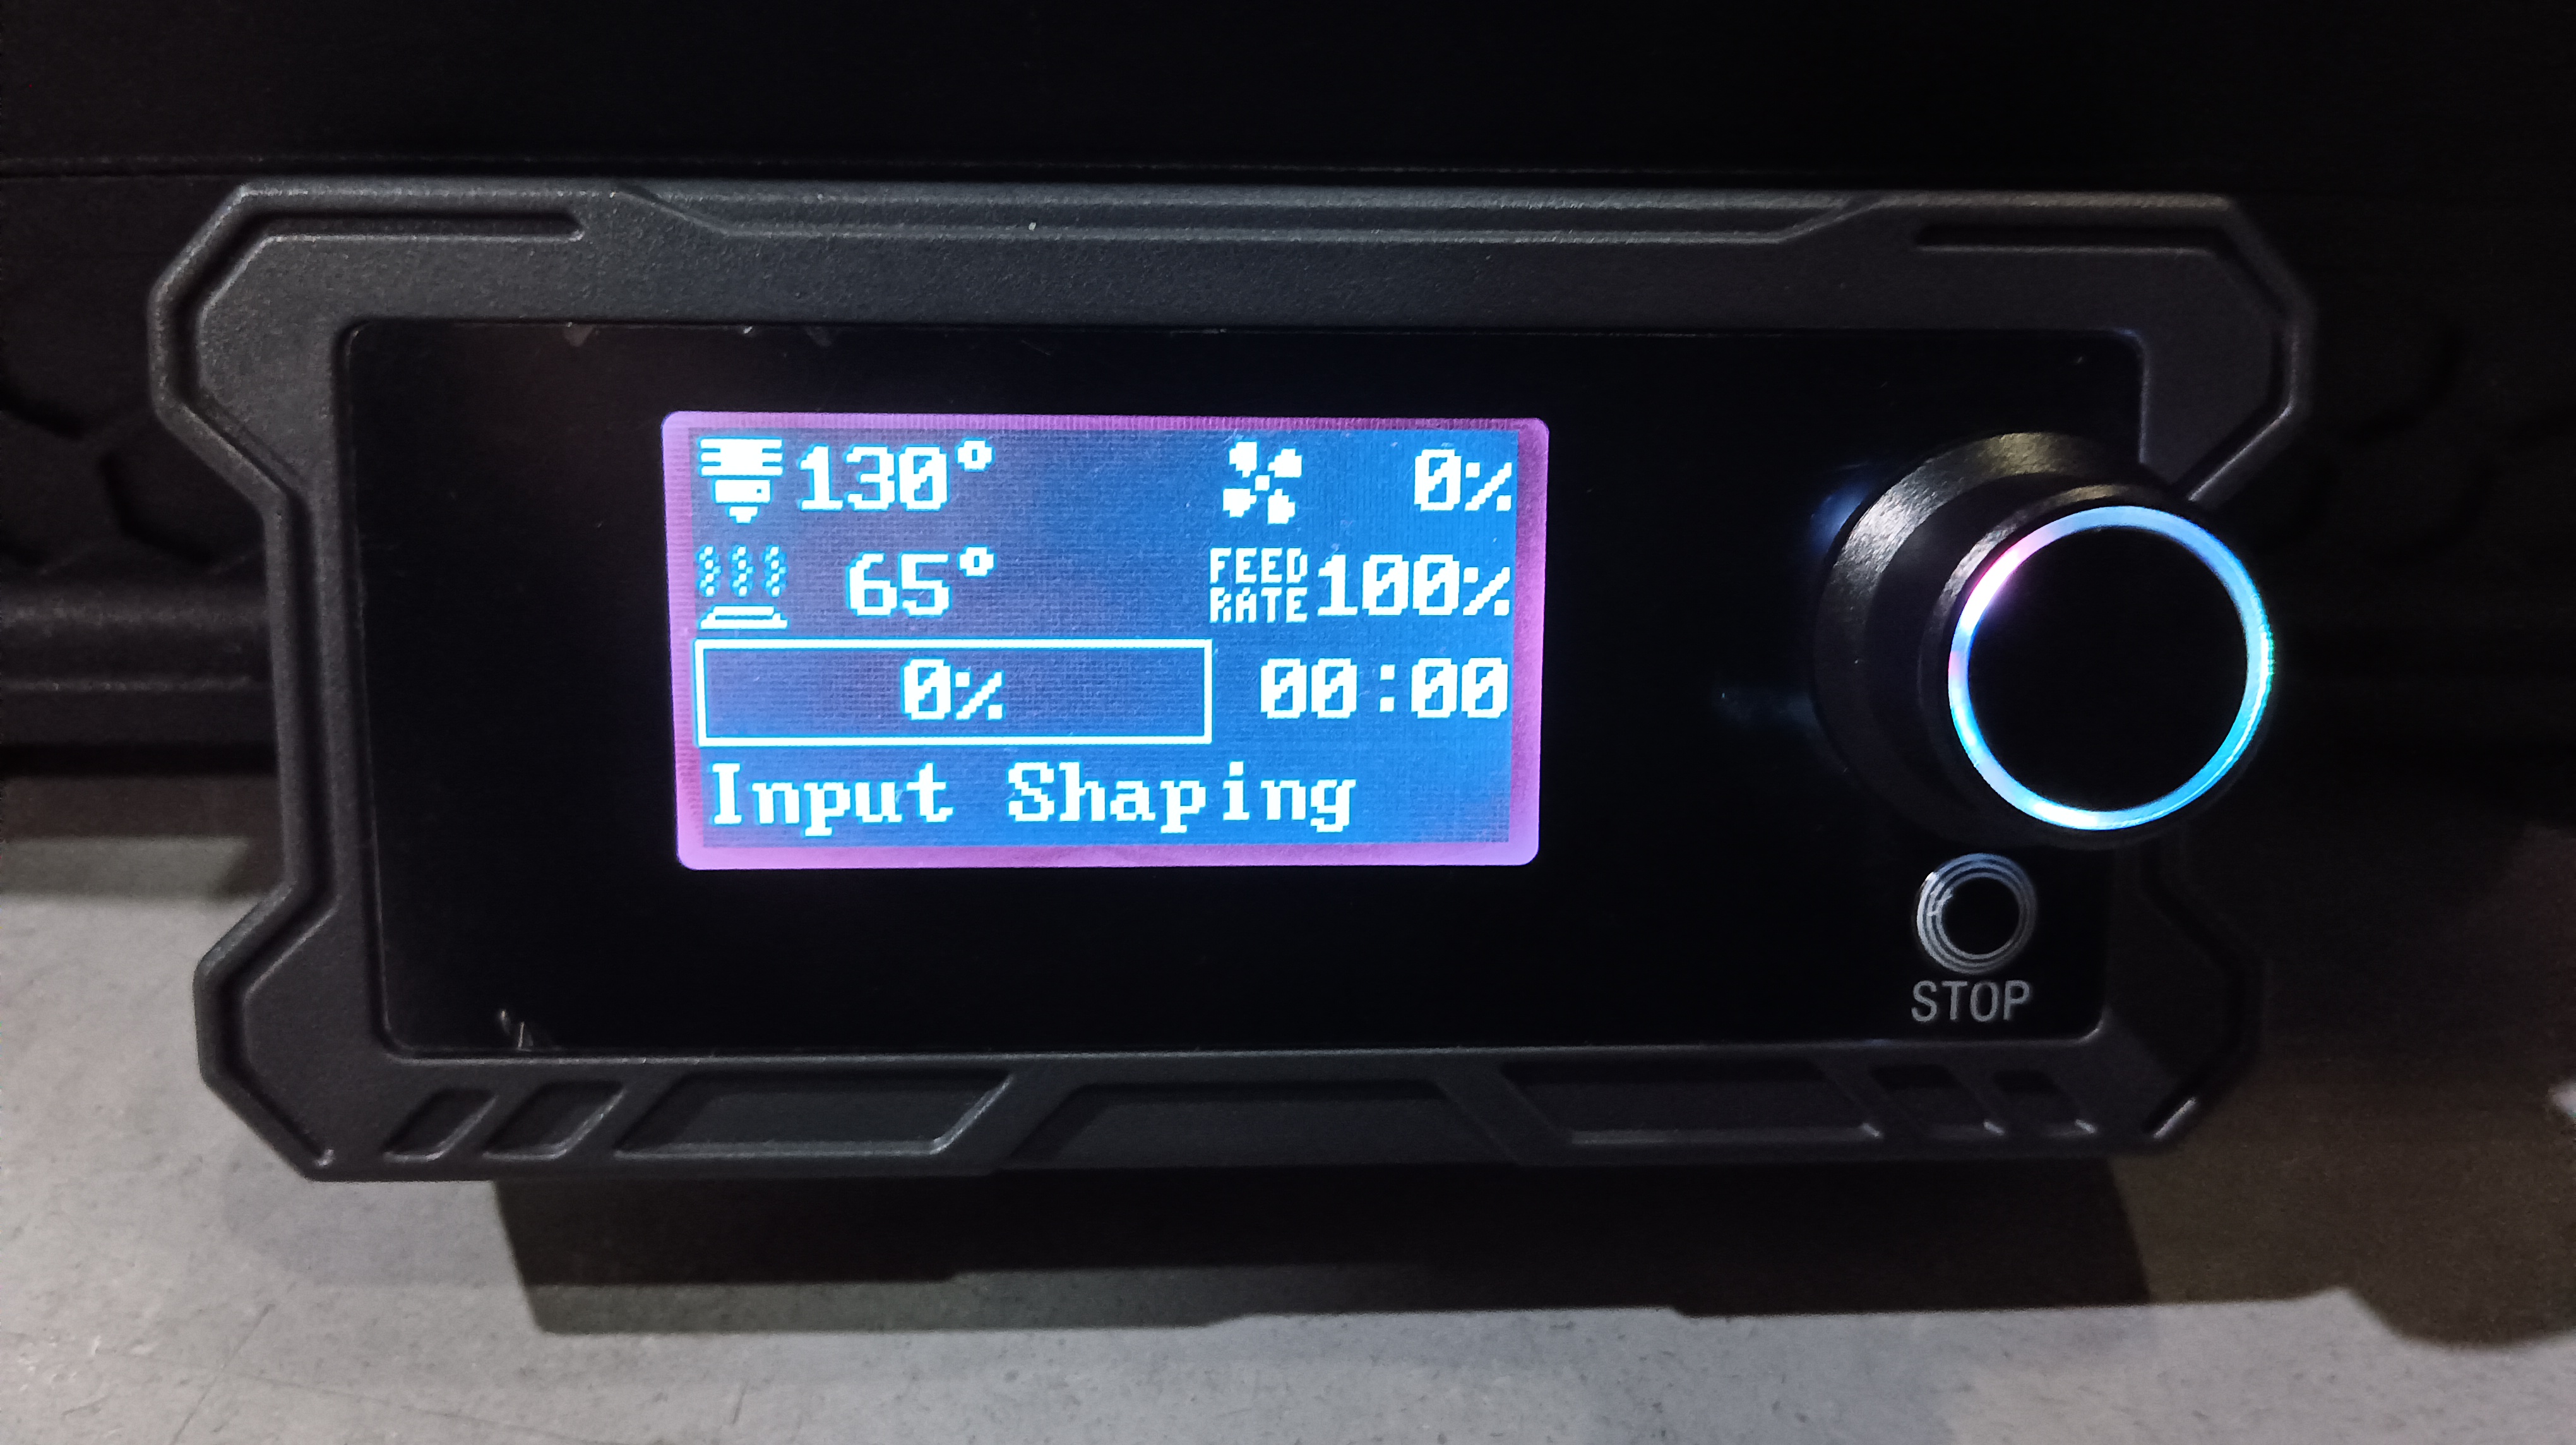
6. After completing the OTA update, you need to recalibrate. Click Calibration to complete Eddy Calibrate and Input Shaping. After completing the calibration, the printer will automatically restart.
 |
 |
 |
 |
7. Click Information to check the current firmware version of the printer and confirm that the printer has been upgraded to the latest firmware version (you can click OTA to confirm, and the printer will prompt that the current firmware is the latest firmware)
|
|
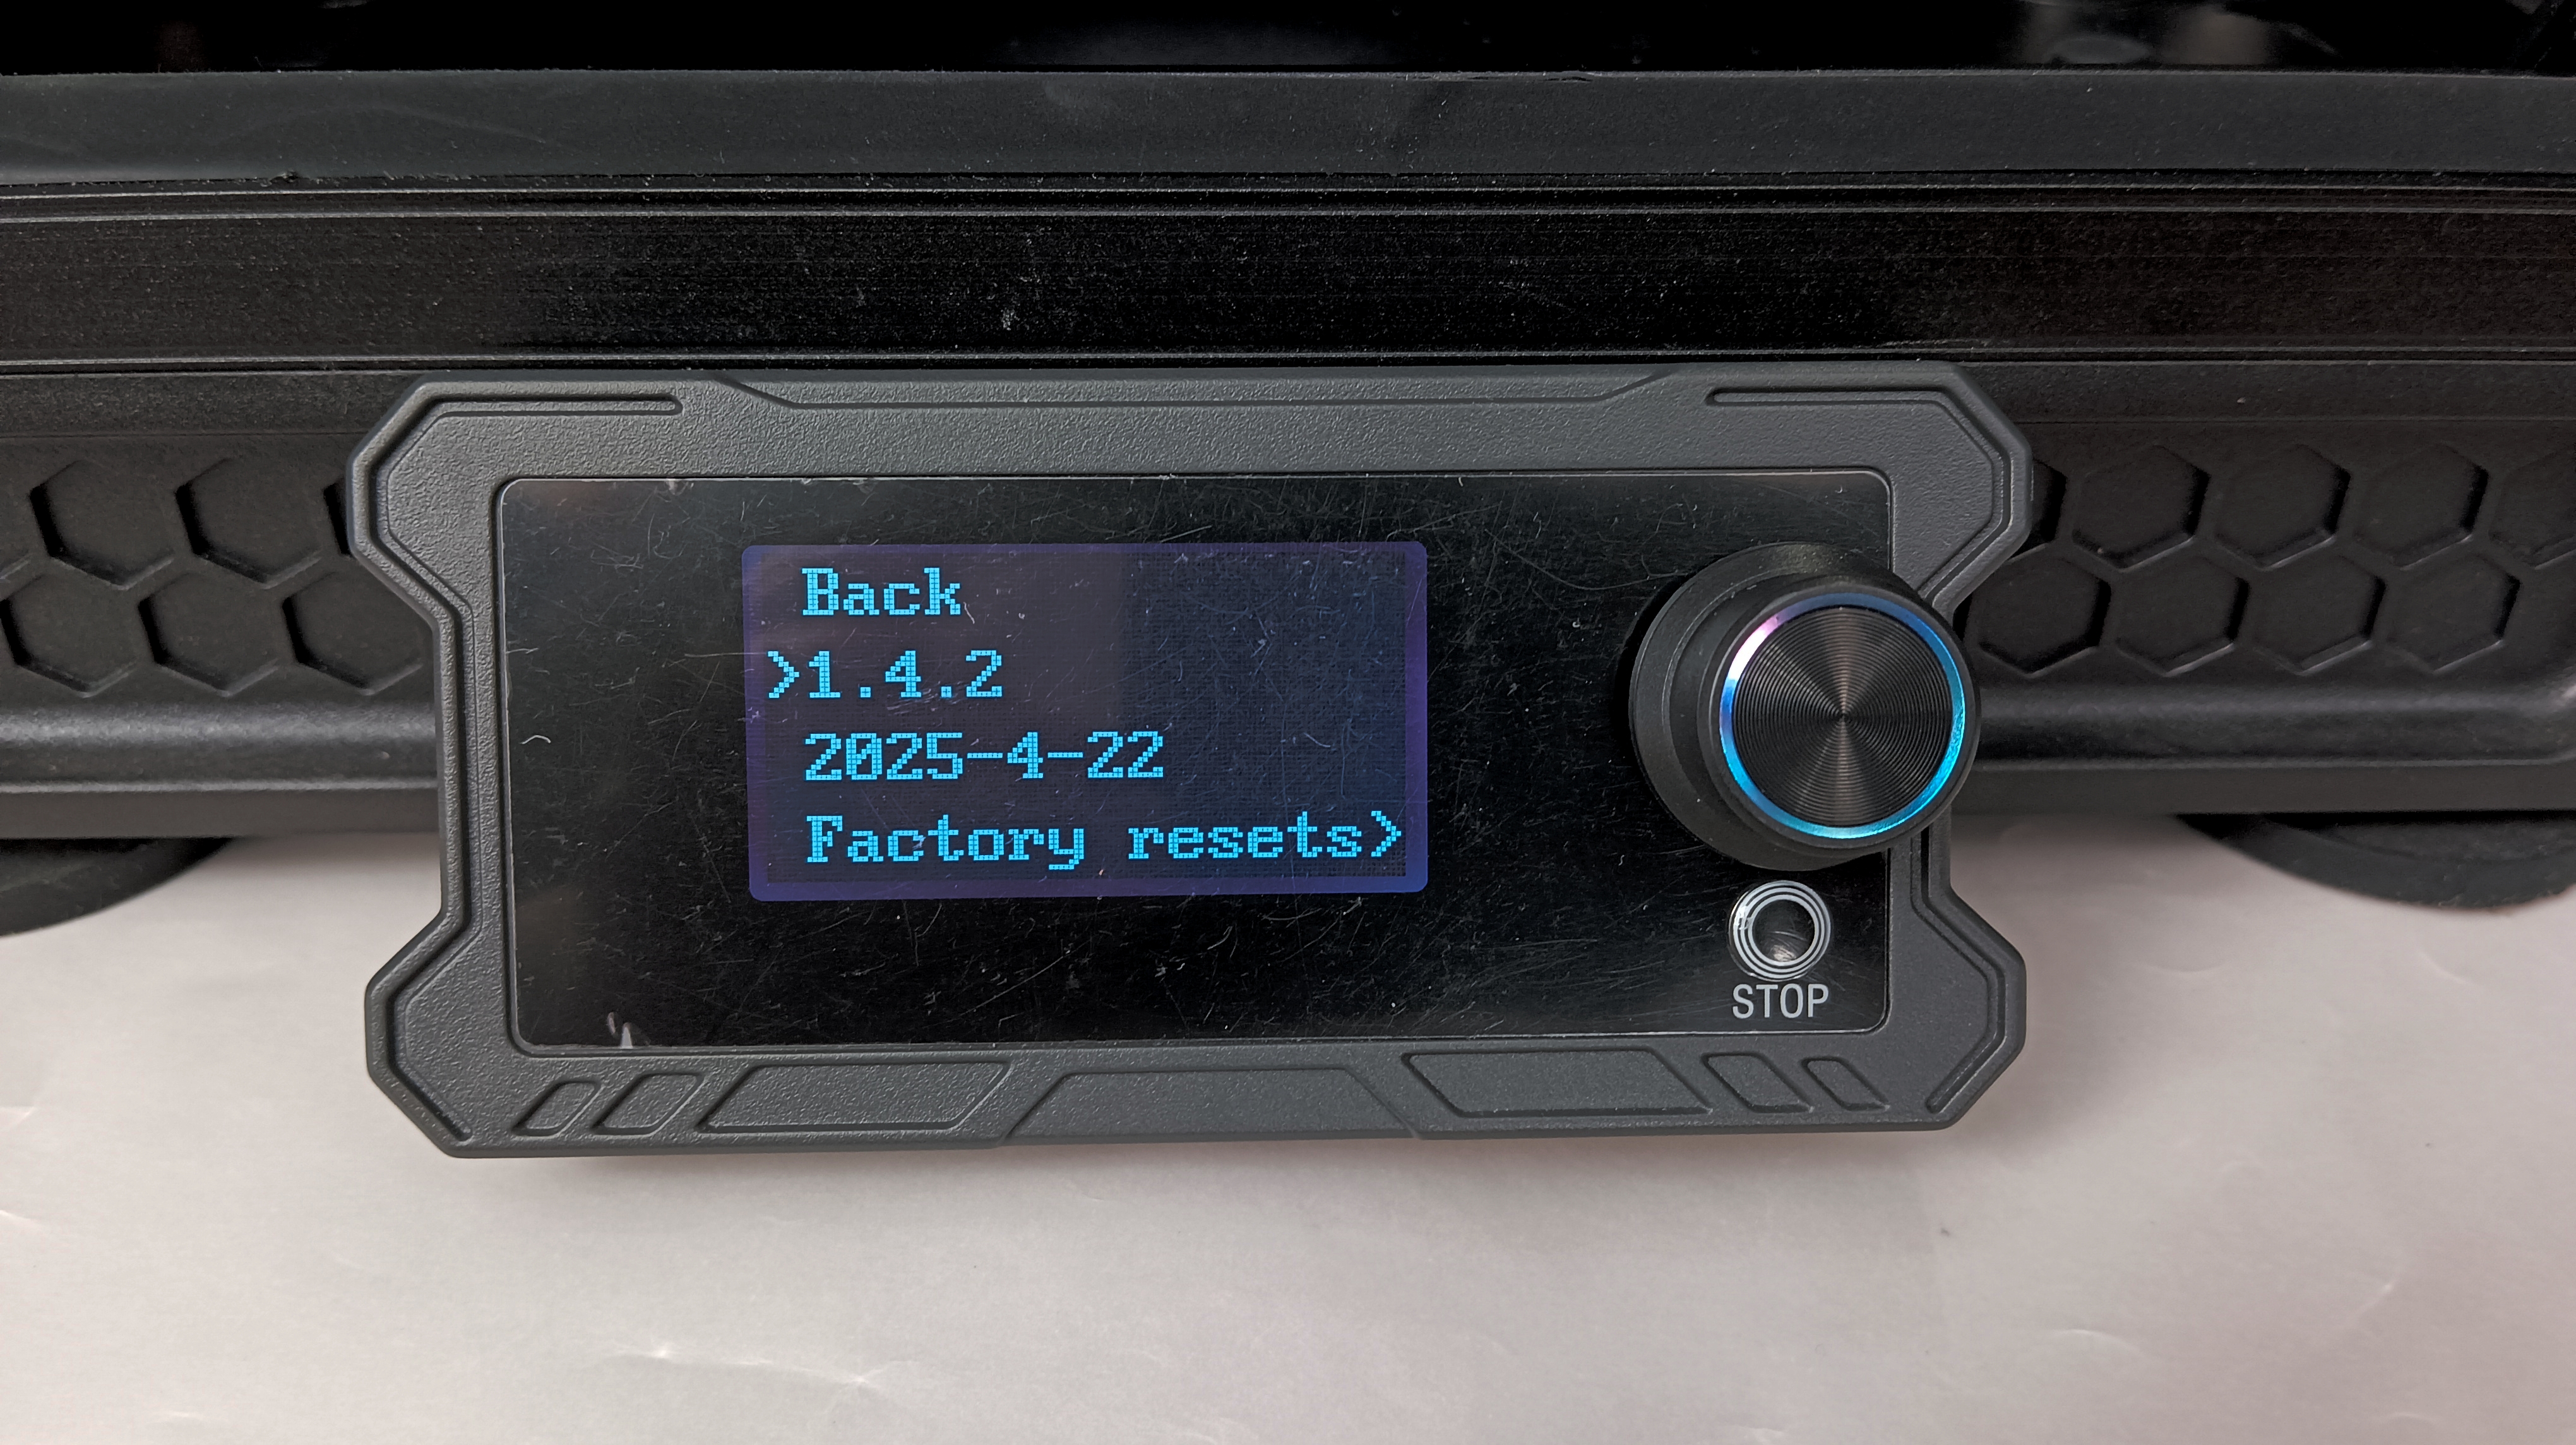 |
## [1.4.2]
- Cancel the use of pressure module and add eddy current contact home calibration function
- Update the nozzle adapter firmware to adapt to the eddy current contact zero calibration function
- Modify the purging filament action to adapt to the eddy current contact zero calibration function
- All input shaping types are open
- Add chamber module configuration. The feature is disabled by default
- Changed the original fan3 to the temperature-controlled exhaust fan
- Fan3 configuration, pin changed to PE14
-The prompt code is 125 when exhaust fan doesn’t rotate
-The prompt code is 110 when chamber module fan doesn’t rotate and automatically turns off chamber heating